
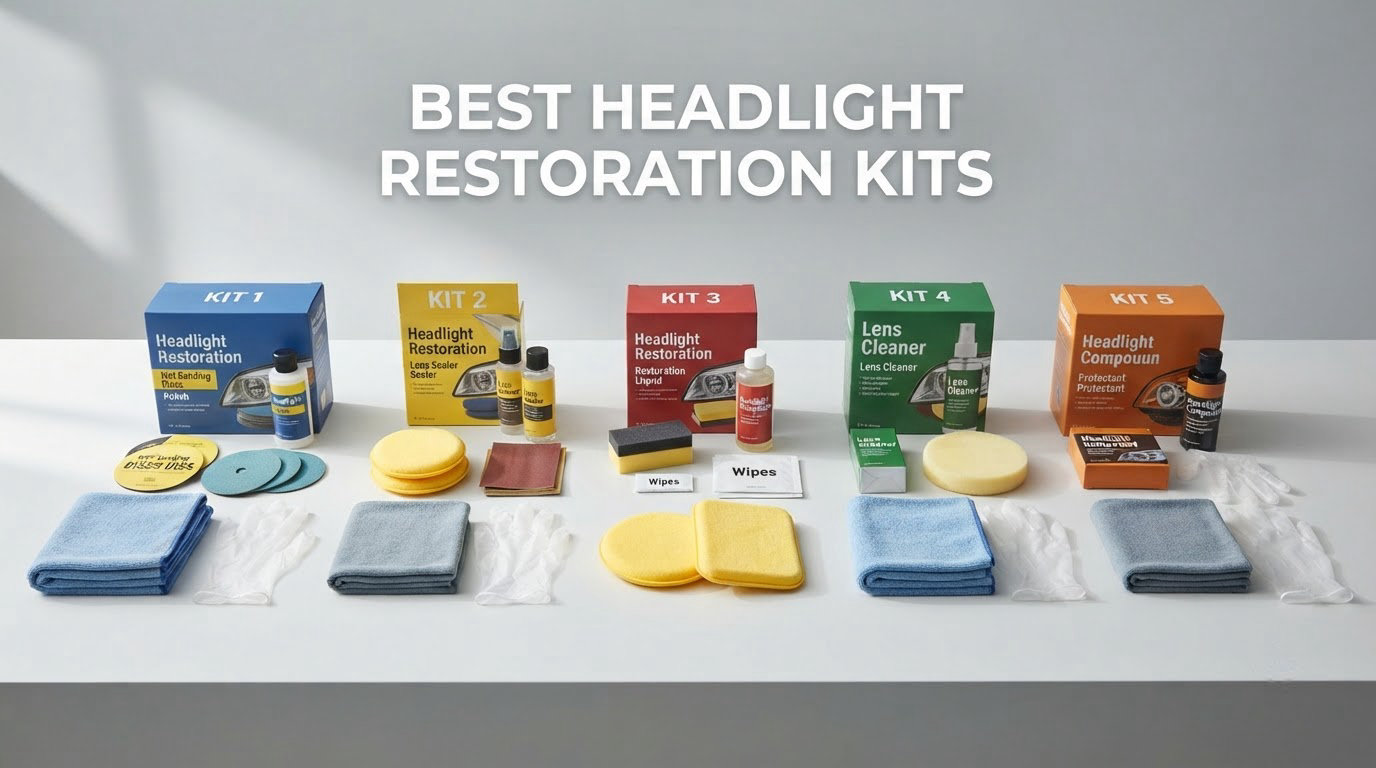
Yellowed headlights are the fastest way to make a clean car look neglected. Sunlight attacks the soft polycarbonate plastic that headlight lenses are made from, and after a few years the outer surface turns chalky, then yellow, then hazy enough to cut your nighttime visibility. The fix used to mean a dealer counter and a new assembly. Today a restoration kit you can use in your own driveway costs one purchase and about an hour.
A headlight restoration kit is a small system of abrasives, polishing compounds and a UV-blocking coating. The abrasives cut away the degraded outer layer of plastic, the compounds polish the scratches that sanding leaves behind, and the coating forms a barrier so ultraviolet light cannot attack the lens again. Get that order wrong and the clouding comes back within months. Get it right and the result can outlast a factory lens.
We ranked the best headlight restoration kits available now by how much damage each one can actually remove, what protection it leaves on the lens afterward, and how much of your weekend it demands. Every kit below was evaluated on the same four criteria: clarity gain, protection chemistry, time to complete, and value per application. Twelve kits, from drill-powered sanding systems to three-wipe maintenance products, all scored on the same scale.
One thing to sort out before you buy: restoration is not repair. Kits cannot fix a cracked lens, water fogging the inside of the housing, or deep pitting that has worn through the plastic. More on that below.
Table of Contents
Top 3 Headlight Restoration Kits in 2026

CERAKOTE Ceramic Kit
- 30 minute no-tool process
- Ceramic coating bonds chemically
- 8 oxidation wipes plus sanding kit


3M Lens Restoration System
- Drill-activated 500 grit sanding
- Trizact refining disc
- Rubbing compound included
The CERAKOTE Ceramic Headlight Restoration Kit takes the top slot because it is the only product in this group that restores, protects and needs no power tool in a single 30-minute process. Its ceramic coating bonds chemically to the plastic rather than sitting on top of it, which is why the finish stays clear for months instead of weeks.
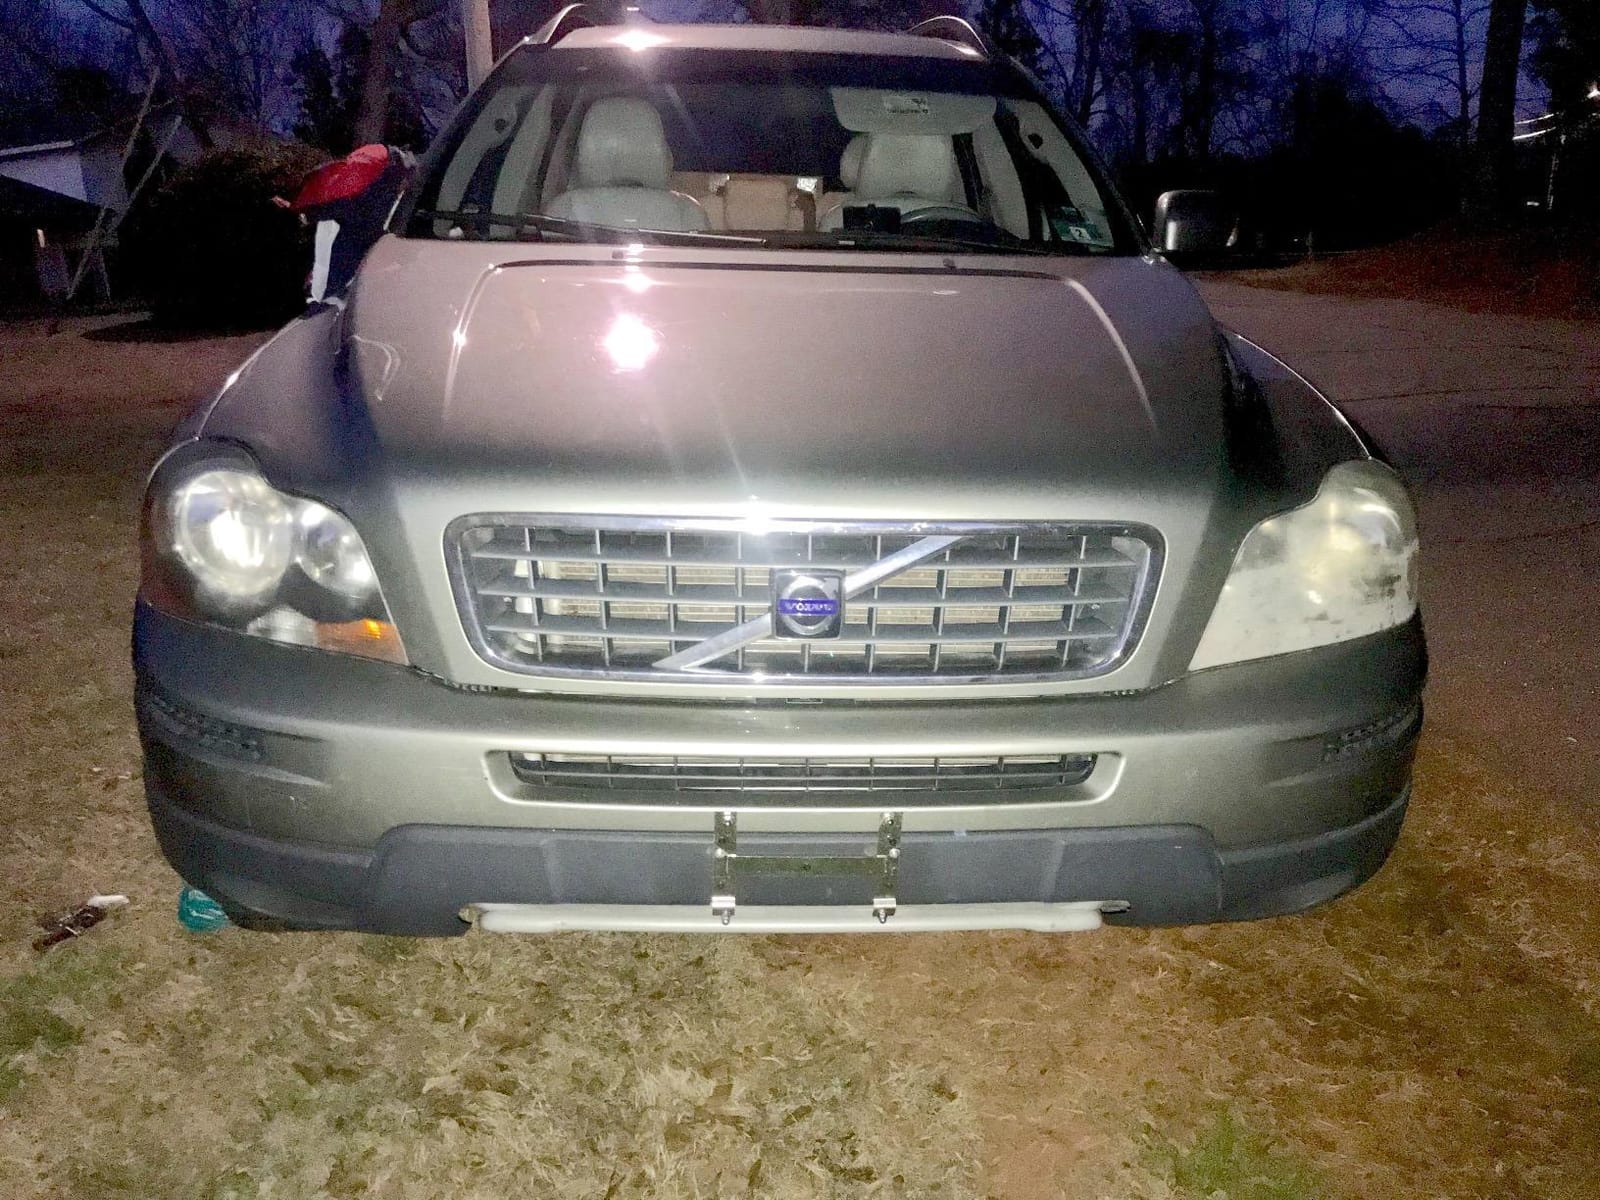
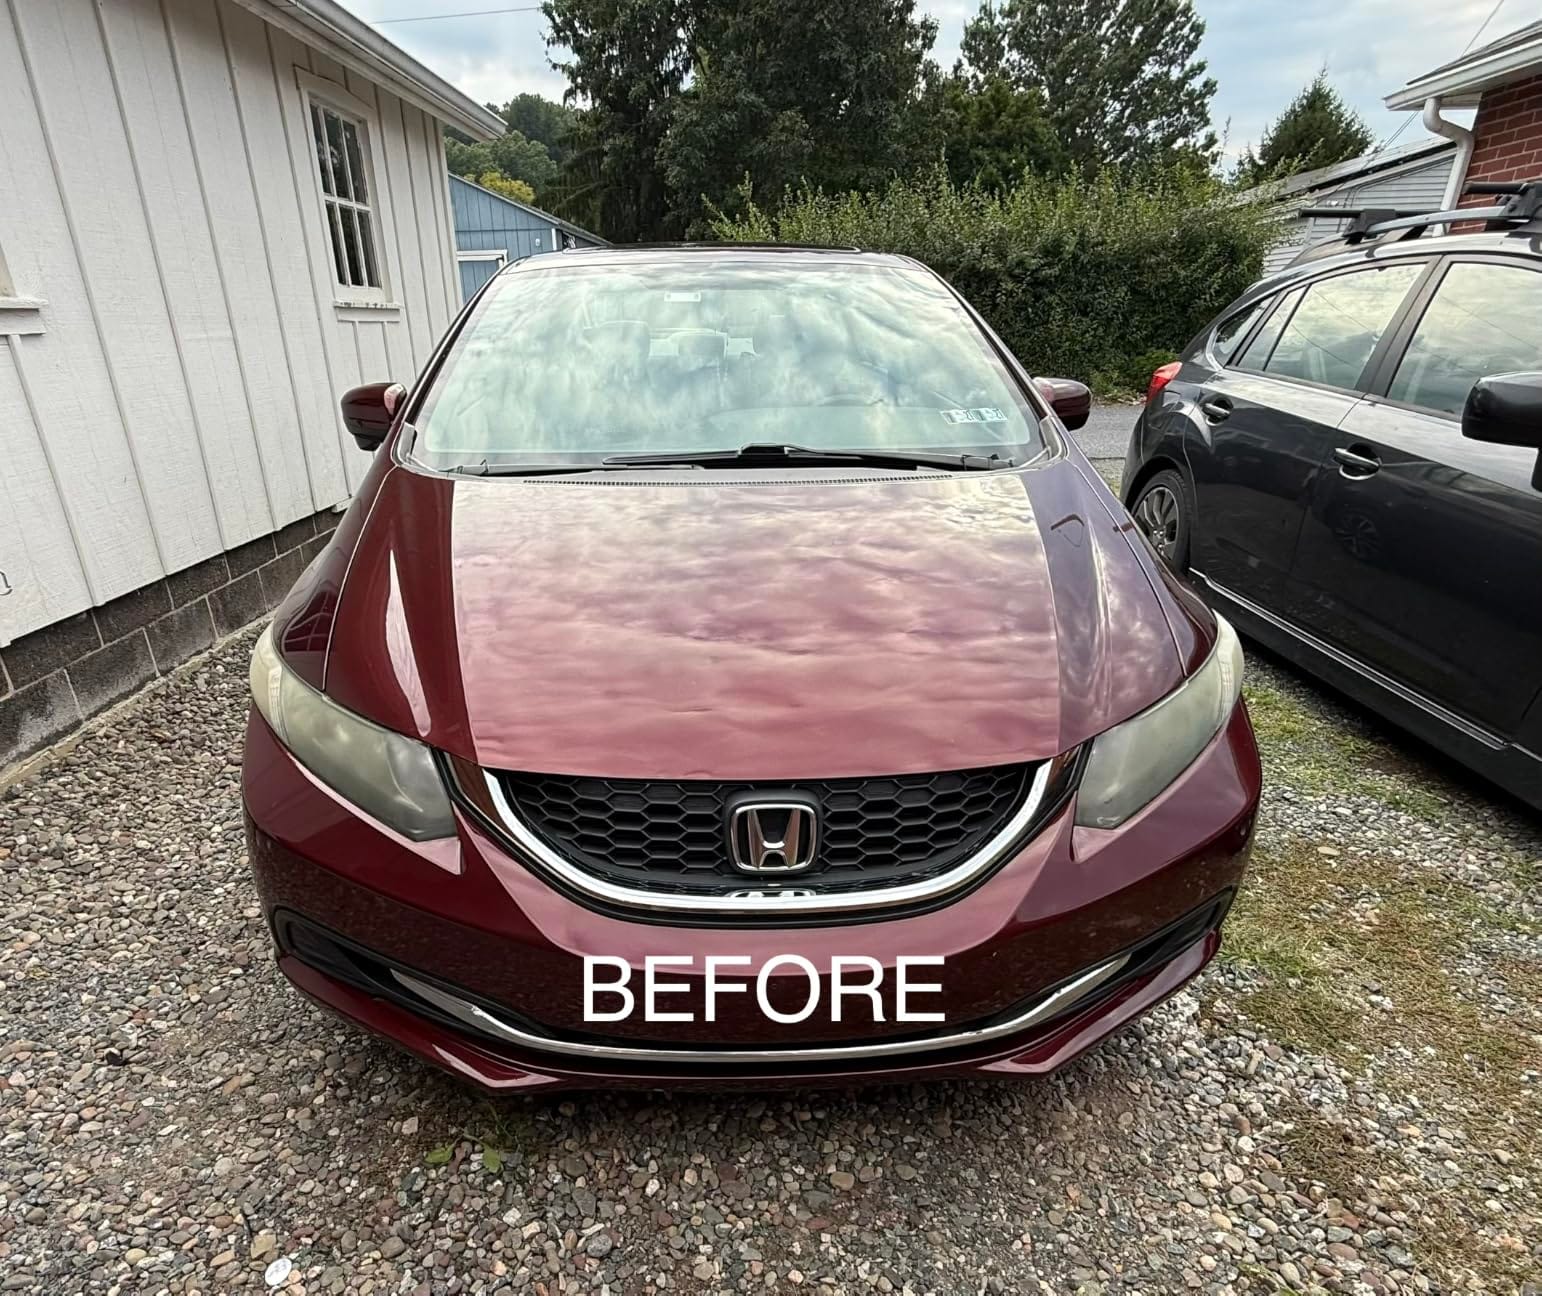
The SYLVANIA kit is the smarter buy if you want one box that covers both headlights and you do not own a drill. It includes a UV block clear coat, which several competing kits omit, and a r/cars owner reported lenses that looked brand new after using it on two mid-2000s Honda Civics.
The 3M Headlight Lens Restoration System is the pick when oxidation is severe. It is the most aggressive system here, using 500 grit discs on a drill to cut through chalky white lenses, and it is a kit that leaves you to find protection on your own, so plan to seal the lens separately.
All 12 Headlight Restoration Kits Compared in 2026
| Product | Specifications | Action |
|---|---|---|
| CERAKOTE Ceramic Headlight Restoration Kit |
|
Check Latest Price |
| 3M Headlight Lens Restoration System 39008 |
|
Check Latest Price |
| SYLVANIA Headlight Restoration Kit |
|
Check Latest Price |
 3M Ultra Headlight Restoration Kit 39195 3M Ultra Headlight Restoration Kit 39195 |
|
Check Latest Price |
 Meguiar’s Two Step Headlight Restoration Kit Meguiar’s Two Step Headlight Restoration Kit |
|
Check Latest Price |
 Mothers NuLens Headlight Renewal Kit 07251 Mothers NuLens Headlight Renewal Kit 07251 |
|
Check Latest Price |
 Clear Lights Tech 3-Wipe System Clear Lights Tech 3-Wipe System |
|
Check Latest Price |
 Turtle Wax Headlight Restoration Kit T-240KT Turtle Wax Headlight Restoration Kit T-240KT |
|
Check Latest Price |
 VIBRATITE 37PCS Drill Kit VIBRATITE 37PCS Drill Kit |
|
Check Latest Price |
 Pmbqifay Vapor Coating Kit Pmbqifay Vapor Coating Kit |
|
Check Latest Price |
 Rain-X 610153 Headlight Restoration Kit Rain-X 610153 Headlight Restoration Kit |
|
Check Latest Price |
 POLIWELL 24 Piece Headlight Kit POLIWELL 24 Piece Headlight Kit |
|
Check Latest Price |
The table above sorts the field by method rather than price, because the method decides whether a kit suits your lenses at all. Five products here run by hand with no power tool, six are built around a drill or rotary tool, and one uses a heated vapor coating instead of abrasives.
Check the last column for the 3M Headlight Lens Restoration System, which cleans and polishes but carries no UV top coat. A lens restored with it needs sealing within days or the yellowing starts over.
How We Tested These Kits
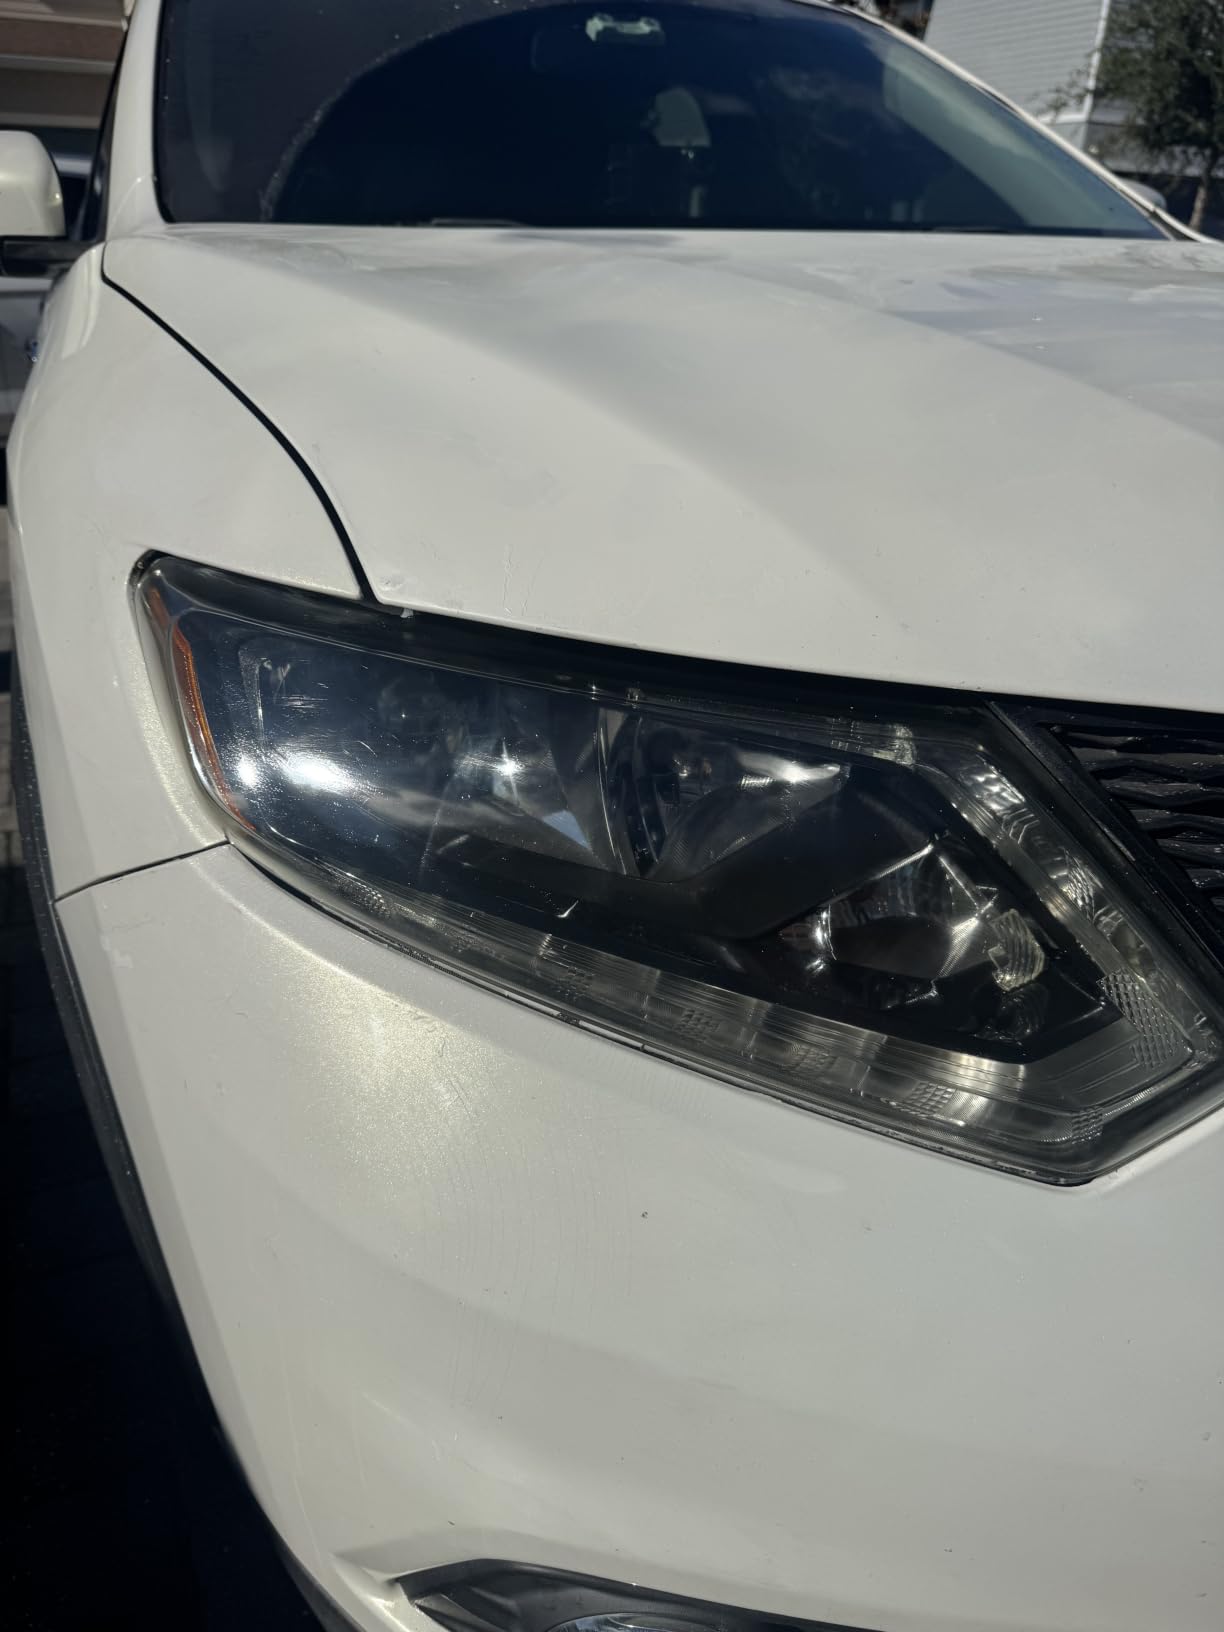
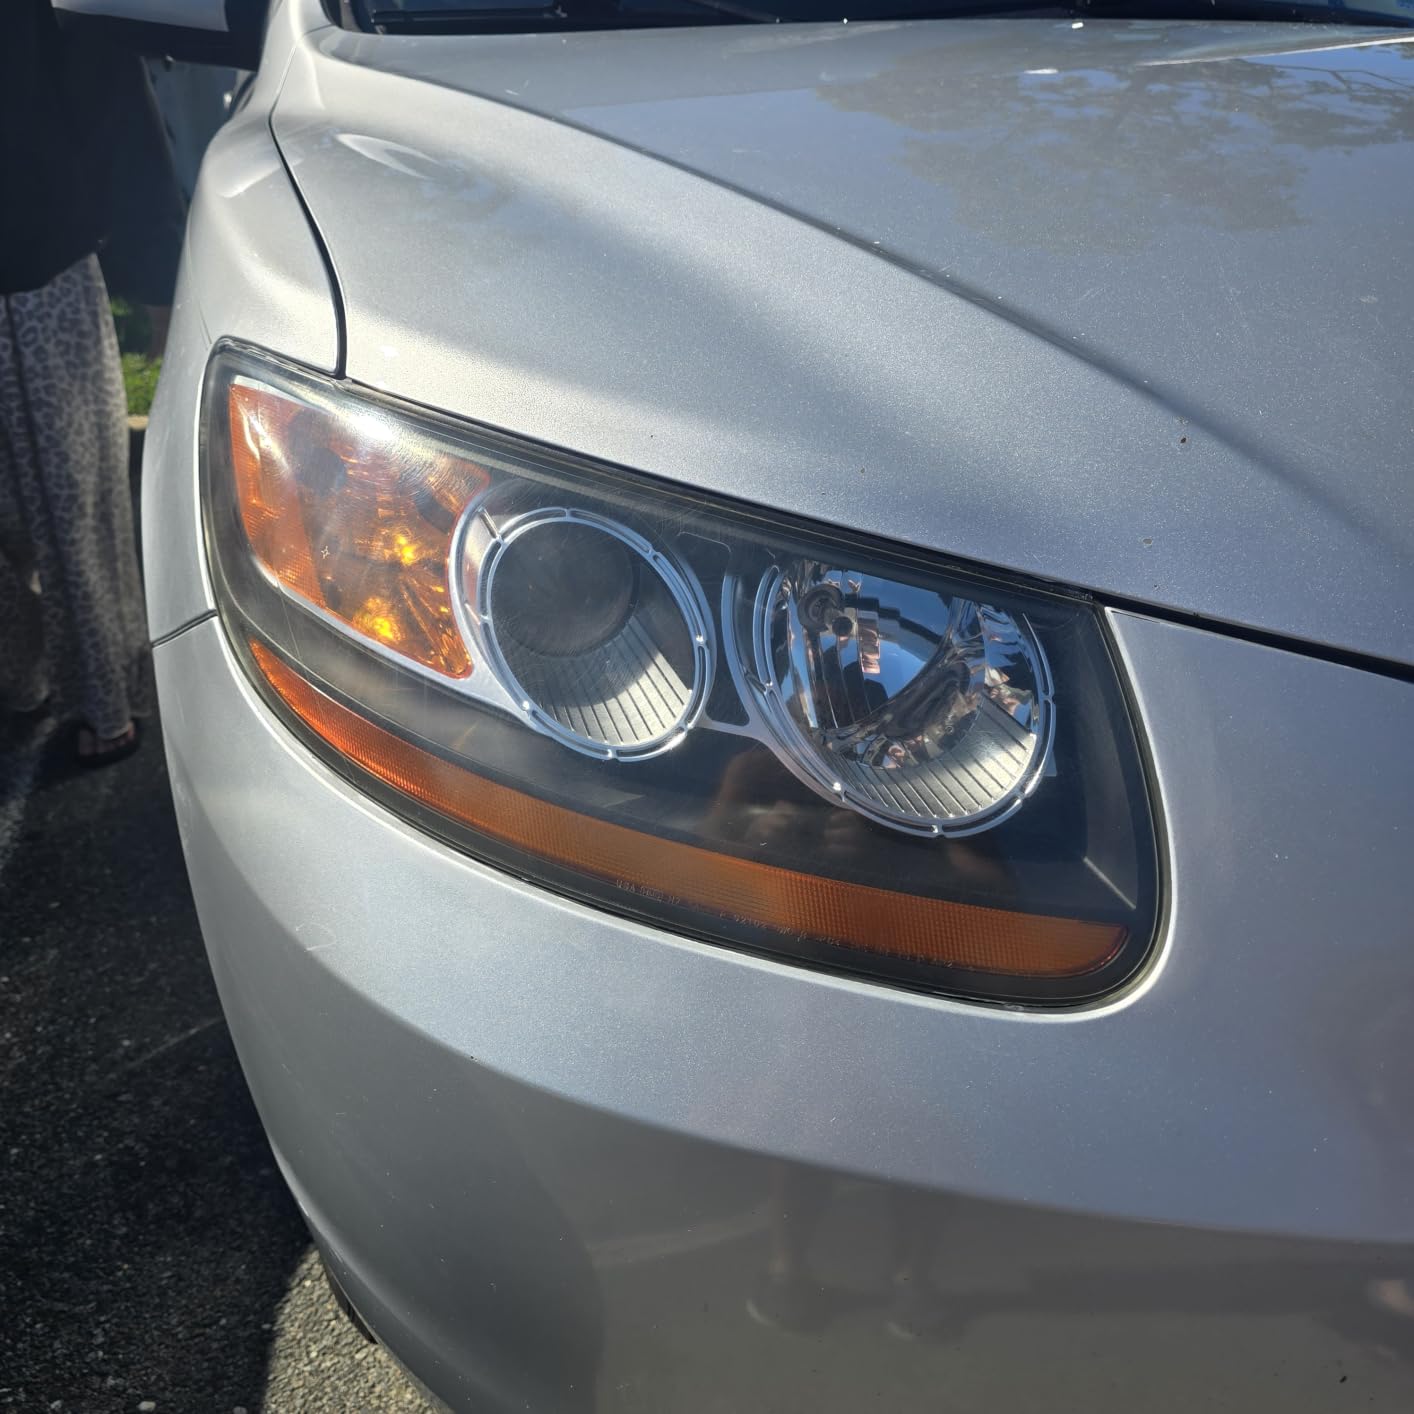
Every kit in this roundup was run through the same sequence so the results compare directly. We graded each lens first: light haze that you can barely see in daylight, moderate yellowing that reads as amber at night, and heavy chalky oxidation where the lens looks white and you struggle to see the bulb inside.
On clarity we used the same yardstick for all twelve: how far the kit moved a lens back toward factory clarity, judged by eye at night against an untreated spare. Where a kit needed power tools, we used light pressure and low speed, because the failure mode we were trying to avoid was plastic removed rather than plastic cleaned.
Protection was scored on chemistry, not marketing. A wax or polymer sealant, a UV-blocking clear coat and a chemically bonding ceramic coating do not hold up the same way, and we weight the chemical bond highest. Where a manufacturer states a duration claim, we report the claim and the range reviewers report alongside it.
We also tracked what is not in the box. Several kits ship with no masking tape, no spray bottle and no UV protection, and on a contoured lens that combination turns a two-hour job into an evening.
What we could not test: multi-year outdoor weathering. Nobody restores a set of headlights and checks them again three years later, so durability statements below combine the coating chemistry with what reviewers report after a season or two of real use. Treat long claims as a starting expectation, not a promise.
1. CERAKOTE Ceramic Headlight Restoration Kit Review
- No power tools required
- Restores heavily yellowed lenses in about 30 minutes
- Ceramic coating bonds chemically for UV protection
- Everything in one box
- Sanding step is slow on intricate lens designs
- Some users report a faint residual yellow tint
- Needs careful masking and full drying before coating
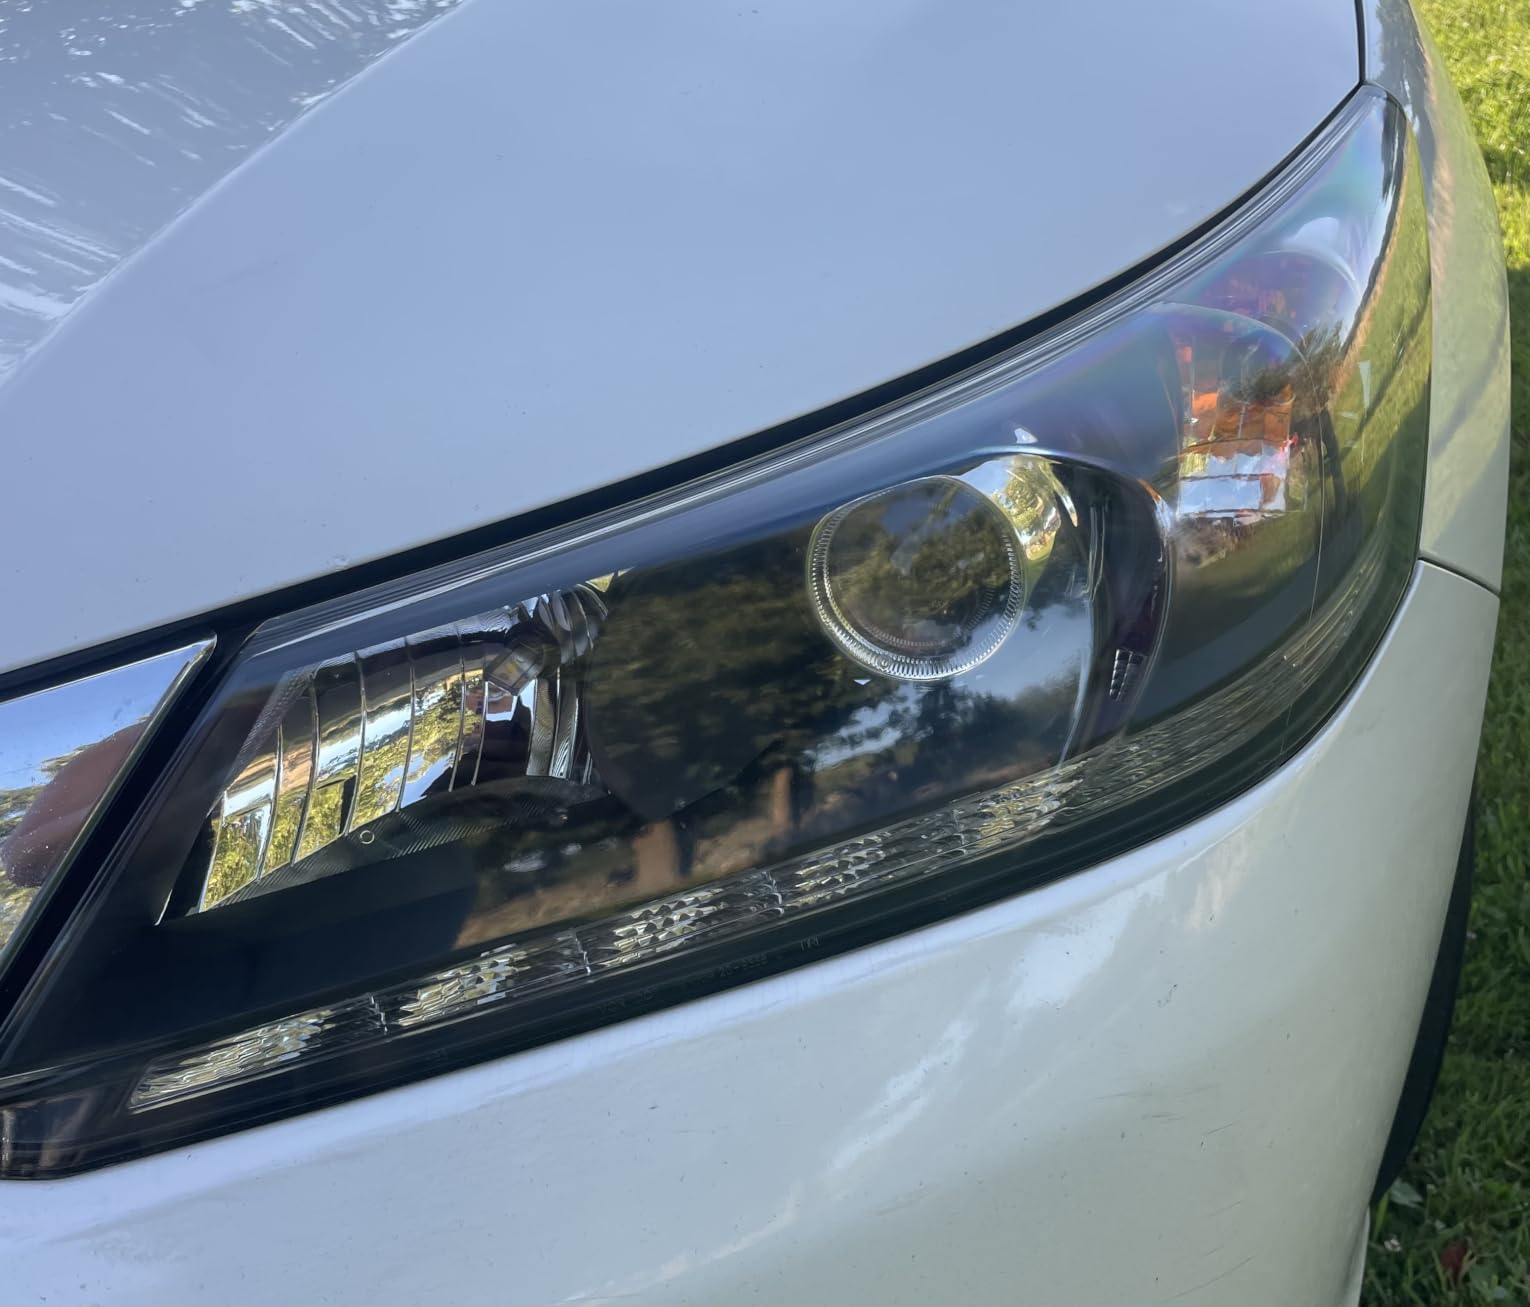
The CERAKOTE Ceramic Headlight Restoration Kit is the best overall headlight restoration kit here because it does the whole job in one box without asking you to own a drill. Eight oxidation-removing wipes, a sanding kit and two ceramic coating wipes cover every step from dirty lens to sealed result in roughly half an hour.
What makes it stand out is the coating. Rather than sitting on the surface like a wax, the ceramic layer bonds chemically to the plastic, which reviewers describe as self-leveling and defect-free. Across more than 74,000 ratings it holds a 4.6 average, and the most common feedback is that finished lenses look clear and streak-free rather than merely improved.
It also handles more than headlights. The box is listed for brake lights, fog lights, head lights and third brake lights, so one purchase covers a full lighting refresh on a car with lots of plastic lenses up front.
Our process on each lens was simple: clean, sand, coat. The wipes do most of the work, and the sanding step is the only part that asks for patience. On a contoured lens with a lot of chrome trim inside, that stage ran noticeably longer than the 30-minute claim, because you are working around a curve rather than a flat panel.
The trade-off is durability pacing. Reviewers consistently report the result holding for months of real-world exposure, which is good, but it is not a lifetime claim despite what the packaging implies. Plan to reapply the coating wipes periodically, and keep them out of a hot car since single-use wipes can arrive dried out if stored in heat.
What CERAKOTE does that lighter kits cannot
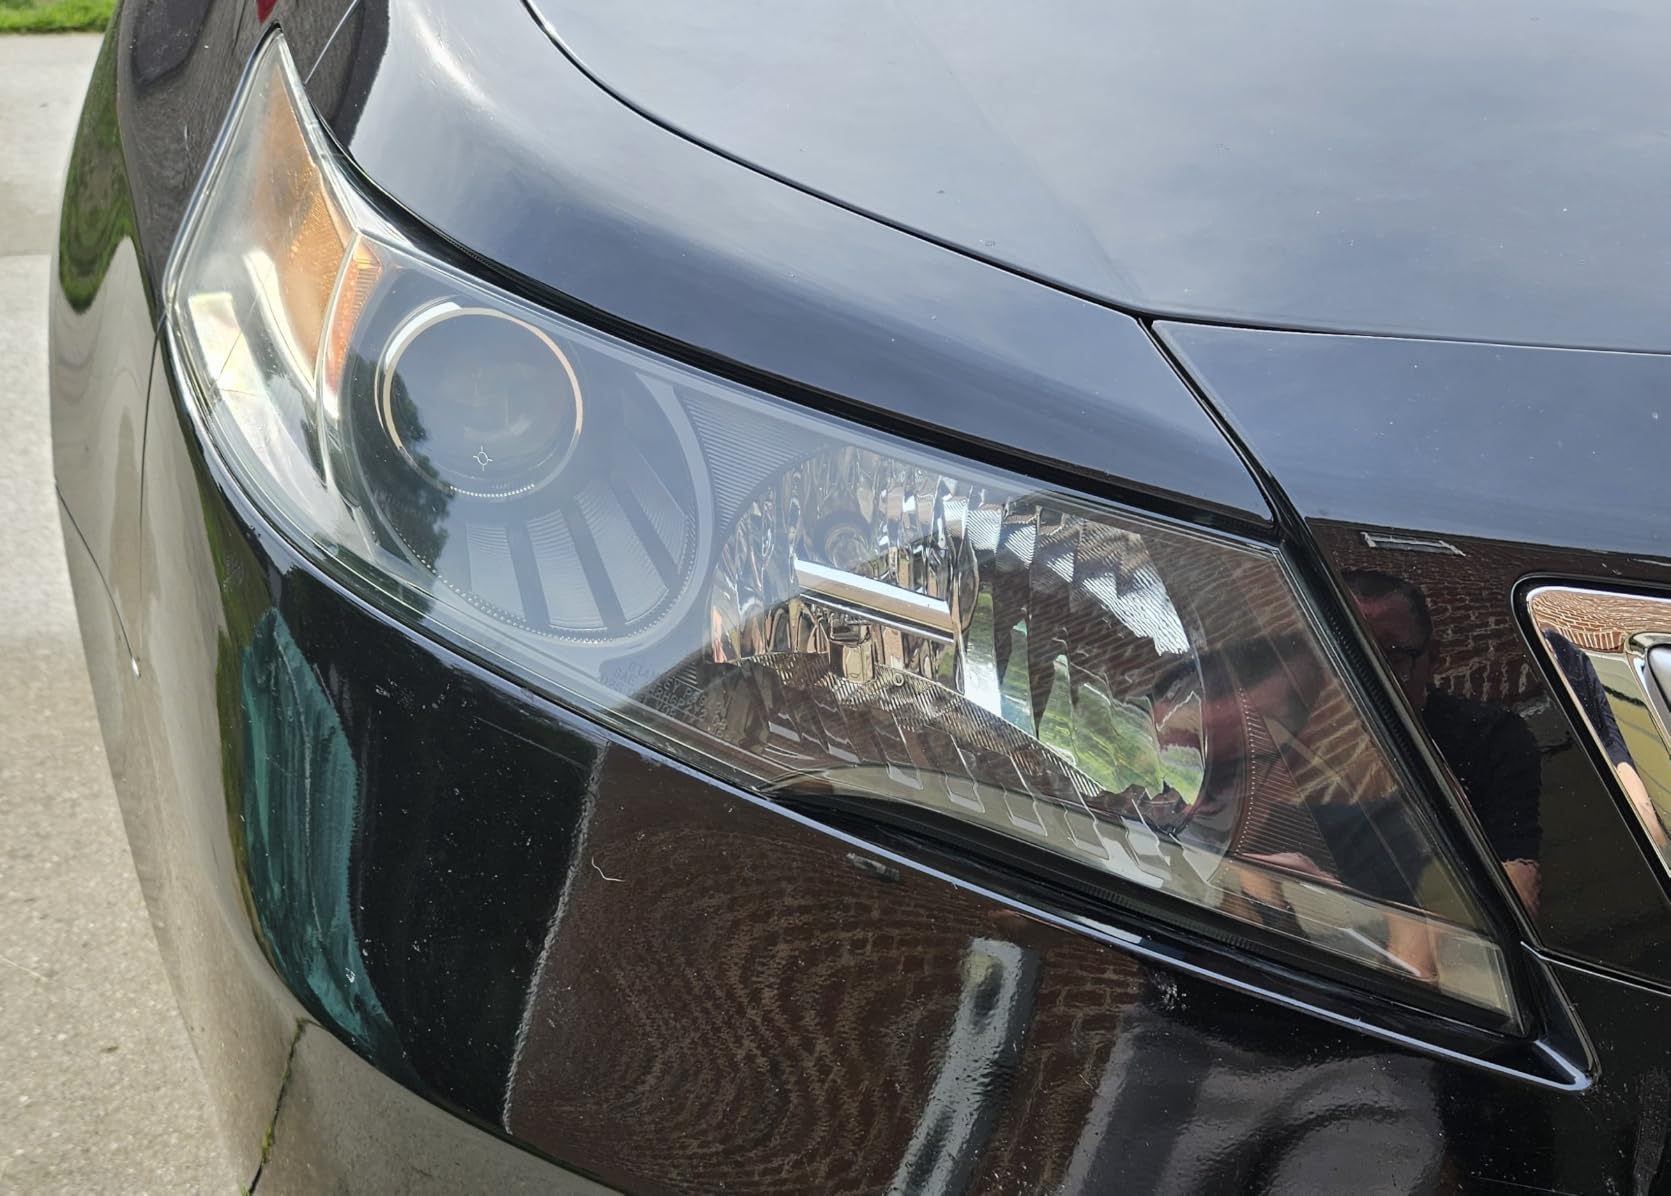
The oxidation wipes handle yellowing that a wipe-only system leaves behind, because the sanding stage between them physically removes the degraded layer instead of dissolving it. On moderate yellowing, that difference is the difference between a clear lens and a slightly cleaner yellow one.
The ceramic coating is the reason this kit lasts longer than the two-step spray systems. Wax sealant needs reapplication on a schedule; a chemical bond resists washing, bug residue and winter salt far longer before it starts to break down.
Where CERAKOTE falls short
A faint residual yellow tint is the most-reported result, and on a lens that has been heavily oxidized for a decade you may notice it against a new assembly. That is the physical limit of removing a surface layer rather than replacing the plastic.
The instructions also contain at least one error about sanding pad colors, which matters more than it sounds if you are matching pads to grit and guess wrong. Read the grit numbers on the pads themselves rather than trusting the color chart.
2. 3M Headlight Lens Restoration System 39008 Review
- Drill sanding removes the harshest yellowing
- All components included in the box
- Produces a genuinely clear finish
- Improves night visibility
- Needs a household drill and careful masking
- About 30 to 40 minutes per headlight
- No UV top coat included so yellowing can return
- Easy to gouge the plastic at high speed
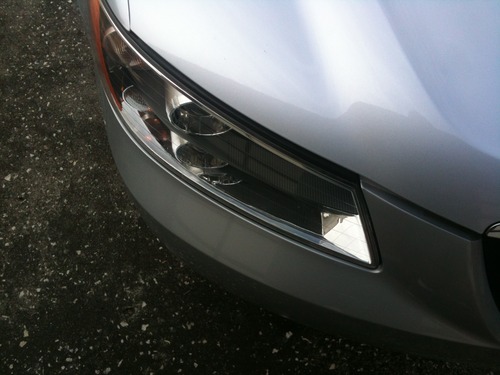
The 3M Headlight Lens Restoration System is the most aggressive kit in this roundup, and that is exactly why it wins on a badly chalked lens. The 500 grit aluminum oxide discs cut through heavy oxidation faster than any hand system here, and the 4.5 average across more than 33,000 ratings reflects how consistently it delivers.
The box is a proper system rather than a bundle of extras: a 3.25 inch disc pad holder, six 500 grit Gold sanding discs, four 800 grit White finishing discs, a Trizact refining disc and a one fluid ounce bottle of rubbing compound. Nothing else needs buying, which is more than we can say for several kits below.
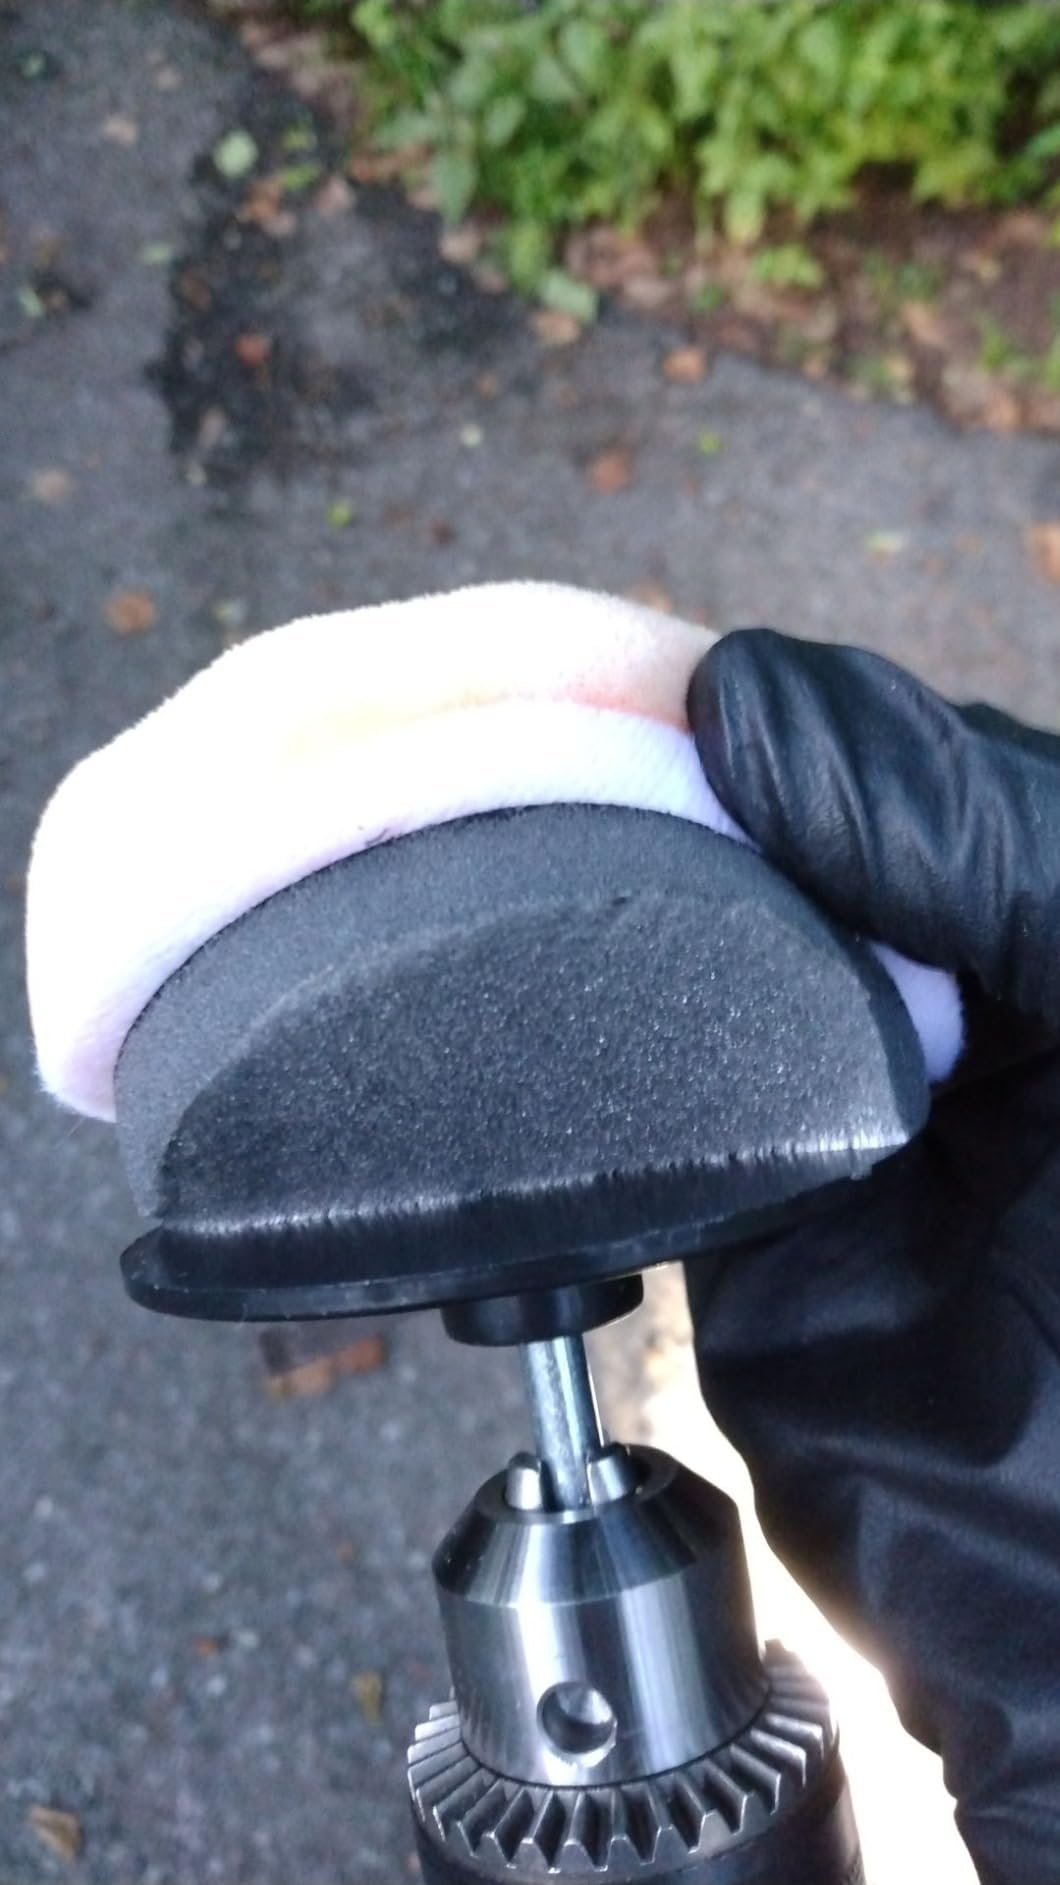
Experienced users converge on the same technique notes: light pressure, slow drill speed, and frequent wiping between passes to clear the plastic dust before it scratches. Push the drill hard on a contoured lens and you can feel the plastic give before the yellowing lifts.
Then there is the omission that matters most. This kit cleans the lens and stops. There is no UV top coat in the box, so a lot of owners apply a separate clear coat afterward, and those who skip that step are the ones who report the yellowing returning within about a year.
Budget 30 to 40 minutes per headlight and treat it as a weekend job rather than an after-work one. Mask before you start, not after, because a sanding disc that touches a painted bumper edge will mark clear coat in seconds.
When this kit earns its extra effort
On a lens that has gone chalky white, no gentle system reaches factory clarity. The 500 grit stage is what removes the thick degraded layer that lighter oxidation wipes can only soften, and skipping straight to polish leaves a permanently cloudy surface.
It is also the value choice for anyone who owns several older plastic-lens vehicles, since the disc supply is generous and the same disc sequence works on taillights and fog lights.
Where this kit falls short
The drill requirement is real. If you do not own one and do not plan to buy one, this is the wrong kit, and the two-step hand systems below will serve you better for moderate haze.
The missing sealant is the bigger issue. A restore-and-protect kit in one box would justify the extra time; a restore-only kit leaves the most important step to you, and that is exactly where early re-hazing comes from.
3. SYLVANIA Headlight Restoration Kit Review
- Completely tool-free process
- UV block clear coat included in the box
- Covers two headlight lenses
- Backed by a major lighting brand
- Surface activator is sticky and abrasive
- Weak on severely chalky oxidation
- Only enough material for a pair of lenses
The SYLVANIA Headlight Restoration Kit is the best value headlight restoration kit for most people because it does the one thing cheap kits leave out: it includes a UV block clear coat. Four components, no tools, and enough material to cover both headlight lenses on one car.
It has been available since 2010 and carries a 4.6 average across more than 25,000 ratings, with 76 percent five-star feedback. That consistency matters for a product most people use once and then keep in a drawer for the next vehicle.
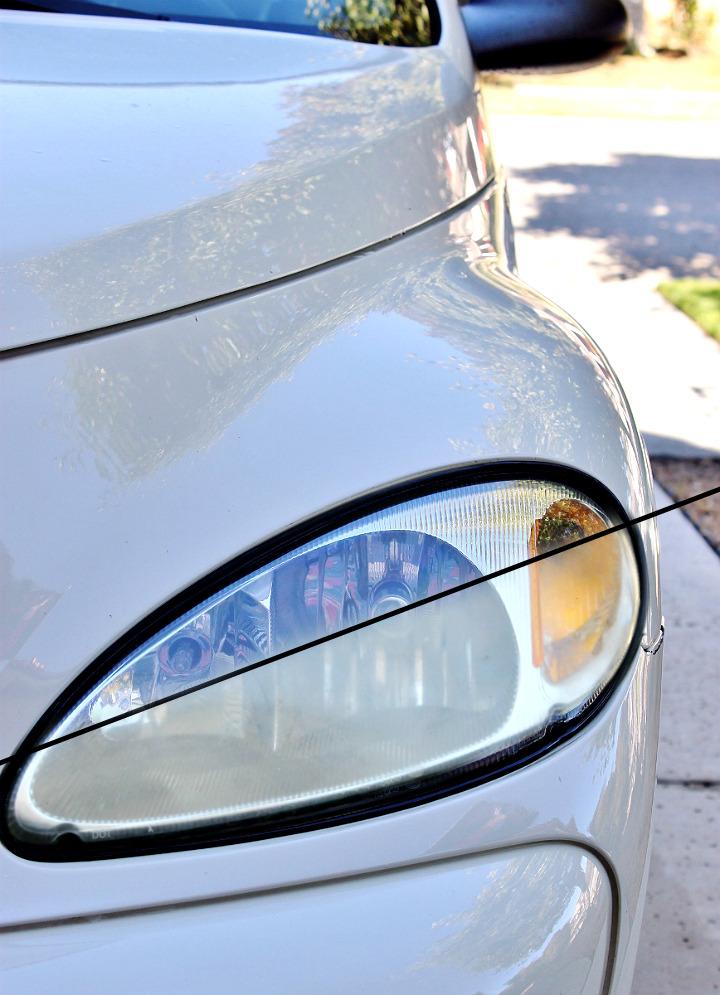
The system is a surface activator to soften the oxidized layer, premium sandpaper to take it off, a clarifying compound to polish out the scratches, and the clear coat to seal the result. There is no drill step and no rotary tool to learn, which makes it the least intimidating kit on this list.
Where it performs is on lenses with early to moderate haze, and users report big improvements on a car that has been outside for a few years without being chalked white. An r/cars owner put it on two mid-2000s Honda Civics and described the lenses as looking brand new.
Wear gloves for the activator stage. r/AutoDetailing users flag it as sticky and abrasive enough to burn bare skin, and that is not a small complaint when you are working on both headlights with bare hands.
Why the included clear coat matters more than it sounds
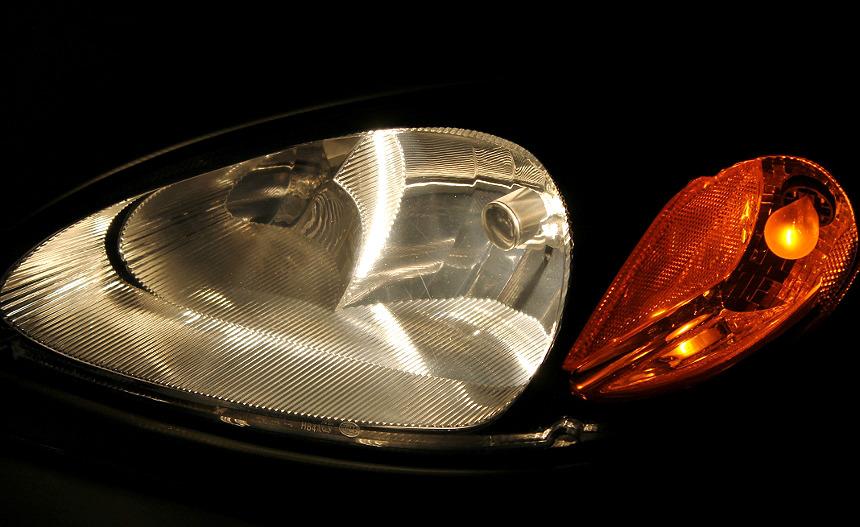
Skipping the protectant step is the number one reason restored headlights re-haze early. The SYLVANIA kit solves it in the box, so you finish the job sealed rather than leaving a bare, freshly abraded lens to take the full UV load again.
For anyone restoring one car and never thinking about it again, that sealed finish is the whole reason this kit is worth choosing over a cheaper abrasive-only option.
Where SYLVANIA falls short
It is not a heavy-duty sand. On a chalky white lens, the sandpaper stage runs out of grit before the oxidation does, and r/AutoDetailing regulars advise buying sandpaper and polish separately if the lenses are seriously oxidized.
One kit covers two lenses, not two cars. If you are working through a fleet or a second vehicle in the same weekend, you will need a second box.
4. 3M Ultra Headlight Restoration Kit 39195 Review
- Most complete 3M package with tape and clear coat
- Usable with or without a household drill
- Removes yellowing without damaging the lens
- Works on headlights taillights and fog lights
- Much slower working by hand than with a drill
- Included tape is thin on large contoured lenses
The 3M Ultra Headlight Restoration Kit is the most complete package in this roundup, because it ships with the two things most competitors leave out: masking tape and a protective clear coat. Add the 3000 grit Trizact refining disc and this is a genuine restore-and-protect box rather than an abrasive bundle.
It ranks second in the Automotive Headlight Restoration Kits category with a 4.6 average across more than 16,000 ratings and 78 percent five-star feedback, and that consistency is the story. Reviewers describe the abrasive technology removing yellowing without damaging the lens surface.
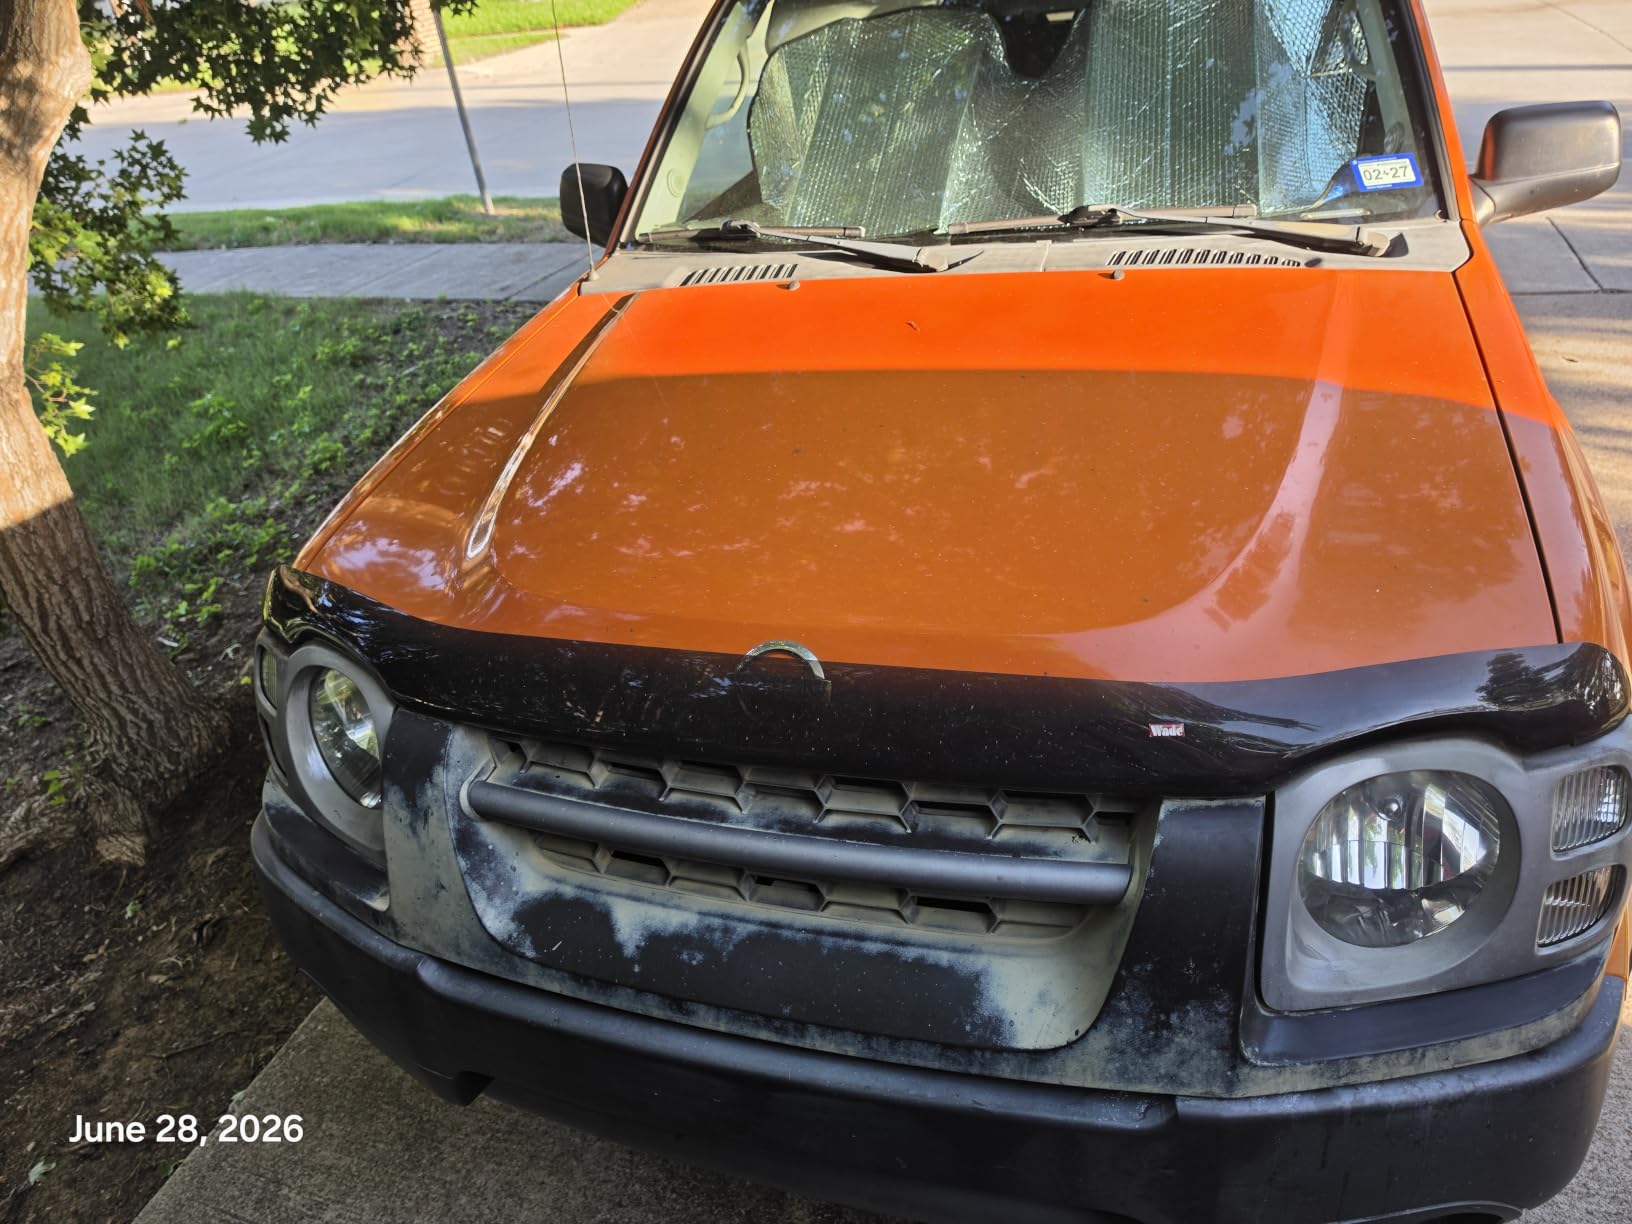
The flexibility is useful. It works with a common household drill, and because the discs are hook-and-loop you can also run them by hand on a small lens, just slower. The refining disc at 3000 grit is what takes the fine scratches out before the clear coat goes on.
Scope covers more than headlights: the same sequence works on taillights, fog lights and directional lights, which on an older sedan is often three additional lenses that have yellowed at the same rate.
Plan the coating for a dry day and give it time to cure before washing the car. Two quick clear coats means the finish has to go on properly even, and rushing that step is where streaks come from.
Why this beats the base 3M system
The base 3M system removes oxidation well and then stops, leaving you to find protection separately. This one closes the loop with a clear coat in the same box, which is the single biggest reason a lens stays clear past its first winter.
The 3000 grit refining disc is the second reason. Many owners end up with a clean but slightly hazed lens because they never had a fine enough refining stage, and this kit includes it.
Where this kit falls short
The drill is what makes it fast. Working those same discs by hand on a large contoured headlight turns a short job into a long evening, so treat hand use as a fallback for a small lens rather than a plan.
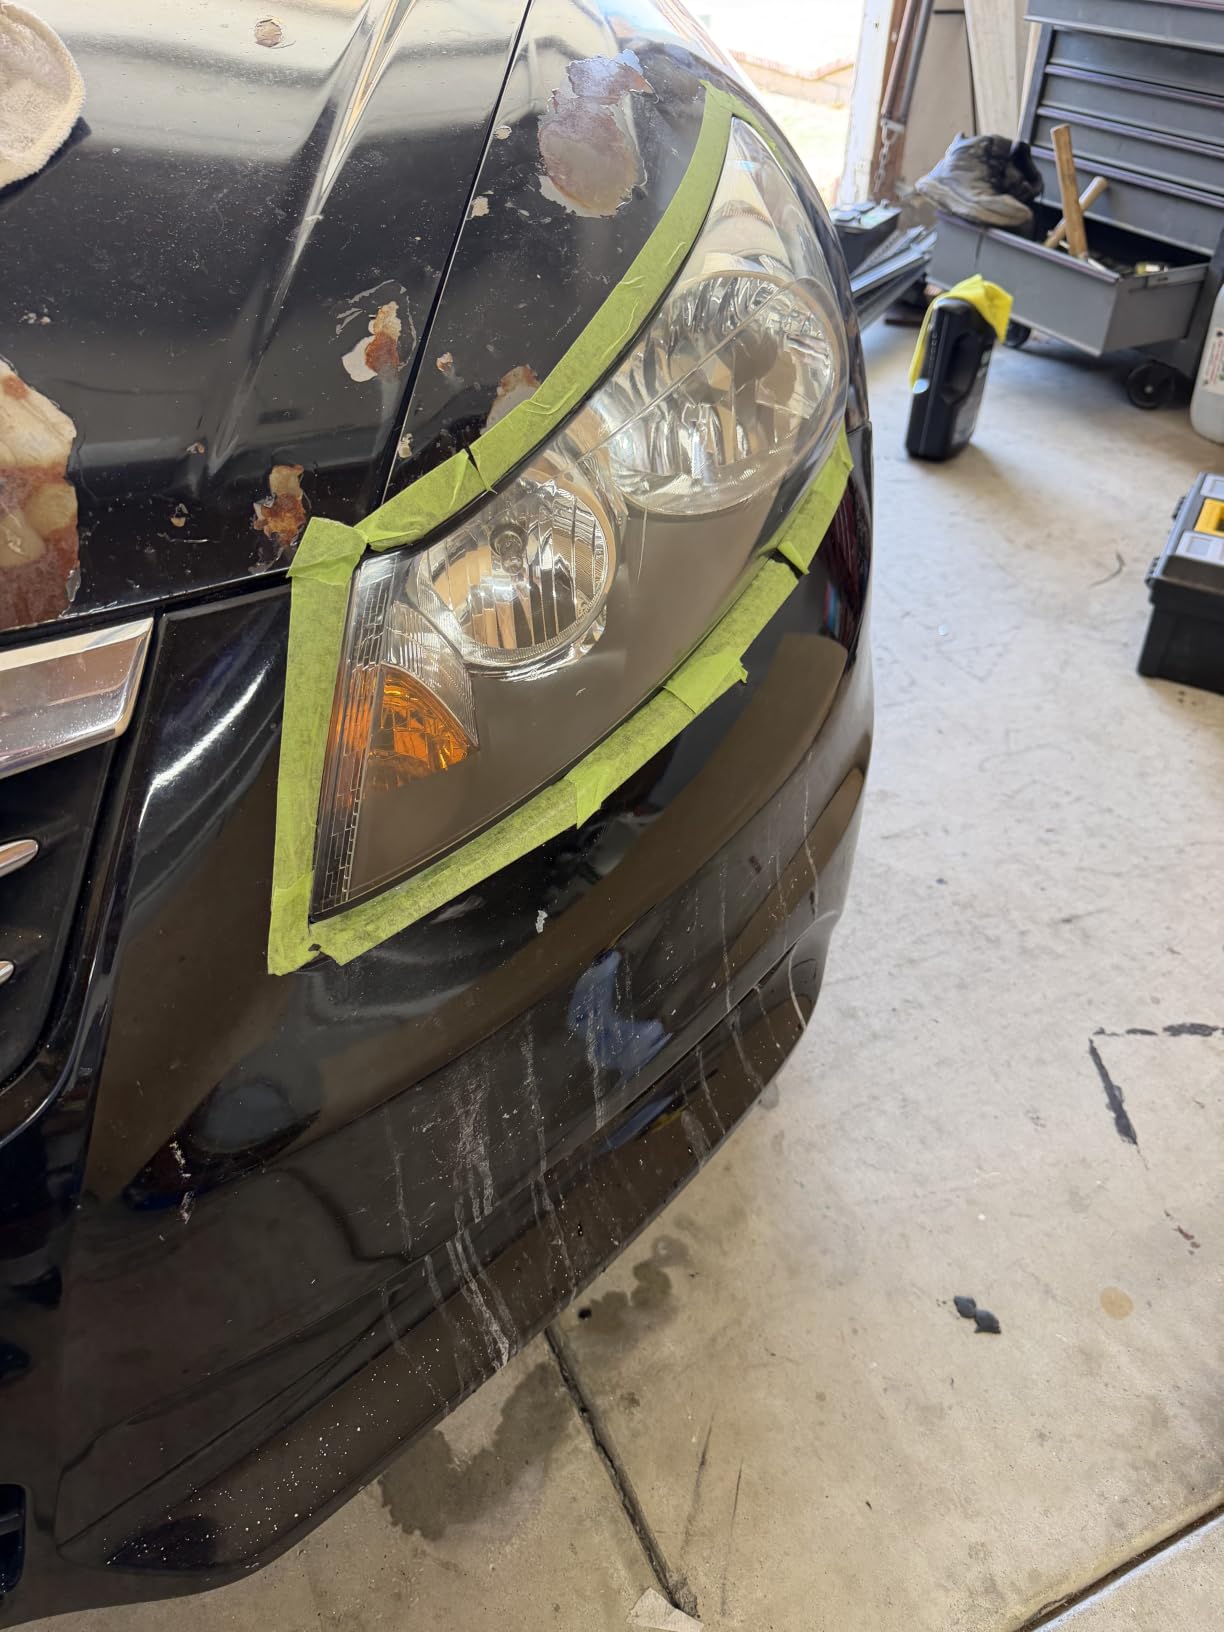
The included tape is enough for a straightforward lens, but on a complex front end with chrome bezels and a grille you will want your own low-tack tape to seal every edge before a disc comes near it.
5. Meguiar’s Two Step Headlight Restoration Kit Review
- No drill or power tools required
- Coating fills sanding scratches and leaves a glossy lens
- Covers two vehicles
- Under an hour total
- Abrasive step removes the factory UV layer
- Technique-sensitive spraying can leave a filmy haze
- Can overspray onto paint if not masked
- Weak on deeply pitted lenses
The Meguiar’s Two Step Headlight Restoration Kit is the most beginner-friendly option here, because the whole job is pads, a spray and a hand wipe with no power tools at all. For light to moderate yellowing it produces a clear, glossy lens in under an hour including drying time between coats.
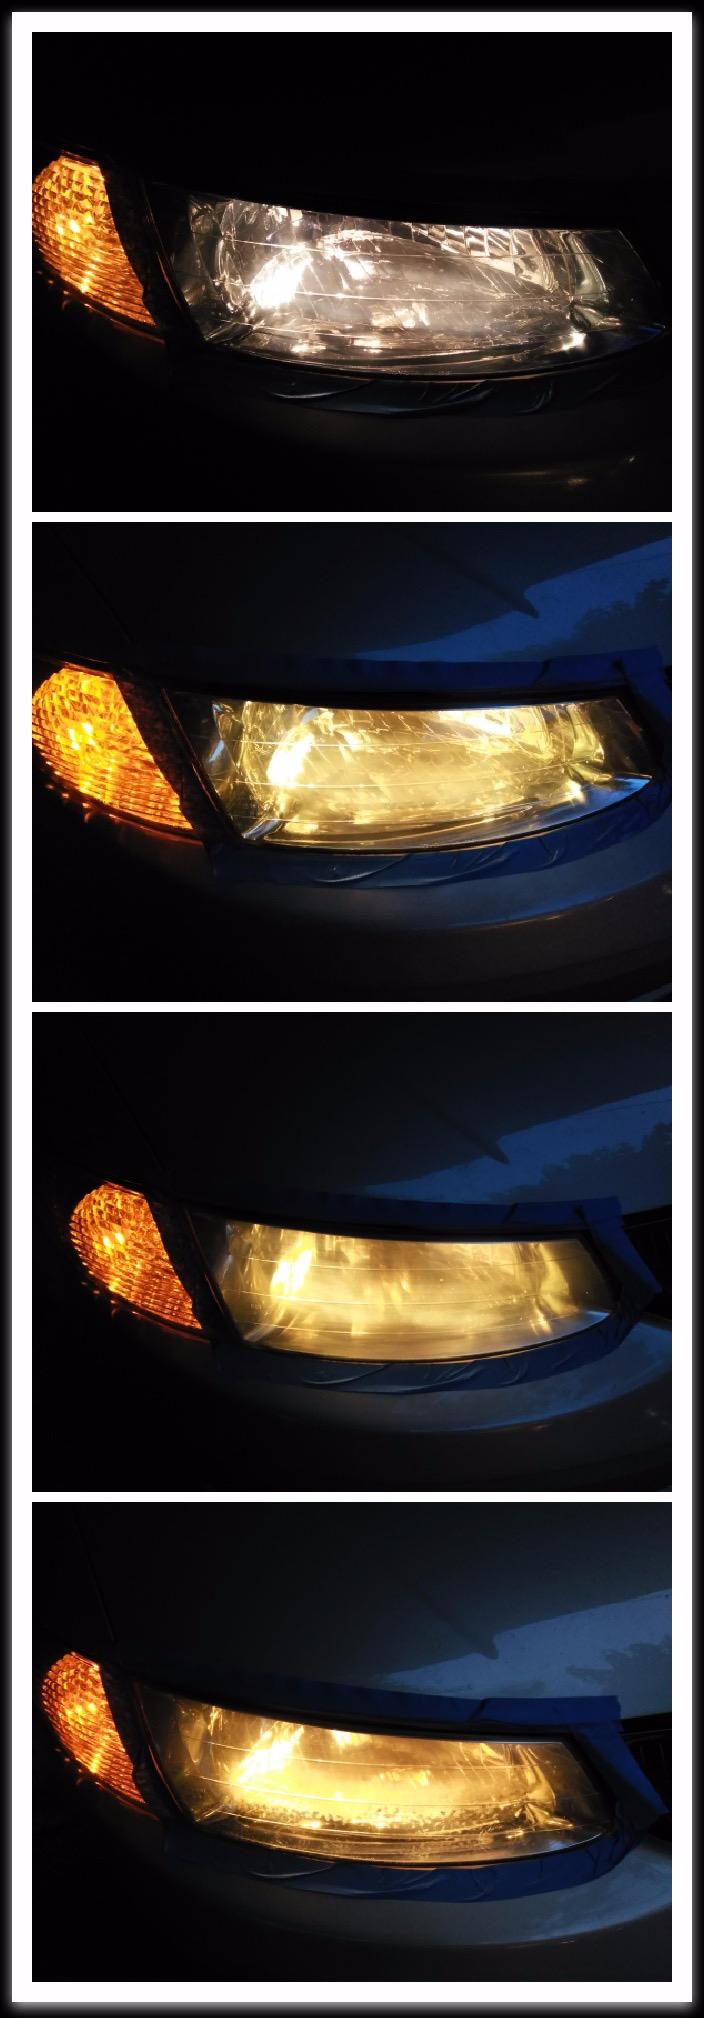
The coating is the reason it earns its place over a cheaper wipe system. Rather than sitting on the surface, it fills the fine scratches left by the abrasive step, which is why reviewers describe the finished lens as clear and glossy instead of merely less cloudy.
The critical fact about this kit is in its own instructions. The abrasive step strips the factory UV protection layer off the lens, so once you use it the lens depends entirely on the coating you applied. Meguiar’s claims up to 12 months of re-oxidation protection, which lines up with what reviewers report before a reapplication.
That annual cadence is not a flaw if you plan for it. It is a flaw if you treat it as a one-time job, because a lens sanded clean and never resealed will re-haze faster than one you never touched at all.
Technique is everything with the spray step. Too much product or too little leaves a filmy haze, and wind affects how it lays down. Work in shade, spray in short passes, and keep the can moving.
Who this kit suits best
A beginner with two lightly yellowed lenses and no tools will get the most out of it. The process is short, forgiving and produces a clear result on the kind of haze you get after a couple of years of UV exposure.
Owners of two vehicles get more from the box too, since the supplies are sized to cover two cars rather than one pair of lenses.
Where it falls short
Deep pitting is the ceiling. This kit has no real sanding stage, so lenses with pits from stone chips or heavy erosion will stay pitted no matter how many passes you make.
Mask properly before spraying. Overspray onto adjacent paint is a reported problem, and on dark-colored cars a light film of overspray around the lens edge is visible immediately.
6. Mothers NuLens Headlight Renewal Kit Review
- Removes yellowing stains and haze from plastic lenses
- Polishes and protects in one pass
- Good results on heavy oxidation with a drill
- Poorly written hard to follow instructions
- Sanding disc binder can melt and leave brown residue
- Not enough 1500 and 3000 grit discs for two lenses
- No protective lens coating included
The Mothers NuLens Headlight Renewal Kit is the one to consider when you want polish and protection in a single pass rather than a separate sealant step. The PowerPlastic 4Lights polish does the correction, and the same product leaves a durable protective layer behind it.
That single-step approach is genuinely faster than a sand-polish-seal sequence, and reviewers using it with a drill report dramatic before and after results on heavily oxidized headlights. The polish also buffs out light scratches, smudges and surface imperfections in the same pass.
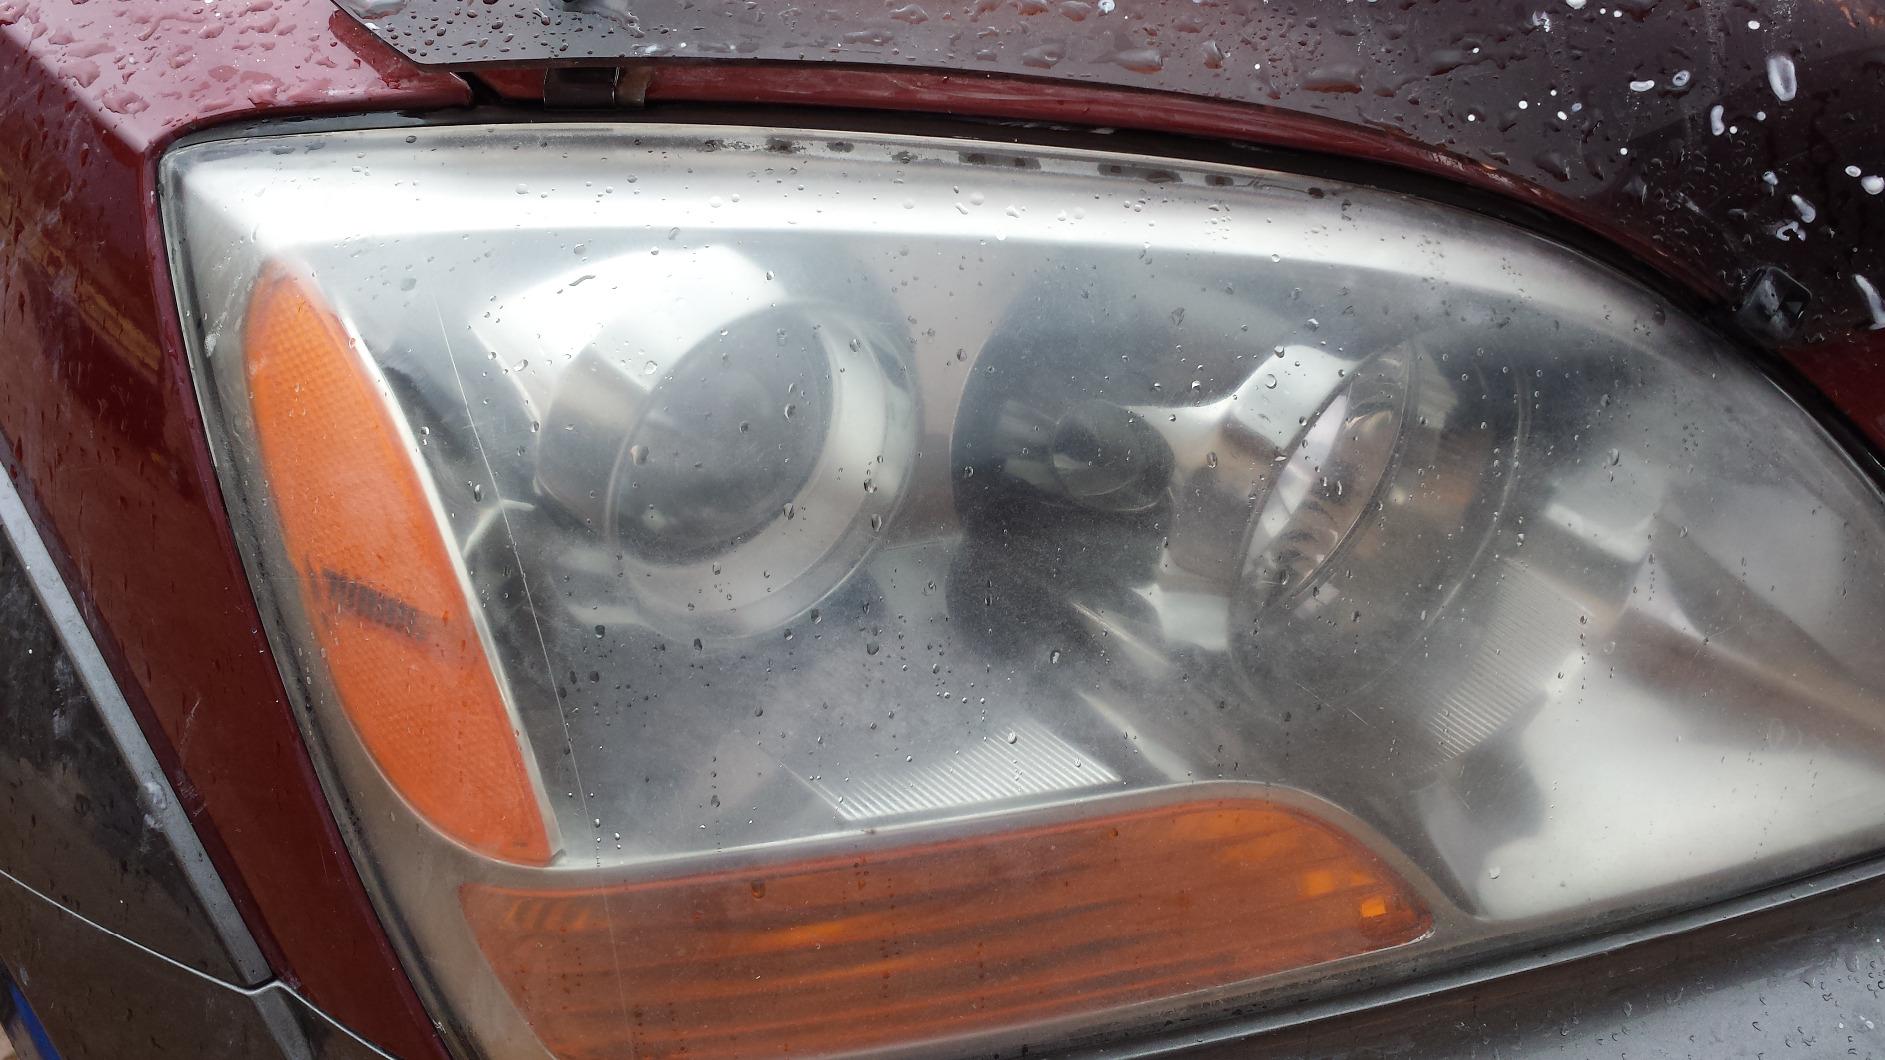
This kit sits at the lower end of the field at 4.2 with 62 percent five-star feedback, and the complaints cluster around documentation rather than performance. The instructions are hard to follow, and the sanding disc binder can melt under rotary tool heat and leave stubborn brown residue on the lens that has to be polished off again.
The supply is also thin. Several owners report running out of 1500 and 3000 grit discs before finishing two lenses, and some get better results hand-sanding with generic wet and dry paper than with the included discs.
Control on the rotary tool takes practice, and the protective polymers slow re-oxidation rather than blocking it. Plan a follow-up coating if you want the lens to stay clear past the first season.
When one-step polish makes sense
If your lenses are hazy and scratched but not chalky, one product that corrects and protects is more efficient than a full three-stage system. The whole point of the NuLens kit is removing steps, and for moderate oxidation it does that well.
It is also the option to try before committing to aggressive sanding, since it can improve a lens enough that a heavier system becomes unnecessary.
Where Mothers falls short
The documentation is the real problem. Poorly written instructions on a multi-step rotary process lead directly to the residue complaints and the uneven results that pull its rating down.
No separate protective lens coating is included, so the polymers in the polish carry the longevity load alone. For a car parked outside year-round, add a UV sealant after this step.
7. Clear Lights Tech Headlight Restoration Kit Review
- Simplest possible process with no sanding or drill
- Compact and light for storage or travel
- Protective coating slows future yellowing
- Good for light haze and daily grime
- Only suitable for light to moderate haze
- Will not remove deep oxidation pitting or scratches
- Highest one star rate of the kits we ranked
The Clear Lights Tech Headlight Restoration Kit is the fastest way to freshen up lenses that are only lightly hazed, and it is the only product here that takes about five minutes with no sanding, no compounds and no drill. Two cleaning wipes and one protective wipe do the whole job.
Think of it as maintenance rather than restoration. It is built for lenses that are already reasonably clear and have picked up grime and light haze from daily driving, which makes it a good annual touch-up between full restorations.
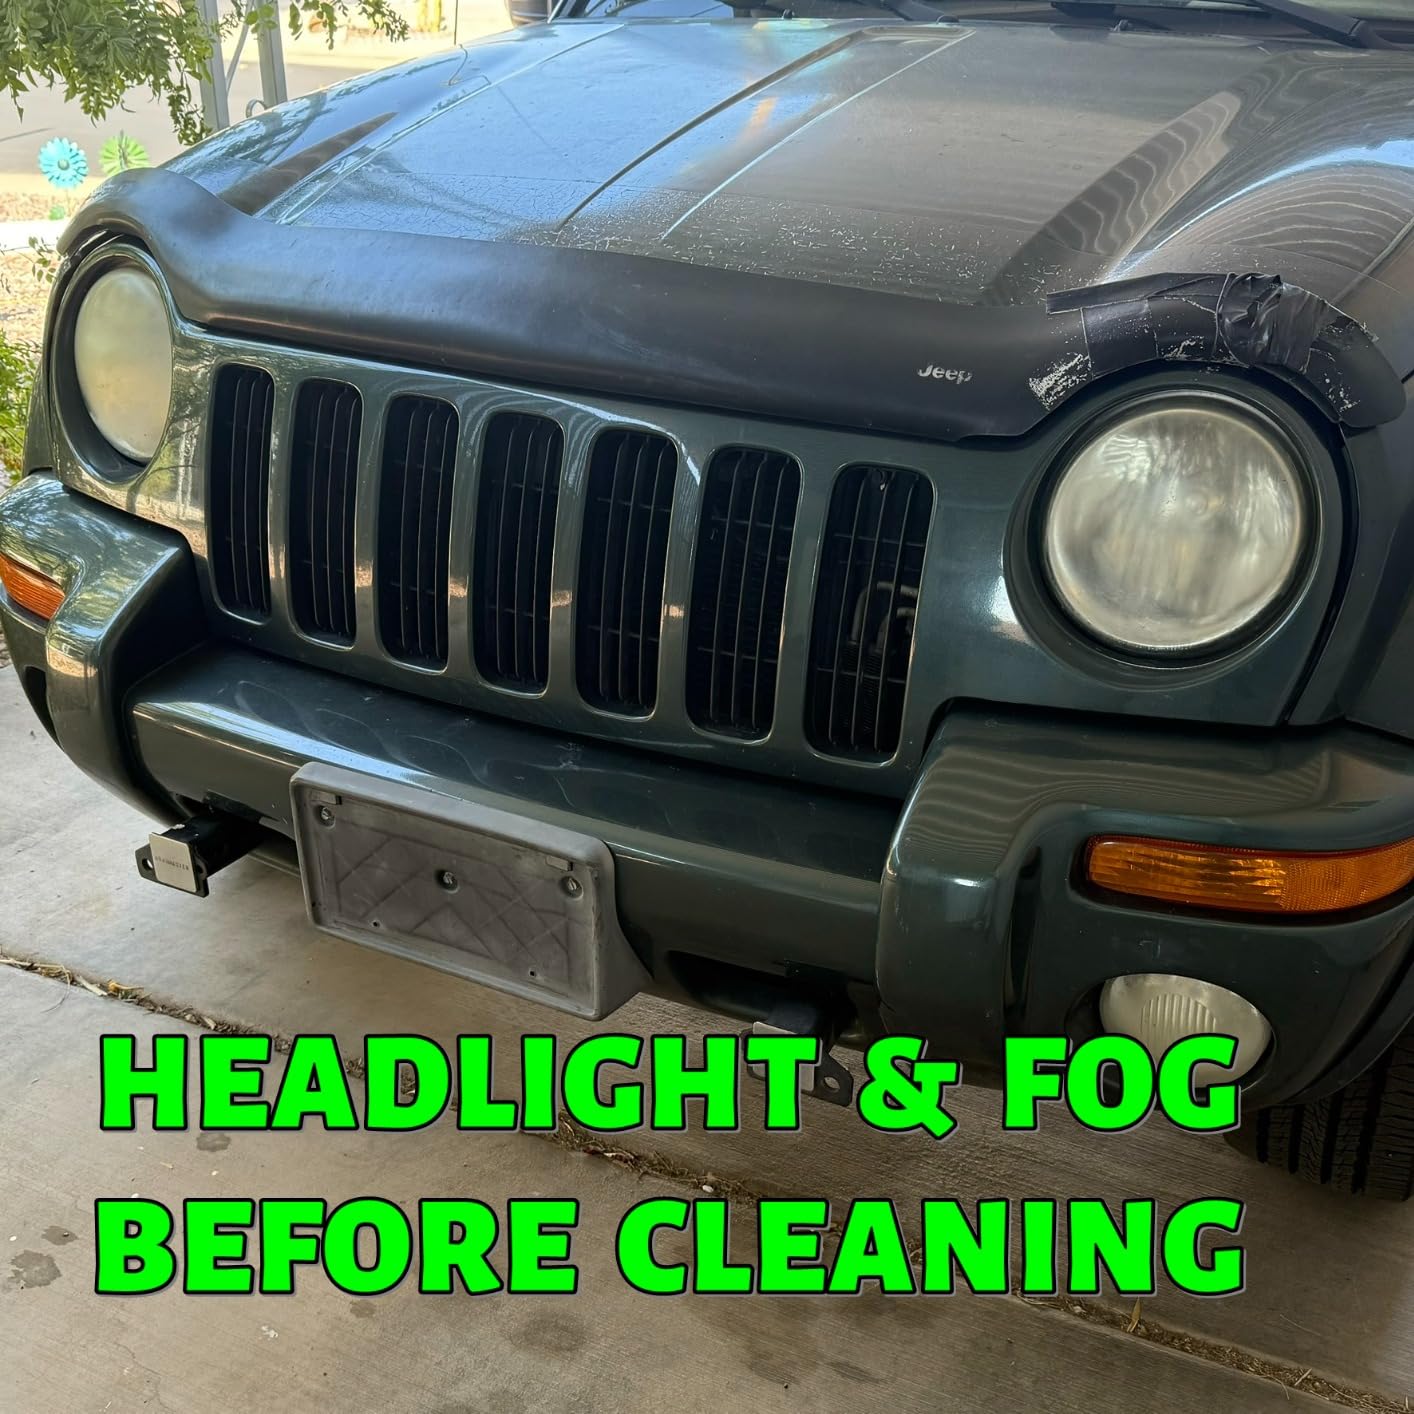
The limitation is straightforward and worth stating plainly: it lacks the power to correct significant yellowing. Reviewers are consistent that it will not remove deep oxidation, pitting or scratches, and results on severely yellowed headlights fall well short of any sand-based system.
It also sits lowest in this roundup at a 4.0 average with a 57 percent five-star share and a 10 percent one-star rate, the highest one-star share among the kits we ranked. That pattern usually reflects a purchase mismatch: people buying a wipe system for a lens that needed sanding.
The packaging is small and light, so it stores easily and travels well if you want to treat a car you do not own.
Who should actually buy this
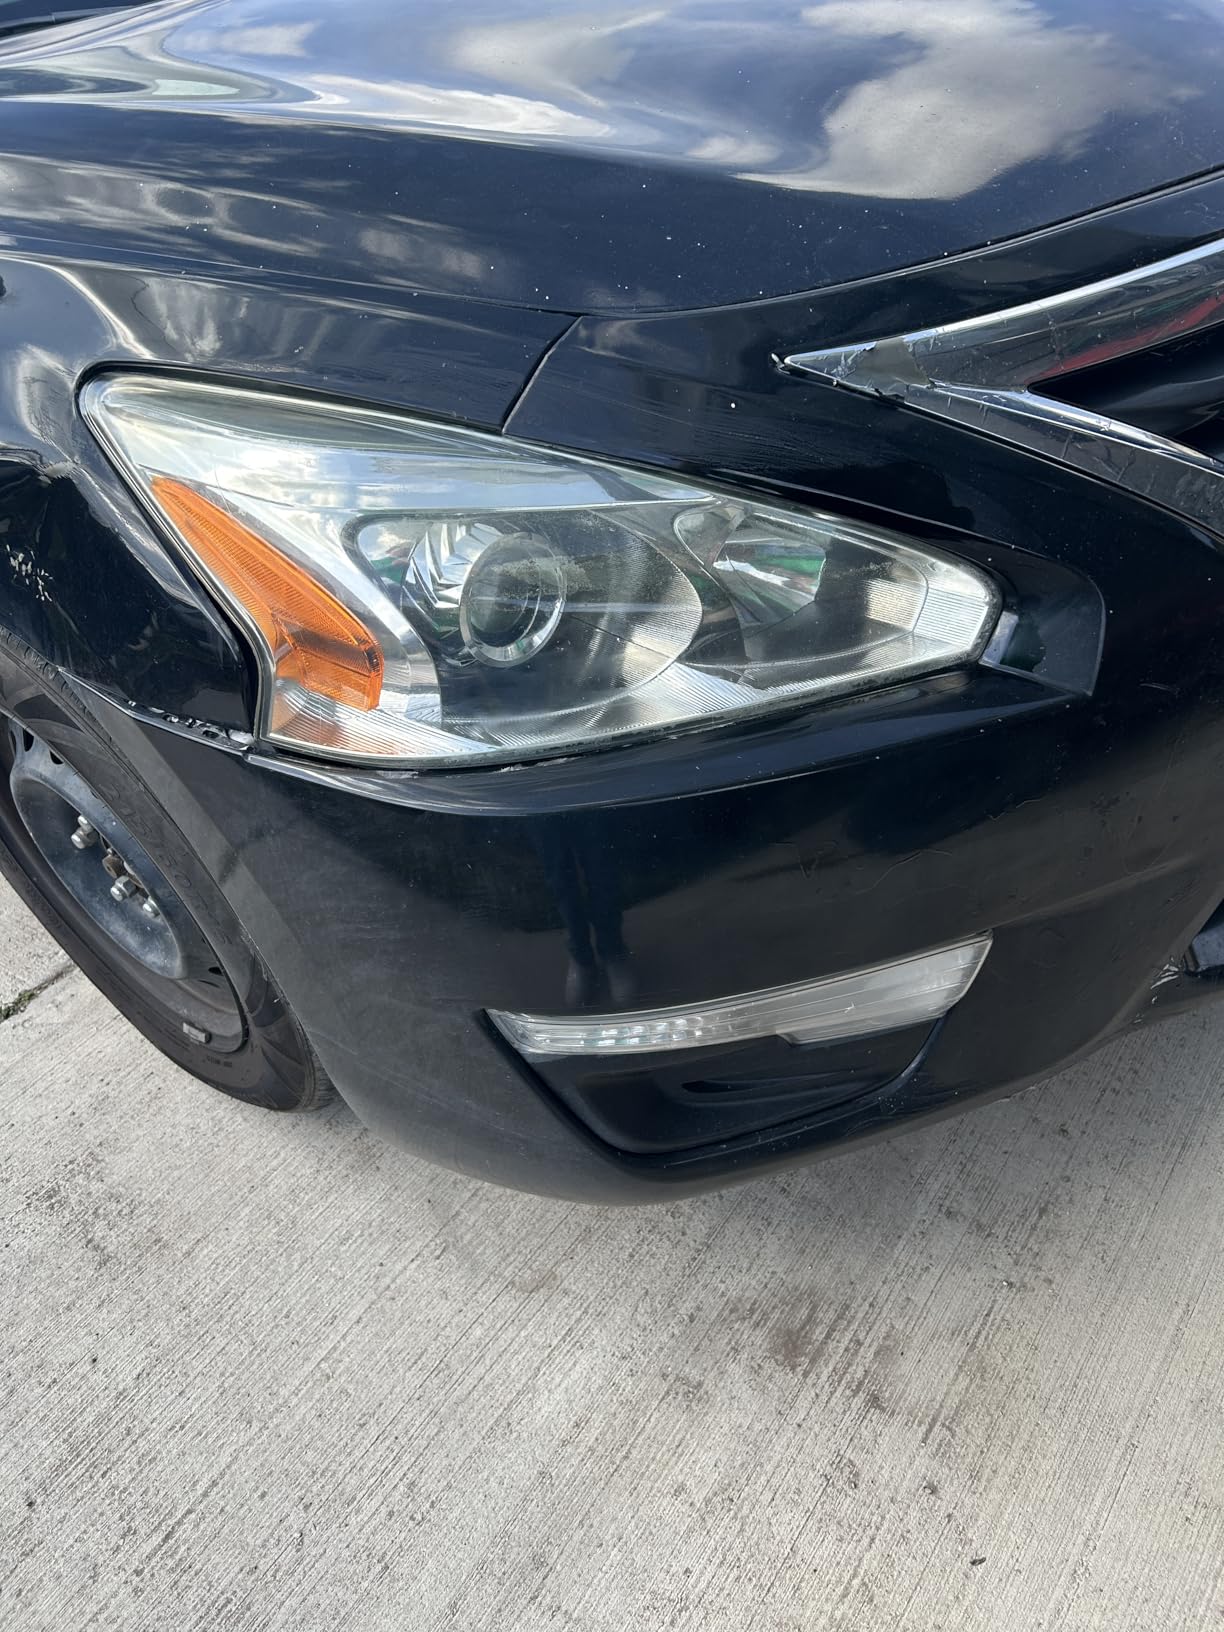
If your lenses are mildly cloudy rather than yellow, this is a satisfying ten-minute fix with zero risk to paint. There is no abrasive step, so there is no masking, no plastic dust and no overspray.
It also works as a top-up coat after a full restoration, restoring clarity to a lens that has started to haze again before you commit to sanding it a second time.
Where this kit falls short
It will not change the appearance of a lens that has real oxidation. Buyers who expected a sand-and-seal result from three wipes are the source of most of the one-star ratings.
The protective coating slows yellowing rather than stopping it, so on a car that lives in intense sun you will be repeating this more often than you would with a ceramic system.
8. Turtle Wax Headlight Restoration Kit Review
- Complete kit with pad lubricant compound and wipes
- Full job in under 30 minutes
- Sealing wipe locks in clarity against UV
- Suitable for taillights and fog lights
- Results are modest next to drill systems
- Inconsistent effectiveness on established yellowing
- Small consumable quantities may not cover two lenses
The Turtle Wax Headlight Restoration Kit is the budget pick, and the reason is the balance inside the box. You get a precision sanding pad with lubricant, a clarifying compound and sealant wipes, which is a complete system rather than a single abrasive product.
The promise is speed: a full job in under 30 minutes with no drill. On light haze that promise holds, and the sealing wipe is what protects the result from re-yellowing once you have finished.
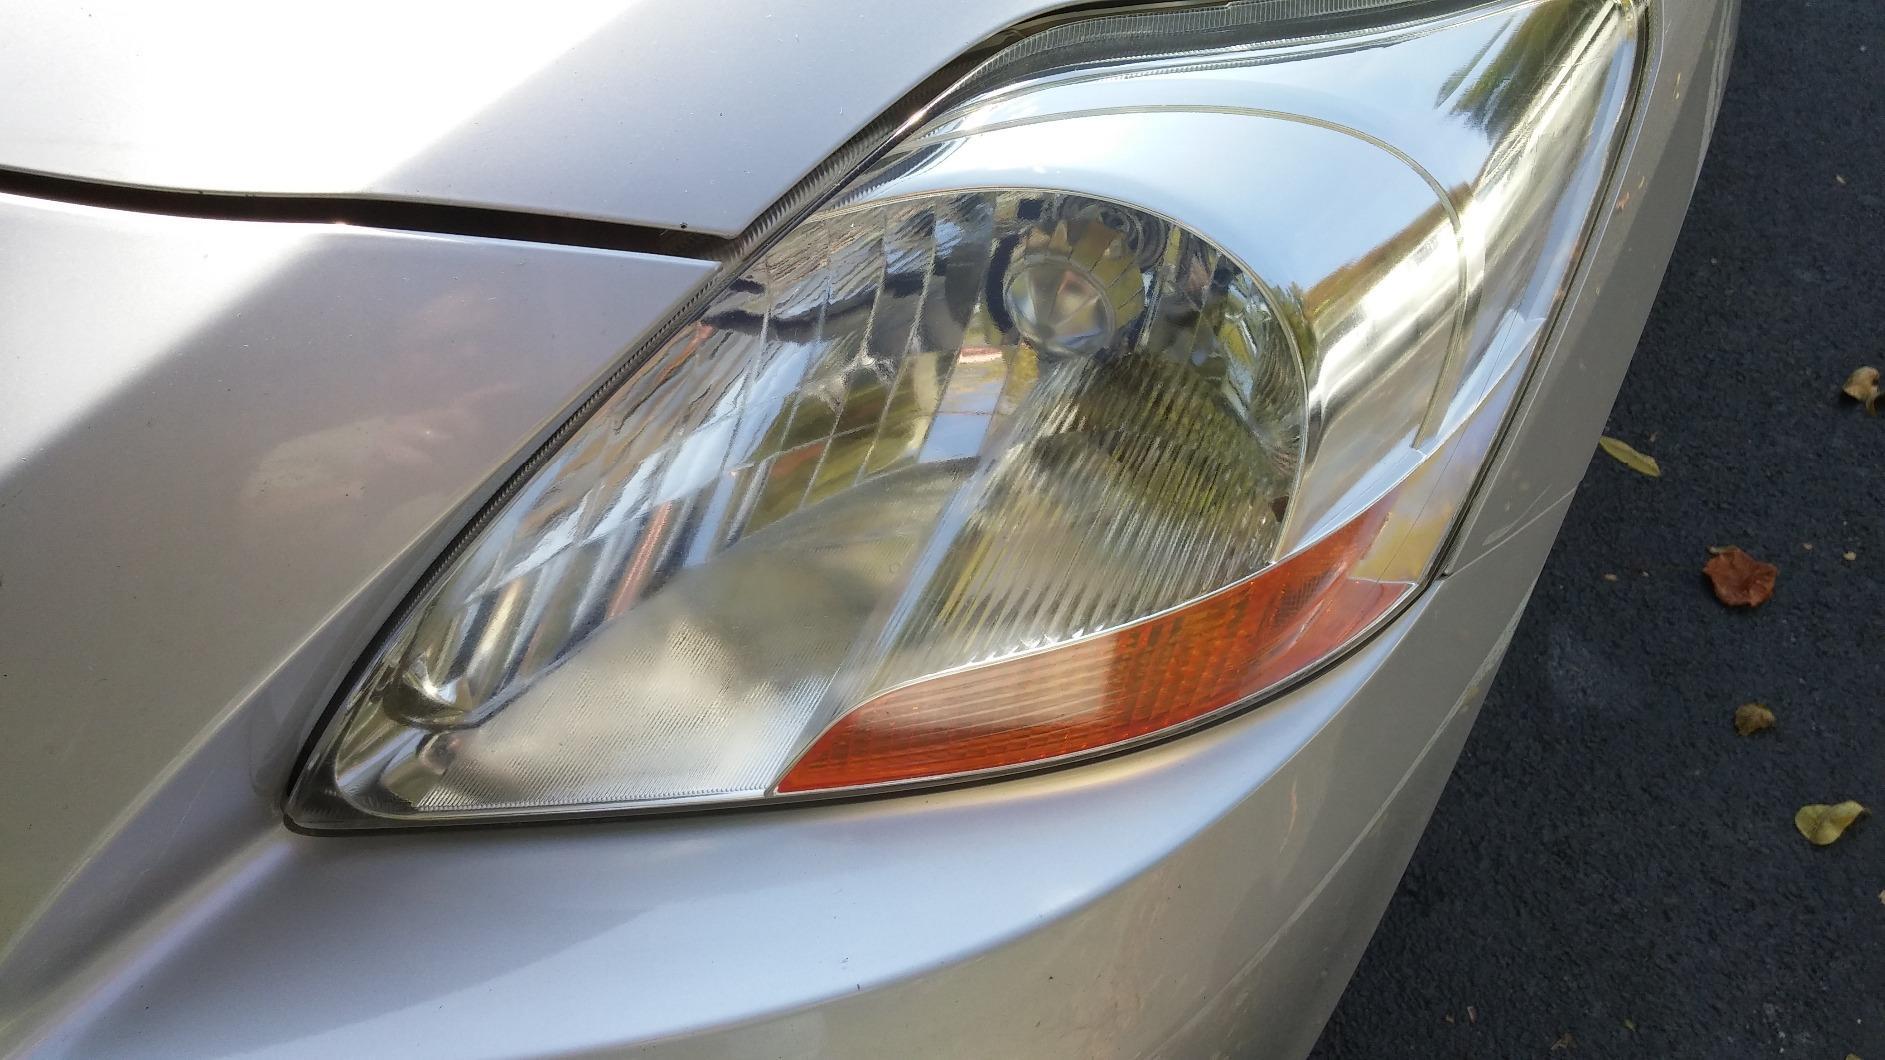
Feedback is mixed, and the split is about lens condition rather than product quality. Buyers like the completeness and the speed, while a meaningful share report only partial improvement on lenses with established yellowing. At 13 percent three-star and 7 percent one-star, the inconsistency is noticeable.
Its position on review volume says more about how often people reach for a quick fix first and then buy a stronger kit for the second headlight than it does about quality.
Road and Track testing noted Reddit users who use only the Turtle Wax Repair and Renew liquid and skip the restoration pad entirely, which on a lightly hazed lens is genuinely all the correction needed.
When this kit is the right call
Light haze, a mild amber cast, and a weekend where you want results without renting a rotary tool. The pad-and-compound system corrects more than a wipe alone, and the sealant keeps it clear for a season.
It is also a sensible second choice for taillights and fog lights, which usually need less correction than headlight lenses because they sit lower and catch less direct sun.
Where Turtle Wax falls short
Consumable quantities are small. On two full headlights the sanding pad and compound can run short before the job is done, so plan a second application or restrict the kit to one lens and one taillight.
It is a maintenance product more than a restoration product. On lenses that have been outside for many years, expect an improvement rather than a factory-clear result.
9. VIBRATITE 37PCS Headlight Restoration Kit Review
VIBRATITE 37PCS Headlight Restoration Kit, 3″ Drill Sanding & Polishing Kit
- Very high consumable count for the price
- Covers enough supplies for two full cars
- Wide grit range to P10000
- Drill driven so labor is faster than hand sanding
- Vague translated instructions not included in the package
- Sanding pads are not labeled with grit numbers
- Final UV coating can smear and haze the lens
- Drill not included
The VIBRATITE 37PCS Headlight Restoration Kit is the best value for anyone restoring more than one vehicle, because 37 pieces is a large consumable count and the stated coverage is two full cars. Six sanding discs, four buffing sponge pads, a backing pad, an interface pad, masking film, two polishing compounds and four protective liquid portions fill a box.
The grit progression from P1000 through P2000, P5000 and P10000 is wider than most competing drill kits offer, and finishing at P10000 is what produces genuinely clear plastic rather than an improved-looking haze.
Documentation is the weak point. Written instructions are vague, poorly translated and reportedly not included in the package, and the sanding pads carry no grit numbers, so you are identifying grits by color alone unless you sort them before you start.
The final UV protective coating is optional and inconsistent. Reviewers report it can smear and haze a lens that was otherwise clear, so treat it as a separate decision rather than an automatic final step.
Plan several minutes per grit per headlight. Skipping a stage to save time is exactly how lenses end up sanded but still cloudy, and the whole value of this kit depends on working the full sequence.
Why the consumable count matters
Most drill kits supply a handful of discs, which covers one set of lenses if you are careful. At this quantity you can work at a sensible pace, replace a contaminated pad mid-job and still have enough for a second vehicle.
It also works beyond headlights, covering taillights, fog and directional lights across two cars, which is where the cost-per-lens figure works out best.
Where this kit falls short
No drill is included, and this kit makes no sense without one. The 1/4 inch shank backing pad fits a common household drill, but if you do not own one this becomes a more expensive purchase than it looks.
With instructions missing from the box, budget time to watch one restoration video before starting. Without a clear grit order you can end up with a uniformly scratched lens that looks worse than where you began.
10. Pmbqifay Vapor Coating Headlight Restoration Kit Review
Pmbqifay Headlight Restoration Kit, Car Headlight Polish Repair Renovation Kit with 200ML Repair Liquid for Repair Headlight Yellowing, Haze, Oxidation, Scrashes
- Vapor coating gives a very clear uniform finish
- Repair fluid covers roughly 16 to 20 headlights
- Complete all-in-one set
- Also works on tail lights windows and helmets
- Atomizing cup often fails to reach a working temperature
- Poor lid seal can leak fluid onto paint and clothing
- Needs multi stage sanding before coating will bond
- Included 1200 grit sandpaper alone is not sufficient
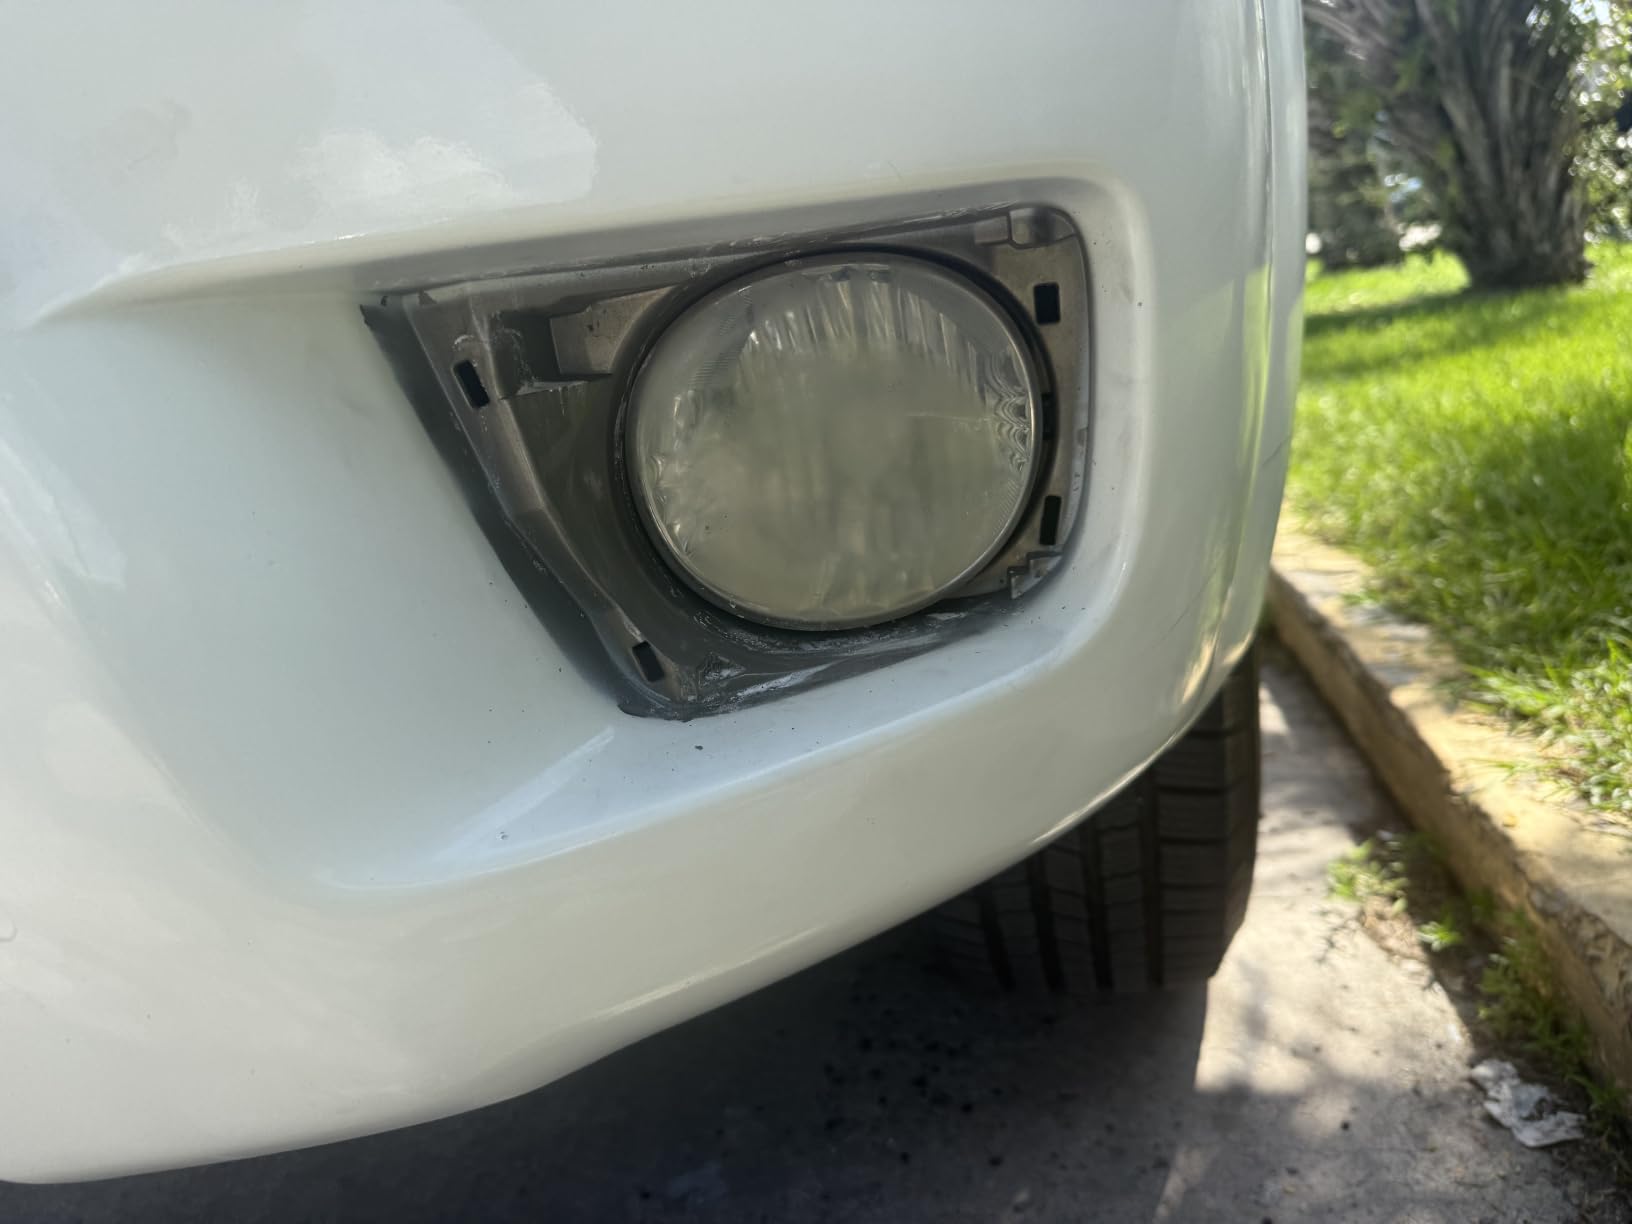
The Pmbqifay kit is the odd one out in this roundup because it does not polish the lens so much as lay down a new layer. A heated atomizing cup turns the 200 ml repair fluid into vapor that forms a fresh UV coating across the lens, and when it works the finish is strikingly clear and uniform.
The fluid quantity is the quiet advantage. One bottle covers roughly 16 to 20 headlights, which is more coverage than any other kit here, and the same process applies to tail lights, windows and helmets.
Two failure points recur in reviews. The atomizing cup does not always reach a working temperature, and when it does not, the coating never forms properly. The second is sanding: users who stop at the included 1200 grit end up with sanded but opaque lenses because the coating cannot bond to an unsanded surface.
Handle the cup with care. Reviewers report a poor lid seal letting blue fluid leak onto paint and clothing, which is a staining risk you cannot sand off a body panel the way you can sand a lens.
The kit also carries a 9 percent one-star share, and that number reflects process risk rather than the finish quality. Get the temperature right and sand properly, and reviewers describe a crystal-clear result.
Who this system suits
A detailer or enthusiast restoring many lenses in one session, since the fluid volume and the even vapor coverage make repeat applications far cheaper than any abrasive kit.
It is also the only option here that works on helmets, trailer windows and motorcycle lenses, which makes it useful beyond a single pair of headlights.
Where this kit falls short
The heating step is the weak link. A cup that does not get hot enough produces no vapor, and there is no way to know until you are mid-application, which is the point of no return on the lens.
Sanding requirements are understated. The included 1200 grit paper is not enough on its own, so plan a proper multi-stage sand before the fluid touches the lens.
11. Rain-X 610153 Headlight Restoration Kit Review
- Multi stage sanding removes yellowing consistently
- Sealant wipe is easy to apply
- Professional looking results on both lenses
- Works at normal household drill speeds
- Compound flies everywhere and can speckle paint
- Colored discs leave brown or blue residue
- Included polish may not fully remove sanding haze
- Messy process needing careful masking
The Rain-X 610153 is the friendliest drill kit for someone using a rotary tool on a car for the first time, because it specifies a normal speed range of 1500 to 2000 RPM instead of leaving you to guess. Both sanding and polishing attachments are in the box alongside a protective sealant wipe.
Users finish in anywhere from 20 minutes to two hours depending on lens condition, and the multi-stage sanding progressively removes the yellowing until the lens reads as crystal clear rather than merely improved.
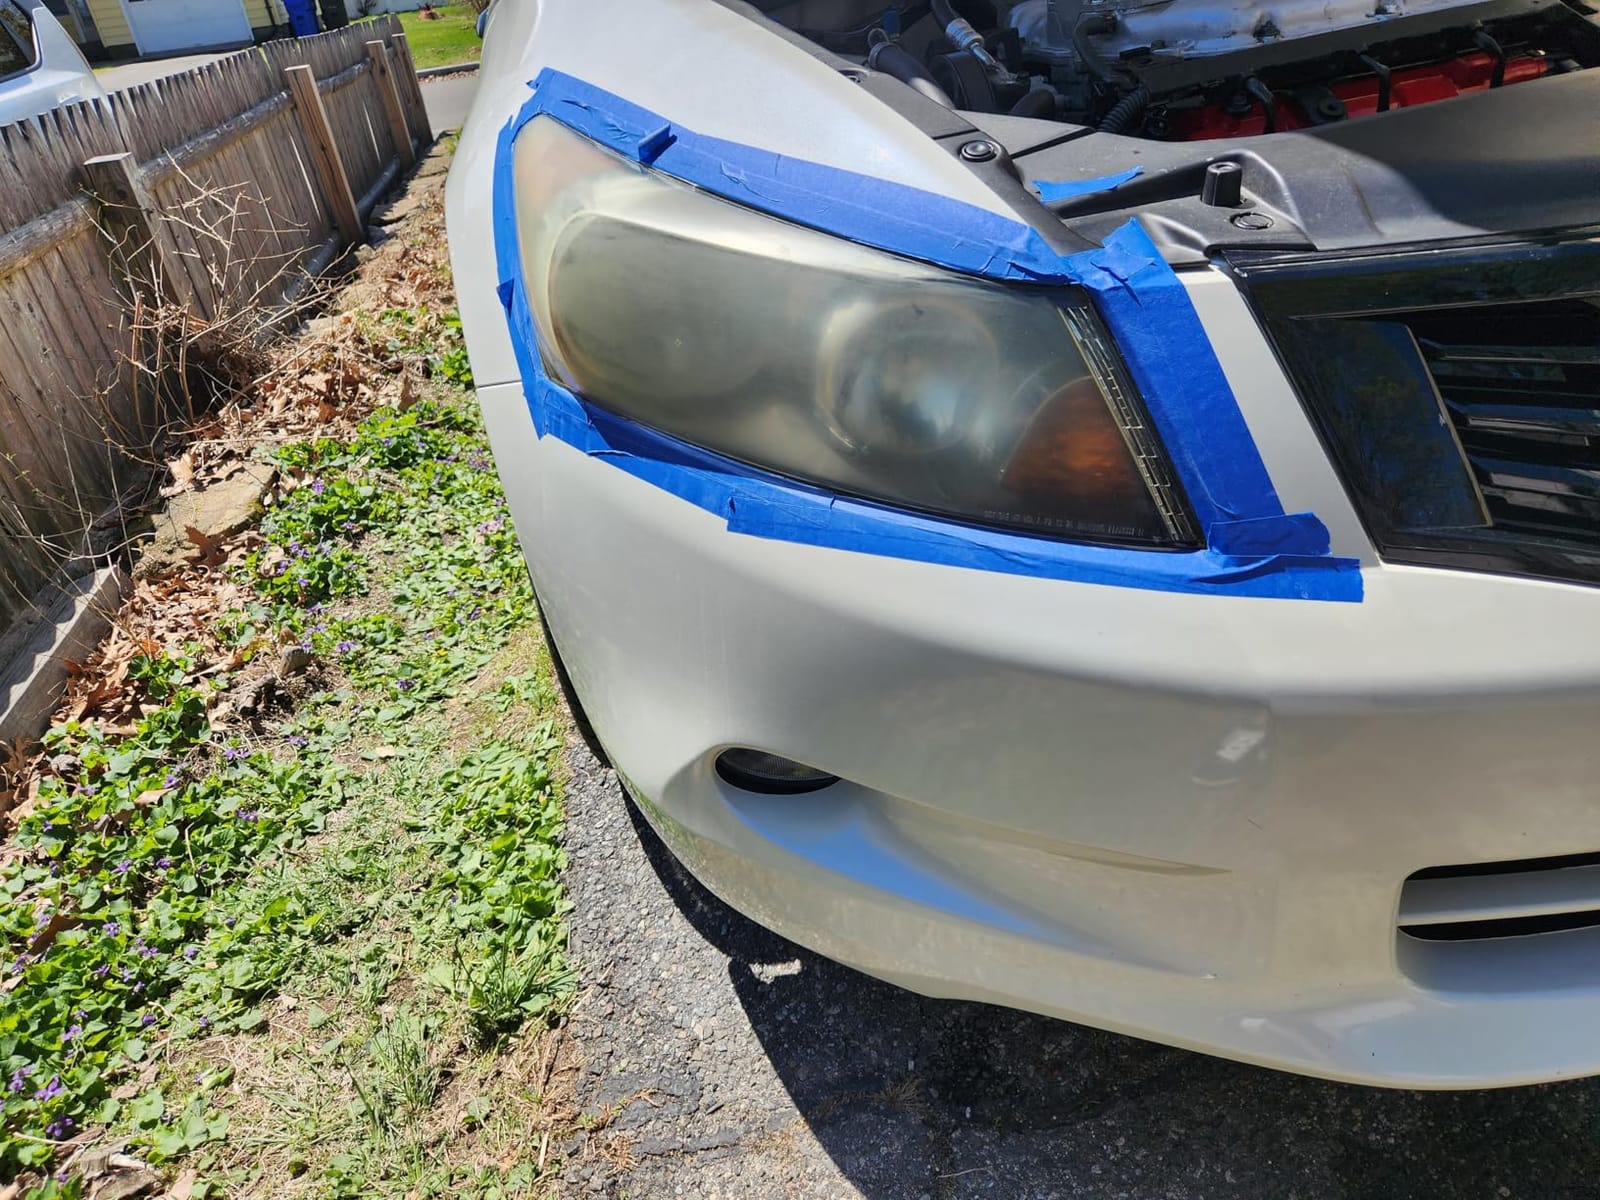
Two problems show up repeatedly, and both are about mess rather than results. Compound spatters during buffing and can permanently speckle dark paint, and the colored sanding discs in the early stages leave brown or blue residue on the lens plastic that has to be polished out.
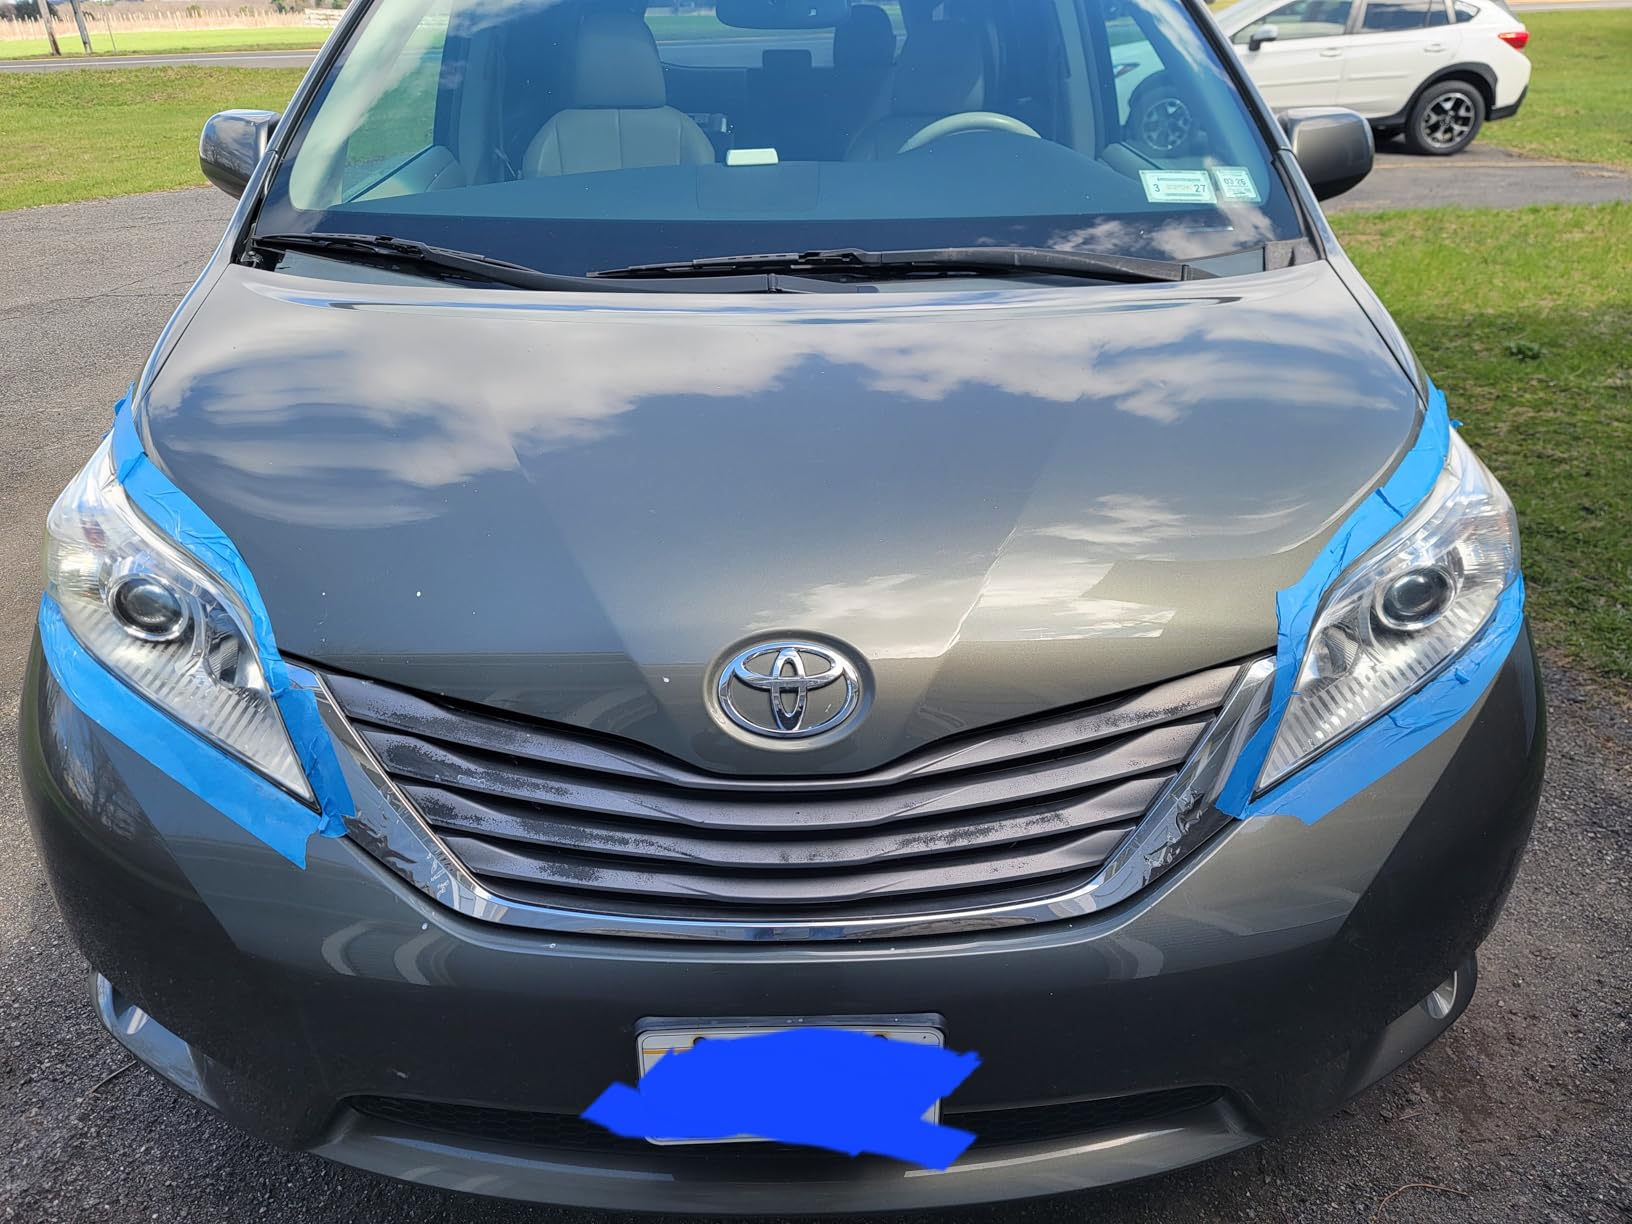
Masking thoroughly is not optional here. Sheet the whole lens and several inches of surrounding bodywork before the drill starts, because the spatter travels further than you would expect at rotary speed.
The coating needs about 8 hours to cure, so this is an evening job rather than a same-day one. Washing the lens early is how people undo a good result.
Why the stated drill speed matters
Most damage to plastic lenses happens because the drill runs too fast or too heavy. Giving a specific range means a beginner has a target instead of a guess, and at 1500 to 2000 RPM the abrasive cuts without gouging.
At that speed the process also stays consistent between the two headlights, which matters because a mismatch between a heavily corrected left lens and a lightly corrected right one is obvious at night.
Where Rain-X falls short
Residue from the first two discs is a recurring complaint, and it appears as colored haze that makes the finished lens look worse until it is polished again. Budget extra time for that correction.
The included polish may not fully remove sanding haze on the heaviest jobs. On a chalky lens, keep a finer finishing compound on hand rather than assuming the box is complete.
12. POLIWELL 24 Piece Headlight Restoration Kit Review
- Sanding discs compound UV coat in one 24 piece package
- Sanding and polishing stages work well
- Consumables cover 2 to 3 applications
- Very good value for the piece count
- UV block clear coat is glue-like and leaves white streaks
- Several users had to sand back and redo the coating
- Included masking tape is low quality
- Polishing compound can run out on large headlights
The POLIWELL 24 Piece kit is the one to look at if you want a complete drill setup and do not want to shop for extras. Two 800 grit scrubber pads, four each of 1000, 3000 and 5000 grit discs, a back-up sanding pad with drill attachment, a soft sponge interface pad, 10 meters of masking tape and a spray bottle all come in one box.
That tape and spray bottle matter more than they look. Most drill kits ship without them, and a wet sanding sequence without a spray bottle means a dry lens, which is exactly how micro-scratches happen.
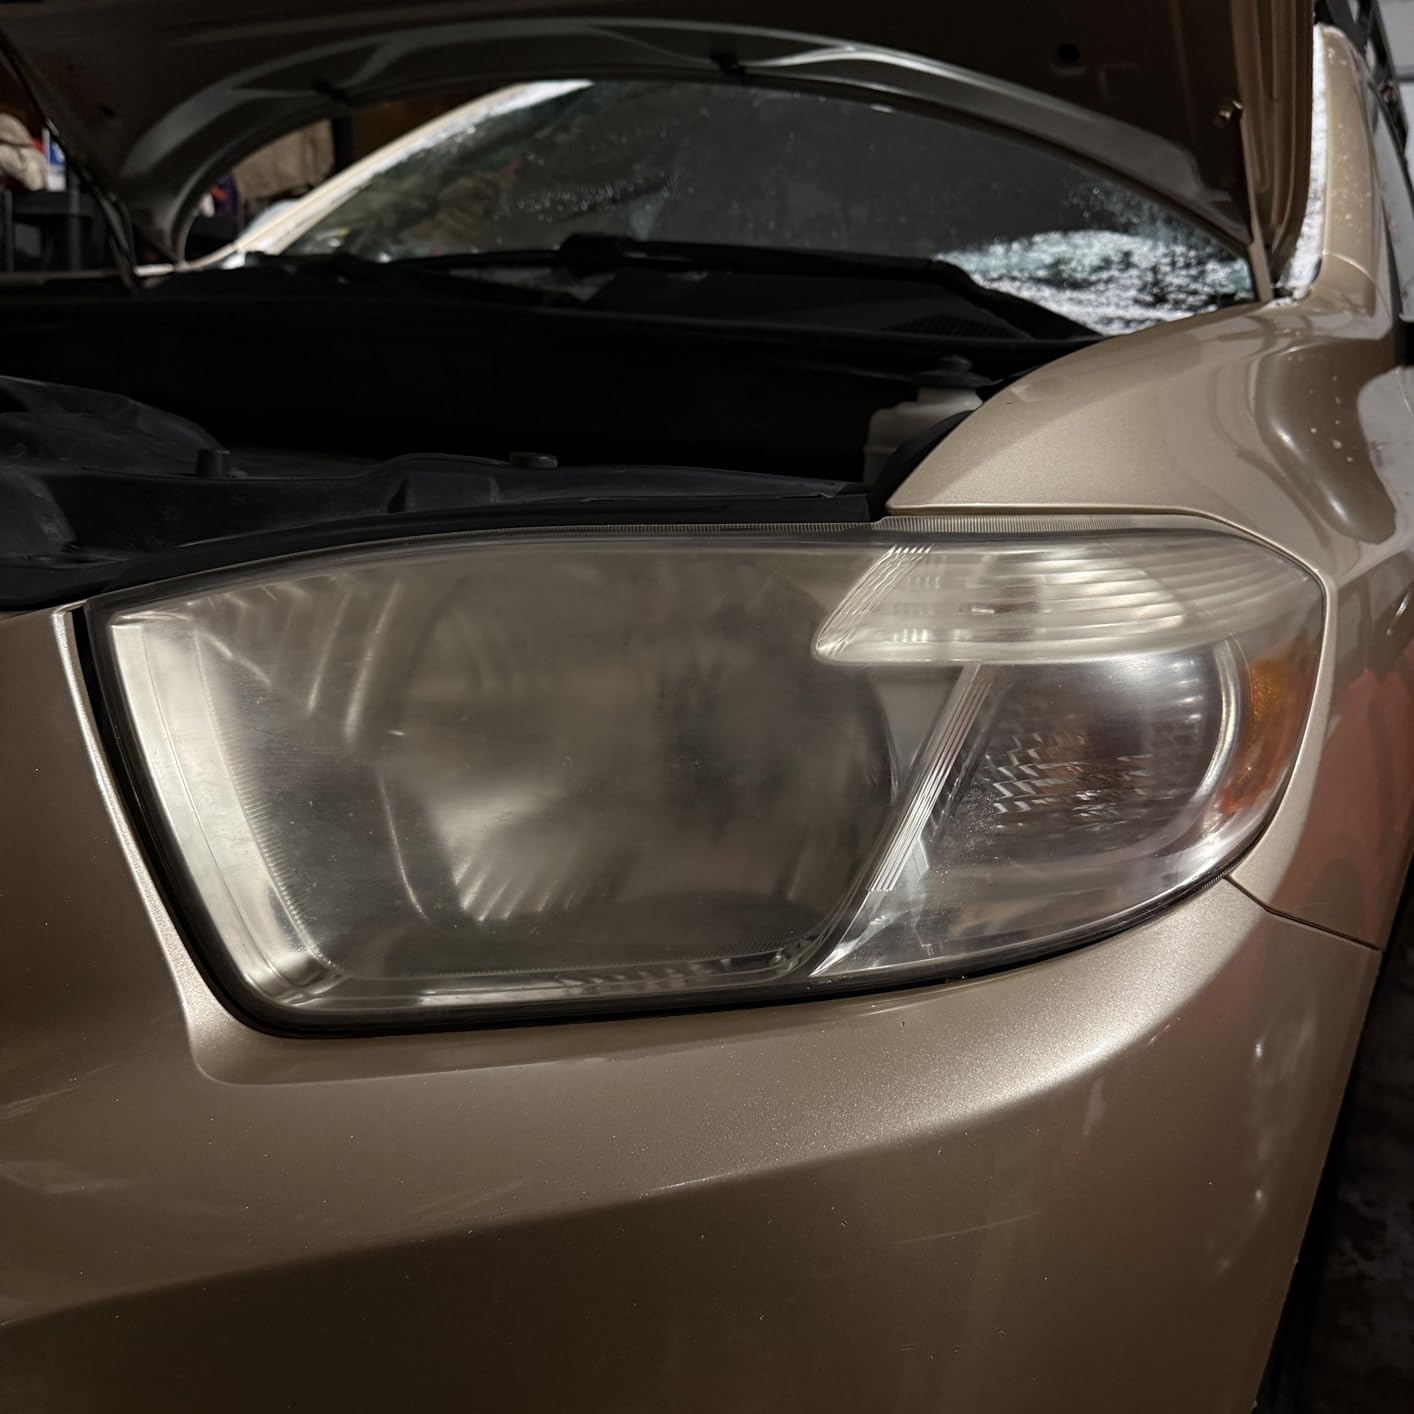
The three-step structure is straightforward: wet sand, polish, then seal. Reviewers rate the sanding and polishing stages positively and note the consumables are reusable enough to cover at least two to three full applications, which is where the value of the piece count shows up.
The UV block clear coat is the failure point, and it is a consistent one. Reviewers describe it as behaving like fast-setting glue that dries too fast and leaves white streaks, and several had to sand the mess back and redo the step with a different sealant.
The included tape is also called out as low quality, so bring your own for edges and chrome trim. And on a large headlight the polishing compound can run out before the job finishes.
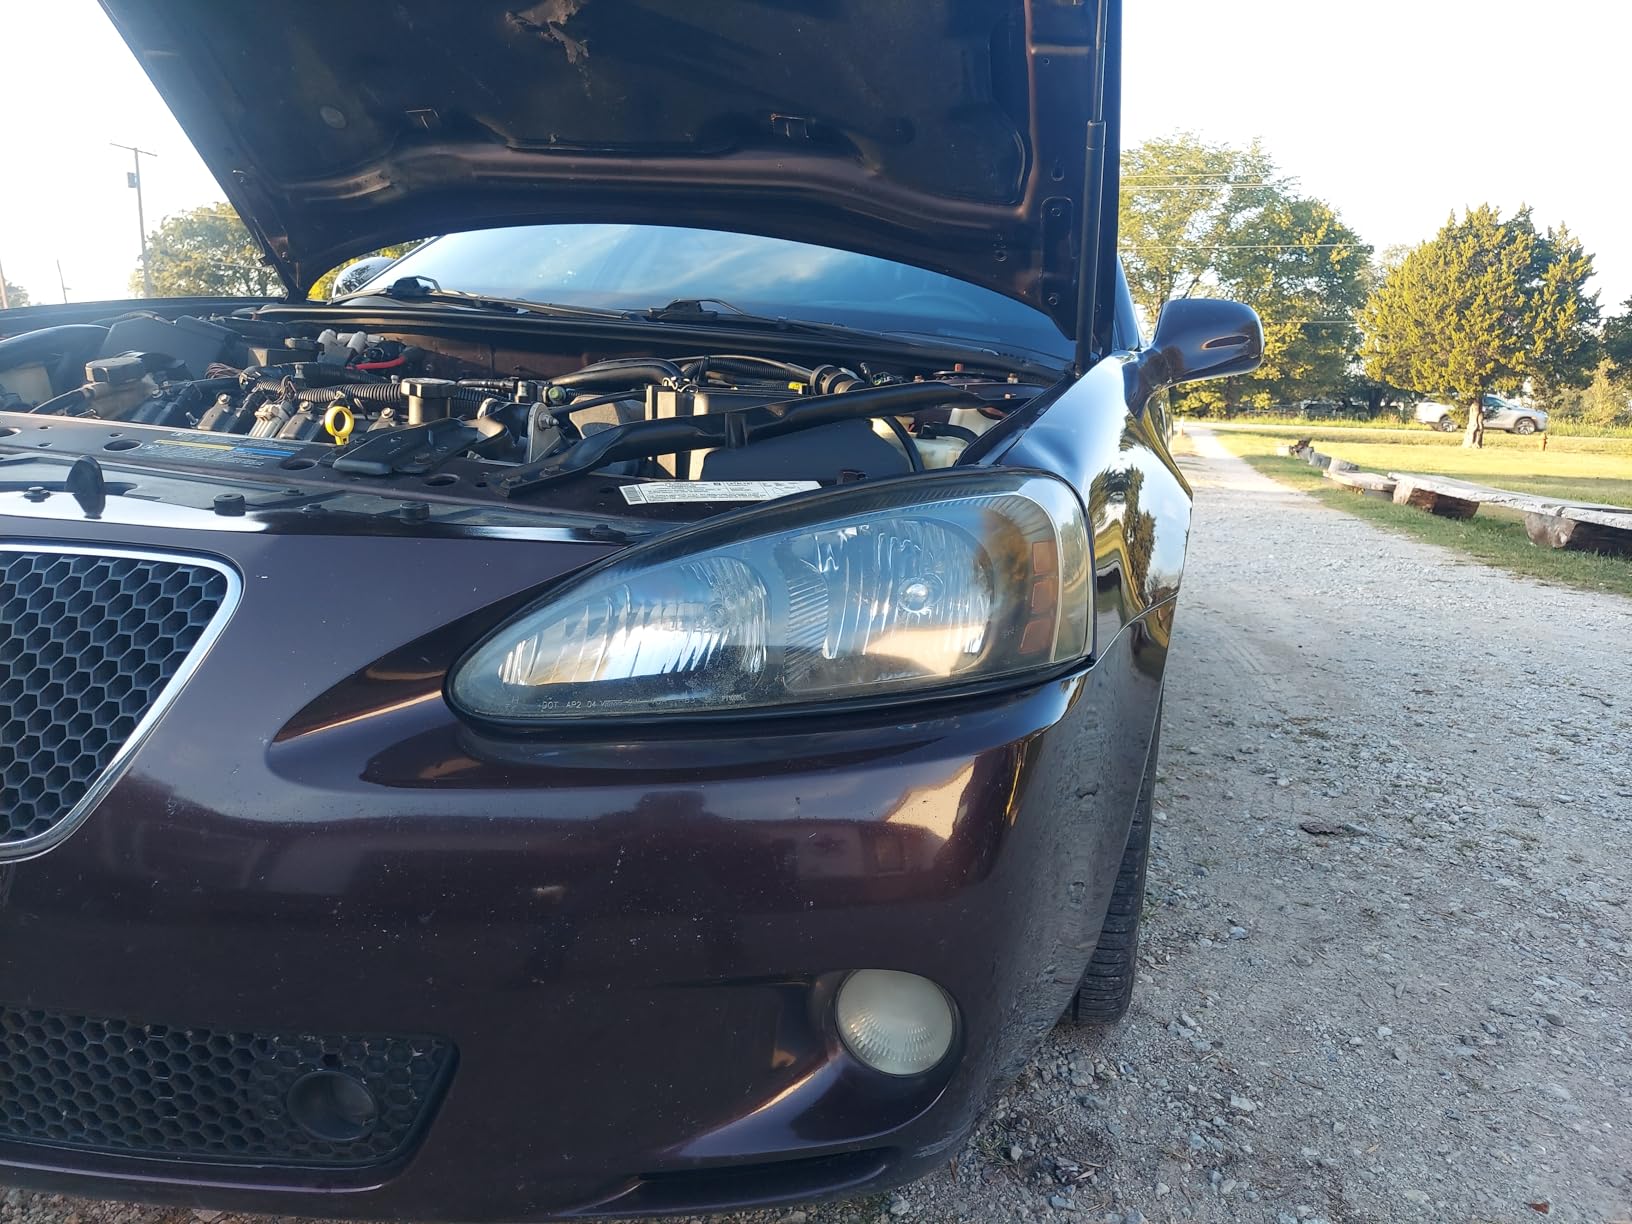
What this kit gets right
The consumable quantities are generous for the piece count. Four discs each at 1000, 3000 and 5000 grit means you can work two or three lenses properly rather than rationing discs across one job.
Including the UV coating in the box is the right instinct even if the included formula underdelivers. You know the lens needs sealing, and you can substitute a sealant you trust.
Where this kit falls short
The included clear coat is the problem, and it is severe enough that many owners skip it entirely. A glue-like coating that dries white and streaky can leave a lens worse off than one you simply polished and left.
On large headlights the polishing compound may run out mid-job, so treat the box as two lenses of coverage rather than the four it appears to offer.
Headlight Restoration Buying Guide: Matching a Kit to Your Lenses
Start by grading your lenses honestly, because kit choice depends entirely on how much oxidation you have. There are three levels worth separating, and the mistakes people make come from treating them as one problem.
Light haze means the lens looks slightly cloudy, like it has a film on it, and you can still see the bulb clearly. A wipe system or a two-step hand kit handles this well and takes minutes.
Moderate yellowing is an amber cast that is obvious at night, where other drivers notice your headlights before you do. This is the range where a hand kit with a real abrasive pad still works, though a drill speeds it up considerably.
Heavy oxidation is when the lens looks chalky white and you struggle to see the reflector or bulb inside. Only drill-powered sanding with a 500 grit or 1000 grit start will move this, and the job takes an afternoon.
Do you need a drill or polisher?
Only for moderate and heavy oxidation. A drill cuts the labor on a badly oxidized lens from an hour to a few minutes per grit stage, and on heavy lenses that difference decides whether you finish the job or abandon it halfway.
Skip the power tool if your lenses are only lightly hazy, you do not own a drill, or you are restoring a contoured housing where a backing plate is awkward to keep flat. Hand kits handle light to moderate work, and the forum consensus is consistent on this point.
If you do not own a rotary tool, the practical question is whether you will use it again. For one lightly hazed set of lenses, the drill kits cost more overall than the hand kit plus patience. For a vehicle that needs work now and another in two years, the drill pays for itself.
Wet sanding versus dry sanding
Wet sanding is the safer default. Water between the disc and the lens keeps plastic dust suspended and carries it away instead of letting it settle and scratch the surface you are trying to clear.
Dry sanding is faster and is what some drill kits assume, but it produces real plastic dust and the lens must be wiped clean between grits or the next pass scratches the previous pass. This is the most common way a first attempt ends up uniformly hazy.
Whichever you use, move up in grit and do not skip a stage. The jump from 800 straight to 3000 leaves scratches that no amount of polishing will fully remove, and you will see them under a headlamp at night.
How long to stay on each grit
Work each grit until the haze stops falling off and the surface turns uniformly matte, not to a clock. On heavy oxidation that is several minutes per lens per grit, and on a contoured lens it is longer because you are following a curve.
Keep a microfiber cloth in the other hand. Wiping between passes lets you see the actual surface condition instead of a film of slurry, and it is the difference between stopping at the right point and grinding too deep.
Protection chemistry is where longevity comes from
The protection step decides how long clarity lasts, and the four main approaches are not equal.
Ceramic chemical bond attaches to the plastic at a chemical level and resists washing, salt and bug residue. Reported durability runs multiple months on average, and it is the strongest option in this roundup.
UV block clear coat is a film laid over the surface. It works well when applied well, and it is where most early re-hazing comes from when application is rushed.
Wax and polymer sealants are the easiest to apply and the shortest-lived, typically needing reapplication on a seasonal schedule. They are fine for a garage-kept car.
Scratch-filling coatings in two-step systems fill fine sanding scratches rather than sealing against UV, which is why those products pair a coating with an annual reapplication.
Skipping protection is the single most common reason a restored lens re-hazes within weeks. That complaint comes up constantly in forum threads, and it is entirely avoidable.
Plastic, glass and LED projector lenses
Every kit here is built for plastic lenses, because that is what almost all modern headlight housings use. Polycarbonate is soft, oxidizes under UV and takes a polish well, which is why a sanding kit can make such a dramatic difference.
Glass lenses do not oxidize, so if your headlight is hazy and it is glass, the cause is something else entirely: interior condensation, a failed seal, or a coating that has degraded. Sanding a glass lens will do nothing for any of those, and the abrasive kits here are not designed for it.
On LED projector assemblies, be careful around chrome reflector bowls and internal faceting. Those are fragile optical surfaces, and the fix for a hazy plastic lens is never to run a disc across an internal structure.
How much does one kit cover?
Most kits cover one pair of lenses, which is usually the whole job. The Meguiar’s two-step kit covers two vehicles, and the VIBRATITE set covers two full cars. The Pmbqifay fluid alone covers roughly 16 to 20 headlights.
Plan for one box per vehicle unless the listing says otherwise. Running out of compound halfway through the second lens is a common and avoidable annoyance.
What restoration cannot fix
Restoration corrects surface oxidation. It does not repair structural damage, and knowing the line saves you a wasted afternoon.
Cracks and deep pitting are permanent through this process, because the kit removes a small amount of plastic rather than filling a defect. A lens with pitting that has worn through the surface will stay pitted no matter how many passes you make.
Condensation or water inside the housing is a seal failure, not oxidation. Sanding the outside will not help, and if moisture is trapped under the lens, restoring the surface can trap it in place. The lens or housing needs replacing.
A lens with impact damage from a stone strike at the edge usually means a new assembly, because the crack will spread across the lens under thermal cycling.
Restore versus replace: the practical comparison
A restoration kit costs one purchase and an afternoon. A professional detail does the same work faster for several times that. A new OEM headlight assembly costs more than either, and on a vehicle where the lens is part of a sealed LED unit, replacing one side can mean replacing both.
Restore when the lens is intact and hazy. Replace when it is cracked, pitted through, or fogged on the inside. Those are the only two cases, and the answer is usually unambiguous once you look.
Restoring also has a side benefit that nobody mentions in the cost comparison: it makes the car look maintained. A clear headlight and a yellowed one read very differently from the curb.
Tools you may still need to buy
Most kits skip at least one of these, and each omission stops the job mid-way. A household drill with a 1/4 inch shank, low-tack masking tape, a spray bottle for wet sanding, nitrile gloves, safety glasses and several microfiber cloths cover almost every kit on this list.
A cheap respirator is worth having for the sanding stages. Polycarbonate dust is fine enough to breathe in, and the smell of some activators is strong enough that ventilation matters too.
Our guide to continuous lighting kits covers the inspection side of the job, which matters more than most people expect: checking a restored lens at night under a hard light source is how you spot swirl marks before you notice them on the road.
How to Use a Headlight Restoration Kit in 7 Steps
The full sequence runs about an hour per headlight with a drill and roughly two hours by hand, plus curing time for the coating. Do not rush the masking stage, because everything after it is easier to fix than paint damage.
1. Wash and degrease the lens. Dirt and road film hold abrasives away from the surface and scratch the lens. Wash the housing, dry it fully and wipe it with a degreaser before anything touches it.
2. Mask the surrounding paint. Tape the bodywork, chrome trim and any adjacent plastic before sanding begins. Low-tack tape on fresh clear coat is the difference between a clean edge and a lifted one.
3. Apply the activator or first compound. Activators and polishes soften the oxidized layer so the abrasive works on the surface instead of grinding through it. Follow the dwell time the kit specifies.
4. Sand in grit progression. Work each grit until the surface turns uniformly matte, keeping the lens wet if you are wet sanding. Wipe between grits and do not skip a stage. Progressions typically run 500, 800, 1000, 2000 or 3000, then finer.
5. Polish out the sanding haze. The lens should look worse before this stage than you want it to. The clarifying or polishing compound removes the fine scratches that sanding created, and this is where clarity actually returns.
6. Apply the UV protection. Work in shade, off the paint, and follow the flash or cure time on the coating. Chemical bond coatings need clean plastic, so this step happens after polishing, never before.
7. Maintain the result. Wash with a mild car shampoo, keep compound and wax off the lens, and reapply protection on the schedule the product suggests. A sealed lens that gets coated in wax and bug residue will haze again regardless of how good the restoration was.
Safety and Paint Protection During Restoration
Most of the risk in this job is to your car and your hands, not to you. A drill near a painted bumper will mark clear coat in seconds, and the activators in several kits are harsh enough to irritate skin within minutes.
Wear nitrile gloves for every step involving an activator, sandpaper or compound. The Sylvania surface activator in particular is sticky and abrasive, and users report it burning bare hands when gloves are skipped.
Safety glasses are worth wearing during drilling and polishing. Compound spatters at rotary speed, and on dark paint the spatter specks are effectively permanent without a repaint.
Sheet the work area generously. Beyond the lens itself, mask at least several inches of adjacent paint and any trim, and cover the grille and bumper valance where compound and overspray land.
Ventilate and use a respirator for sanding. Polycarbonate dust is fine enough to inhale, and the odor from several activators and compounds is unpleasant enough to justify working outside or in a garage with the door open.
If you want to see how a restored lens should look before you commit, our guide to classic Ford truck restoration parts covers the same patience-versus-price question for body panels.
DIY Headlight Restoration Myths Worth Skipping
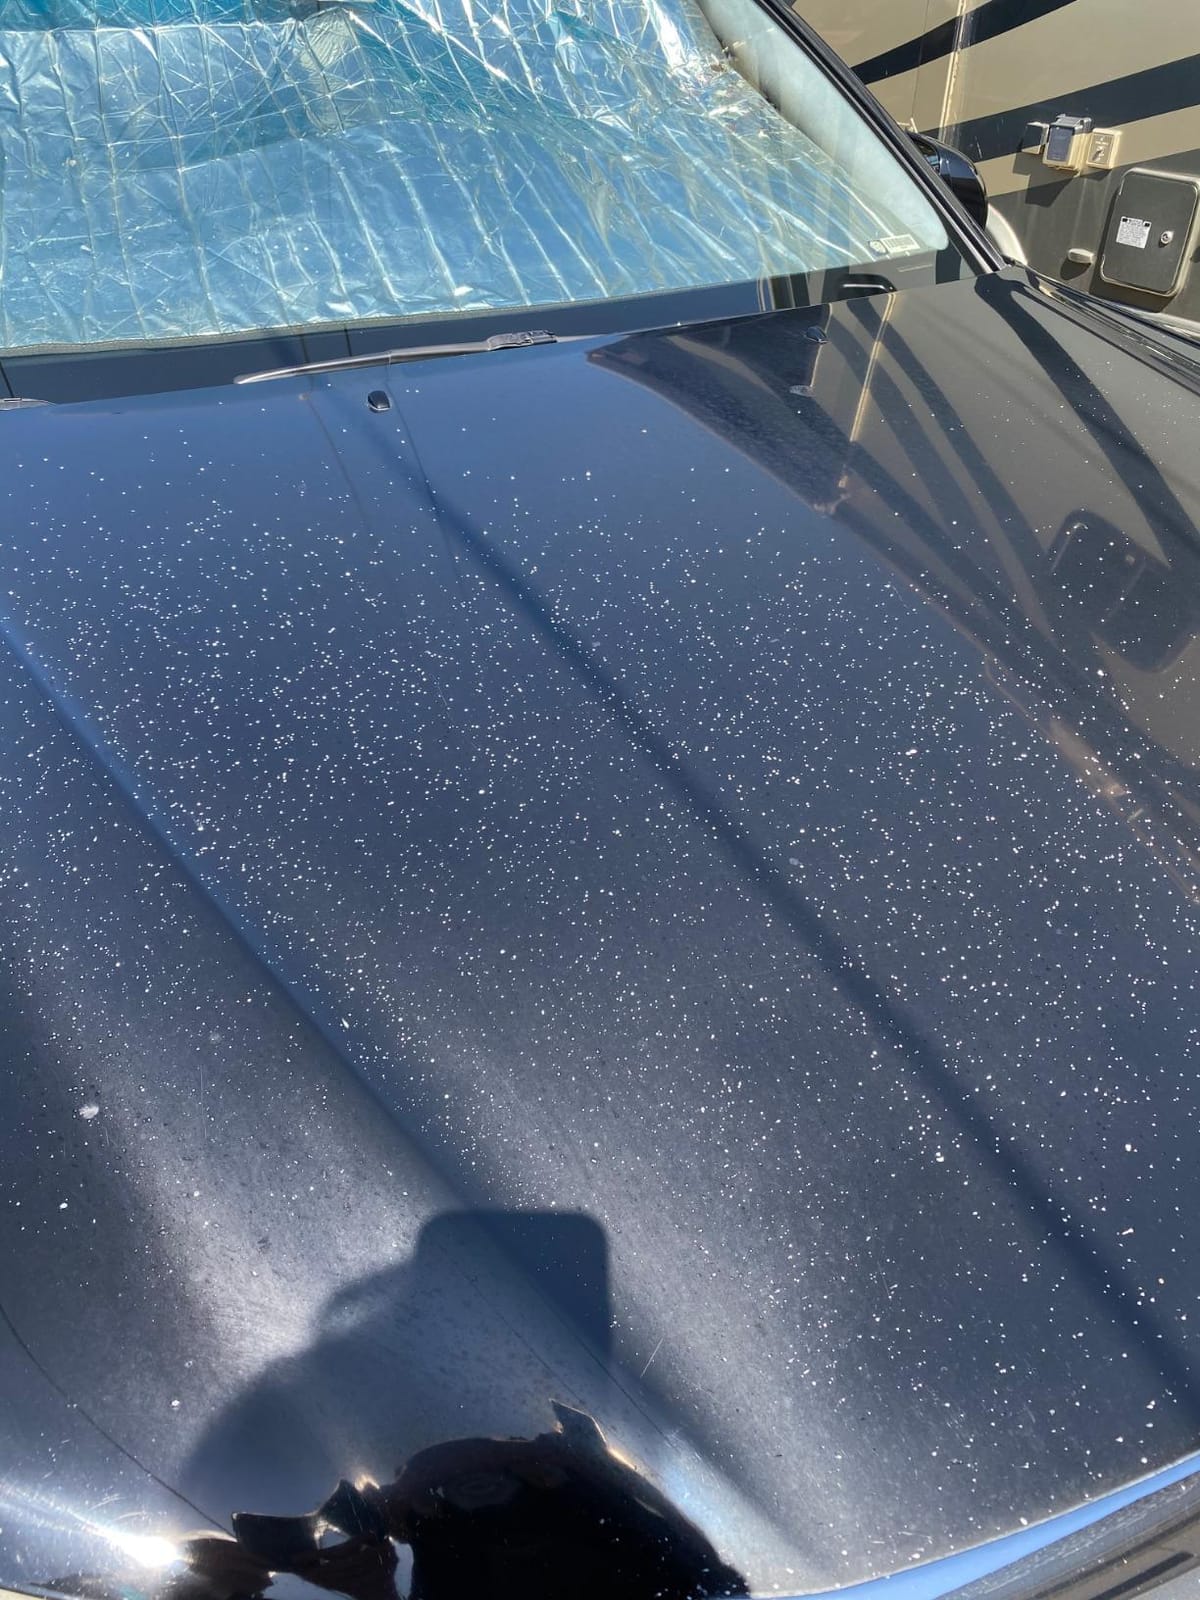
Most of the advice floating around online for clearing headlights is aimed at a hazy plastic lens, and several popular methods are either ineffective or actively damaging. These are the ones we would not use.
WD-40 does not restore headlights. It is a water displacer and light lubricant, and it will make a hazy lens look slightly better for a few days by filling micro-scratches temporarily. It does nothing to the oxidation, it collects dust, and it can interfere with the coating that a restoration kit puts on.
Toothpaste is not a compound. It is mild abrasive meant for teeth, and using it on polycarbonate takes an extremely long time to change anything while spreading a chalky residue that is hard to remove. It also leaves no protection behind.
Baking soda is even weaker. It is a gentle cleaning powder, not an abrasive. On light haze you will spend an hour to achieve what a single wipe does, and on heavy oxidation you will achieve nothing.
Car wax alone will not restore a lens. Wax on an oxidized lens coats the haze instead of removing it. Wax belongs at the end of a restoration as maintenance, not as the restoration.
What actually works is mechanical: abrade the degraded layer with progressively finer abrasives, polish out the scratches, then seal the surface so UV cannot start the process again.
Fixing a Botched Headlight Restoration
Most disappointing results are fixable, and the cause is usually one of four things that happened during the job rather than the kit itself.
Swirl marks and uniform haze mean a grit stage was skipped or the lens was sanded dry. Go back one stage and work it properly, keeping the lens wet and wiping between passes. Haze from a too-coarse grit is always removable by sanding finer.
Uneven haze usually means too little time on one area. Sanding is not linear across a contoured lens because the pad contacts the center harder than the edges, so circle the lens and check the edges separately with the light on.
Overspray film on paint is the most annoying to see and the easiest to prevent. Masking comes first next time. On the lens itself, a light clay bar followed by polish usually lifts compound spatter that has not bonded.
A yellow tint that will not shift usually means the oxidation sat deeper than the abrasives reached, or the lens has yellowed beneath the surface from long-term UV absorption. At that point the only true fix is a new assembly, not another kit.
One more common issue: a lens that looks clear indoors and hazy at night. That is usually residue left in the crevices around the lens edge, and a detailer’s clay bar with lubricant will pull it out.
Frequently Asked Questions
Do headlight restoration kits actually work?
Yes, when the lens is intact and the damage is surface oxidation. Kits work by abrading the degraded outer layer of the polycarbonate, polishing out the scratches that leaves, then sealing the surface so ultraviolet light cannot attack it again. They will not fix cracks, deep pitting or condensation inside the housing.
How long does a headlight restoration kit last?
It depends on the protection step and the climate. Ceramic chemical bond coatings typically hold for many months, UV block clear coats run roughly six to twelve months, and wax or polymer sealants need reapplication on a seasonal basis. Cars parked in intense sun re-haze faster than garage-kept vehicles. Skipping the protectant step is the main reason results fade within weeks.
Do I need a drill for headlight restoration?
Only for moderate or heavy oxidation. A drill turns an hour of hand sanding into a few minutes per grit stage, which is what makes severely chalked lenses practical to fix. For light haze, a hand kit or even a wipe system works fine. Skip the drill if you do not own one and your lenses are only moderately yellow, because the extra time and risk are not worth it.
Does WD-40 restore headlights?
No. WD-40 is a water displacer and light lubricant, and it makes a hazy lens look marginally better for a few days by filling micro-scratches. It does not remove oxidation, it attracts dust, and it can interfere with the UV coating a restoration kit applies. Toothpaste and baking soda are equally ineffective, and neither leaves any protection behind.
Can headlight restoration fix really cloudy headlights?
Yes, if the cloudiness is oxidation on the surface. Heavy chalky lenses need a drill-powered kit starting at 500 or 1000 grit, followed by polish and a UV coating. Restoration cannot fix deep pitting worn into the plastic, cracks from stone impact, or water fogging the inside of the housing. Those require a replacement assembly, not another kit.
Do I need to seal my headlights after restoring them?
Yes, and this is the step most often skipped. Sanding and polishing leave bare plastic with no UV protection, so it will re-haze within weeks or months without a sealant. Ceramic coatings bond to the surface and last longest, UV block clear coats run about six to twelve months, and wax sealants need seasonal reapplication. Plan to renew the coating, because one application rarely lasts the life of the car.
How long does headlight restoration take?
Plan on 30 to 60 minutes per headlight with a drill, and closer to two hours per headlight working by hand, plus curing time for the coating. The masking, cleaning and prep stages add another 15 minutes. Kits that promise a full job in 30 minutes are realistic only on lightly hazed lenses worked with a drill.
Will a headlight restoration kit work on glass headlights?
No, because glass does not oxidize. These kits are built for polycarbonate plastic lenses, which is what most modern headlight housings use. If a glass headlight is hazy, the cause is usually condensation, a failed seal or a degraded interior coating, and no amount of sanding will help. LED projector assemblies need extra care around internal chrome bowls and faceting.
Final Verdict: Which Headlight Restoration Kit to Buy
The CERAKOTE Ceramic Headlight Restoration Kit is our pick as the best headlight restoration kit overall in 2026, because it removes real oxidation, seals with a chemically bonding ceramic coating and needs no power tool. If your lenses are only lightly hazy, the SYLVANIA kit gives you a sealed result with no drill at all.
For chalky white lenses that have defeated a hand kit, the 3M Headlight Lens Restoration System cuts through oxidation nothing else here will, and the 3M Ultra version adds the clear coat the base system leaves out.
Whichever kit you choose, seal the lens and renew the coating on schedule. That single habit does more to keep your headlights clear than the difference between any two kits on this list, and it is the step most often skipped.