
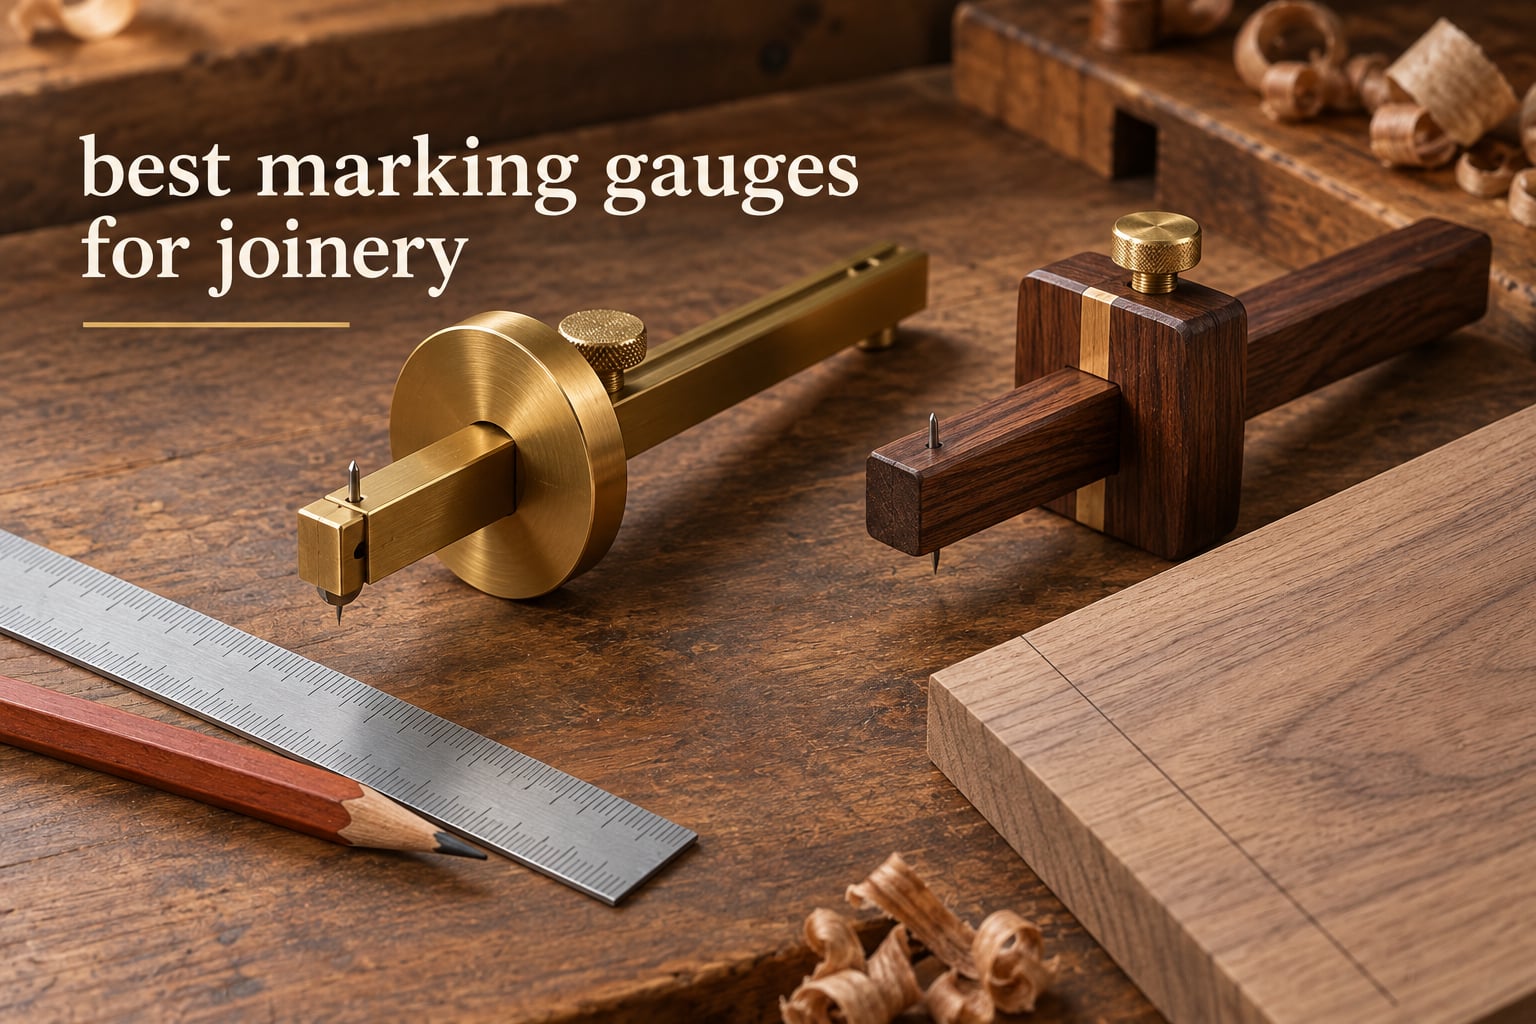
Almost every disappointing mortise and tenon joint I have watched fail started as a layout problem, not a sawing problem. The parts were measured correctly and still would not seat, because the mark that set the shoulder was scribed from a loose reference rather than from the edge of the board. That is the whole argument for the best marking gauges for joinery: a gauge lets you set a distance once and repeat it identically on every part, so tenons come off the shoulder the same width every time.
We put ten layout tools through their paces over several months of bench work, running mortise shoulders, dovetail baselines, hinge recesses and repeated drawer parts, then checking how the lines held up once planing started. Three came out as genuine joinery instruments. The rest are useful, but they solve layout problems of a different kind, and I say which is which below.
The other thing worth sorting out early is that not every tool sold as a marking gauge is one. Some mark dovetail slopes, some scribe with a knife, some just measure and transfer. I have kept all ten in this roundup and flagged where each one genuinely fits in a joinery workflow, because buying the wrong category is the most common and most expensive mistake in this niche.
Table of Contents
Top 3 Picks for Joinery in 2026
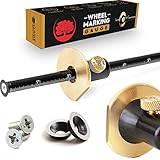
Clarke Brothers 8 inch Wheel Marking Gauge
- Solid brass and steel body
- Laser engraved inch and metric scales
- Two spare hardened steel cutters
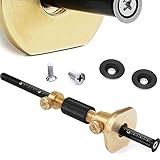
Clarke Brothers 7 inch Micro Adjust Kit
- Micro adjustable fence
- Dual thumbscrews
- V-slot beam stops wobble

Taytools Solid Brass Wheel Gauge
- Micro adjust lockable head
- Independent lock screws
- Retracting cutter head
What a Marking Gauge Actually Does
A marking gauge is a layout tool with a sliding fence and a steel pin or wheel that scribes a line parallel to the edge of a board. You set the distance once, lock the fence, and run it down the work so repeated parts get an identical mark every time.
Two parts do the work. The stock, or fence, is the block that rides against the edge of your wood, and it must stay square to the beam or the whole line drifts as it travels. The beam is the shaft that carries the head at a fixed distance from that fence. The head holds the marker, either a brad-like pin, a knife blade or a small rotating wheel.
The reason joinery people care so much about this tool is that a scribed line is referenced to the edge rather than to a number on a rule. If the edge is straight, the line is straight, and it stays straight from one end of a long board to the other. A pencil line drifts with your hand pressure. A gauge line does not.
The second reason is width. A pin line or a wheel line is narrow enough to saw directly to, which means the saw follows your mark instead of wandering off it. That is what lets a hand-cut joint close tightly enough that you barely need clamps to check it.
The Best Marking Gauges for Joinery in 2026
| Product | Specifications | Action |
|---|---|---|
| Clarke Brothers 8 inch Wheel Marking Gauge |
|
Check Latest Price |
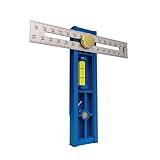 Kreg Multi-Mark Marking and Measuring Tool Kreg Multi-Mark Marking and Measuring Tool |
|
Check Latest Price |
 Clarke Brothers Dovetail Marker Four Slopes Clarke Brothers Dovetail Marker Four Slopes |
|
Check Latest Price |
| Clarke Brothers 7 inch Micro Adjust Kit |
|
Check Latest Price |
 Newkiton CNC Aluminum Dovetail Guide Newkiton CNC Aluminum Dovetail Guide |
|
Check Latest Price |
| Taytools Solid Brass Wheel Marking Gauge |
|
Check Latest Price |
 YOSELIN Dovetail and Wheel Gauge Set YOSELIN Dovetail and Wheel Gauge Set |
|
Check Latest Price |
 KAKURI Japanese KEBIKI Marking Scriber KAKURI Japanese KEBIKI Marking Scriber |
|
Check Latest Price |
 YOSELIN 8 inch Wheel Marking Gauge YOSELIN 8 inch Wheel Marking Gauge |
|
Check Latest Price |
 VISLONE Dual Purpose Wheel Marking Gauge VISLONE Dual Purpose Wheel Marking Gauge |
|
Check Latest Price |
1. Clarke Brothers 8 inch Wheel Marking Gauge – the Best All-Round Marking Gauge
- Anti-roll fence with a flat spot stops it drifting off the bench
- Laser engraved metric and imperial scales
- Two extra hardened steel wheel cutters in the box
- Solid brass build feels balanced one-handed
- Recessed wheel face makes the exact mark point slightly harder to judge
- Some units reported out of true at the 5 inch and 6 inch marks
- Included cutters can need a little honing out of the box
This is the gauge I reach for when I do not want to think about the tool, which is most days. It is a solid brass and steel body with a laser engraved scale running to six inches and 150mm, and after several months of mortise shoulders and hinge recesses it has stayed consistent. The line it lays down is narrow, and once the wheel is settled it holds a clean edge even on oak.
The fence has a flat spot machined into it, which sounds minor until you have chased a rolling gauge off a bench mid-setup. That single detail is why this one lives on my bench rather than in a drawer. Owners mention the customer service too, including replacement cutters sent without argument when a wheel dulled.
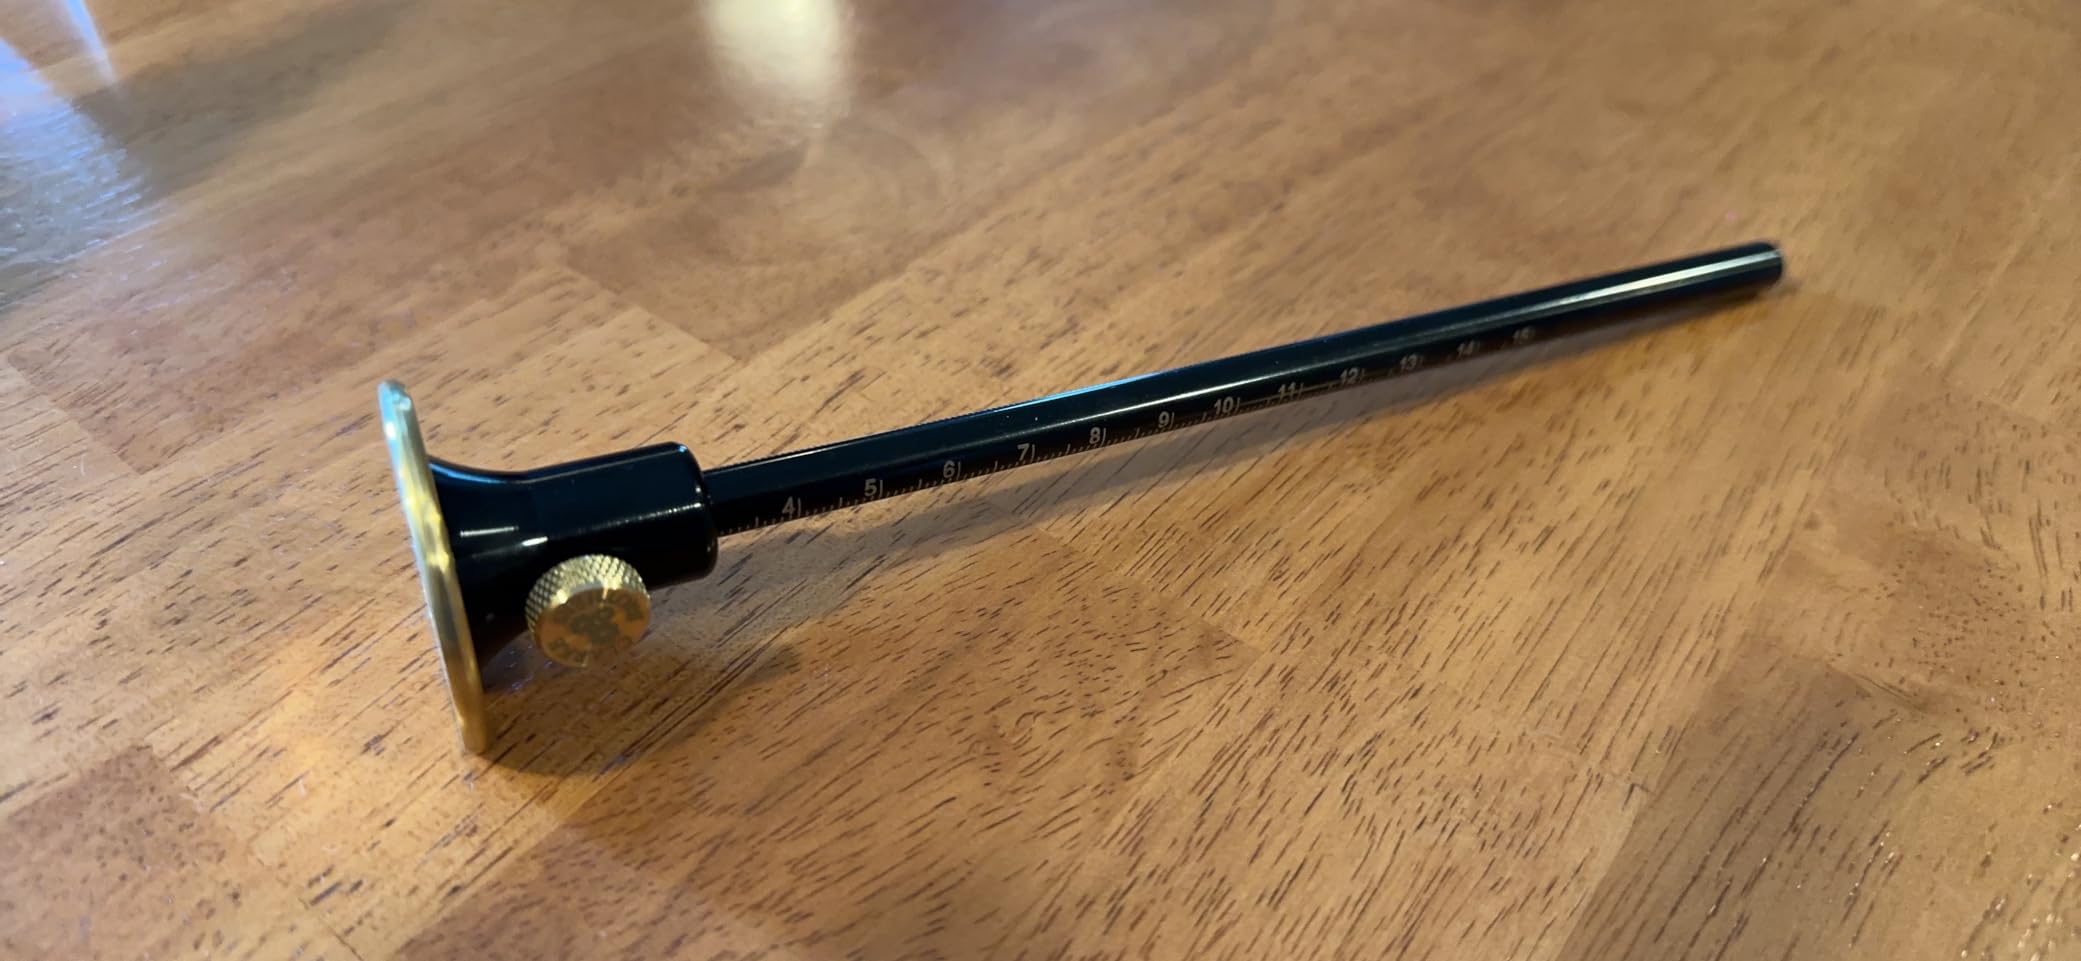
Two light passes is the technique that works best with this gauge. The first sets the line, the second deepens it just enough to see through planing, and pushing harder than that just risks drifting. The graduated scale is the other thing I use constantly for transferring a setting to a second board without resetting from scratch.
The two complaints worth knowing before you commit are both about the same area of the tool. The wheel sits in a small recess, so reading the exact graduation under the wheel takes a moment of care, and a minority of owners report their unit running slightly out of true at the far end of the scale. Check the setting against a rule on your own workpiece before you trust the numbers.
Why it earns the top spot
Across repeated parts, a tenon shoulder marked with this gauge matched the next four without touching the thumbscrew. A scale you can read, a fence that stays put and spare cutters in the box cover the three things that actually matter at the bench.
It also suits a mixed workflow. I have used it for dovetail baselines on board edges, for marking hinge mortise widths across a stile, and for transferring a shoulder line onto the matching tenon stock, all from the same setting.
Where it falls short
The graduations are read straight off the wheel face rather than through a window, so it is slower than a gauge with a magnified index when you are setting very fine increments. If you plan most of your marking in fractions of a millimeter, the micro-adjust version further down handles that better.
It is also a wheel scribe rather than a knife, which matters if your reference face is figured or heavily open-grained. Wheel gauges roll; knife gauges cut. For softwood, maple and most hardwoods that trade is worth making.
2. Kreg Multi-Mark – the Best Tool for Repeating a Measurement
Kreg Multi-Mark Multi-Purpose Marking & Measuring Tool, KMA2900
- Handles reveals
- mitered corner layout and measurement transfer in one tool
- Three scale configurations including 90 and 45 degrees
- Dual unit scales on the same rule
- Adjustable design makes repeat measurements fast
- A multi-purpose measuring rule rather than a dedicated marking gauge for joinery
- Does not scribe or cut a line into the wood itself
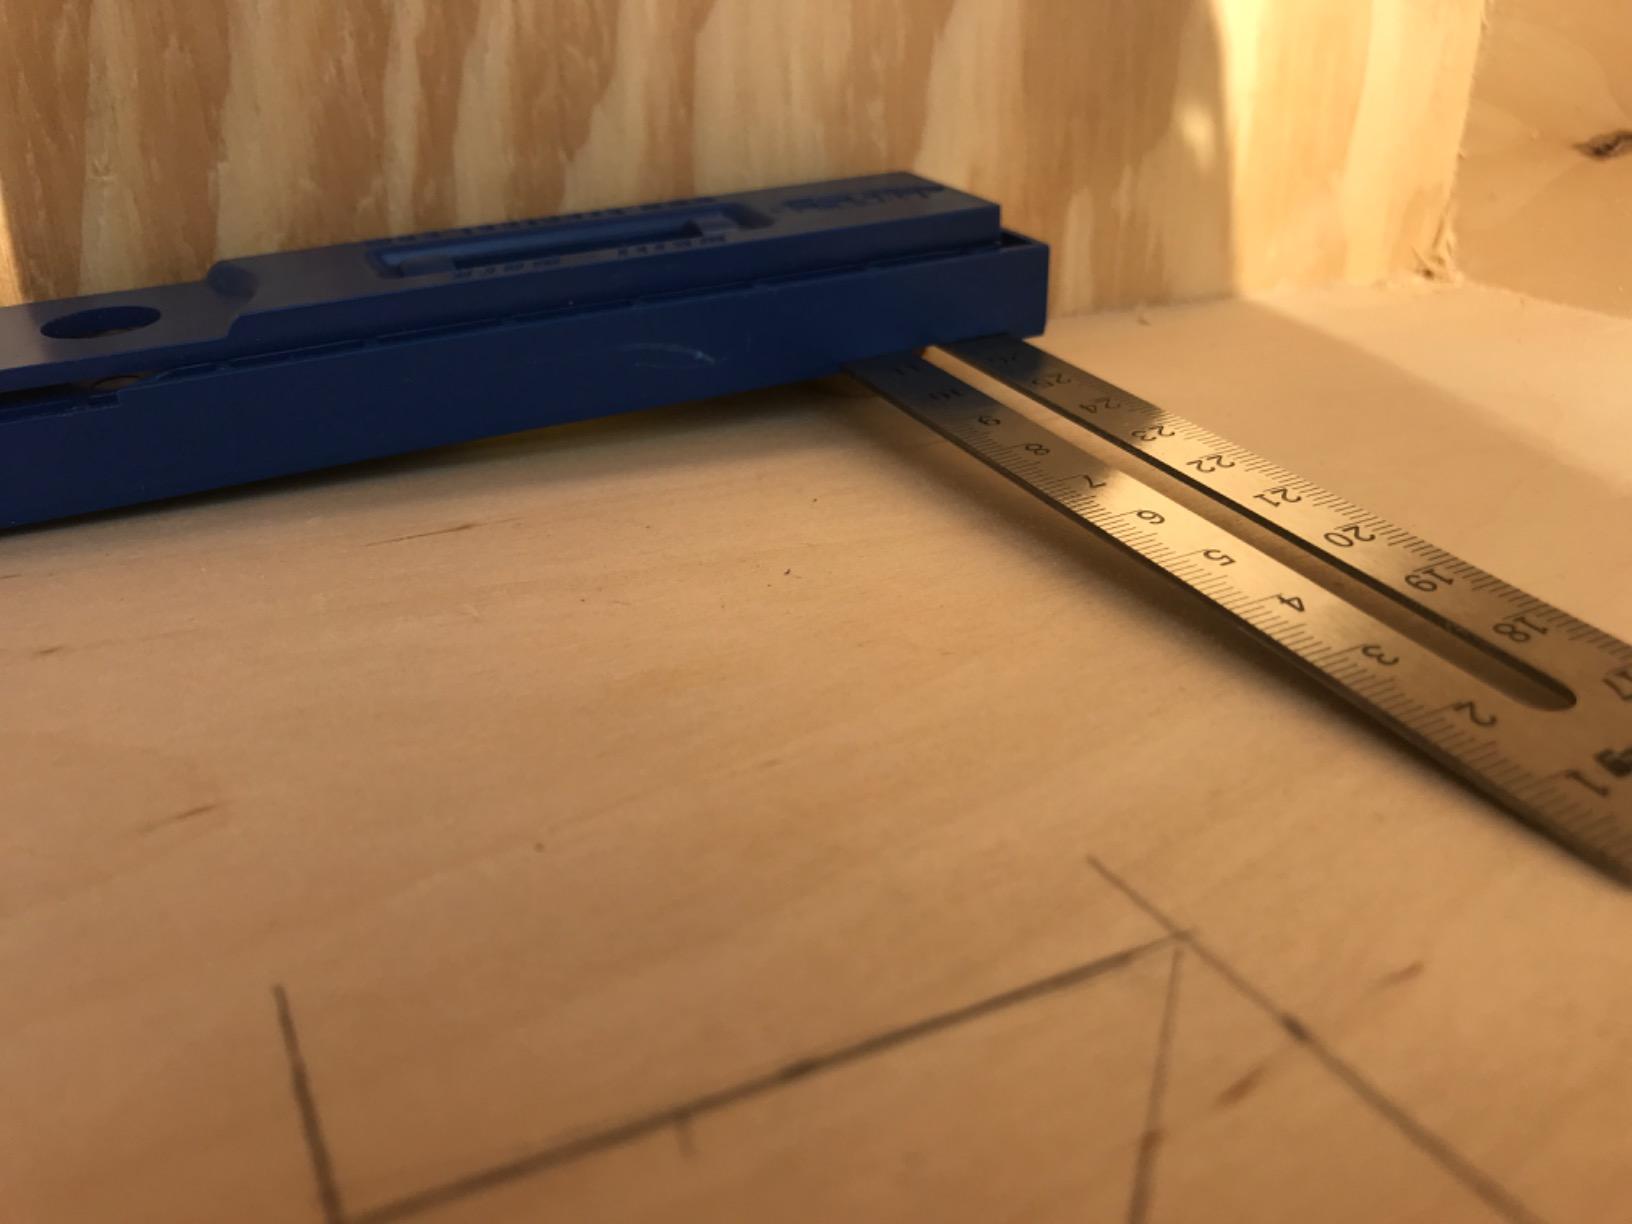
Be clear about what this is. The Kreg Multi-Mark is one of the most reviewed layout tools in this whole category, with well over five thousand ratings, and it is genuinely excellent at what it does. What it does is set, transfer and repeat measurements, not cut a line into the face of the wood.
Three scale configurations let you pick a standard reading, a 90 degree reference or a 45 degree one, which makes it a fast way to lay out reveals, mitered corner baselines and hardware positions. The stainless steel construction and the polymer body feel right in the hand and survive being knocked about on a bench.
I keep one of these in the same drawer as my gauges, and the pairing works well. Set the tenon shoulder width once on the Multi-Mark, then transfer that number to the gauge and scribe both edges from a single setting. Repetition across a stack of identical parts is where the adjustable design really earns its place.
Reviewers are consistent about this, too, and the volume of feedback is mostly about versatility and ease of setting rather than any cutting performance. Nobody buys it expecting a scribed line, which is exactly the point: it removes the measuring step from the process so the gauge step is accurate.
Where it fits in a joinery workflow
Reach for it before every gauge setting. It is the fastest way to get a repeat number onto the board, then step back and let the gauge do the line. For drawer parts, frame rails and repeated tenons, that division of labour saves real time.
Its 90 and 45 degree scales also earn their keep when you are transferring a reference angle from a story stick or a sample joint onto real stock.
Where it does not fit
It will not give you a baseline you can saw to or plane to. If that is the mark you need, a wheel or knife gauge is the only correct answer, and no amount of adjusting this tool will change that.
Treating it as a substitute for a marking gauge is the common mistake. It measures, it sets and it transfers, and that is a different job in the sequence.
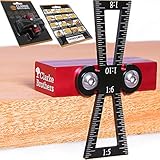
3. Clarke Brothers Dovetail Marker – the Best Gauge for Hand-Cut Dovetail Slopes
- Four dovetail slopes covering common softwood and hardwood ratios
- Solid CNC machined aluminum construction
- Extra-large body holds securely for clean layout
- Graduated markings on both sides speed repeated marking
- Instructions are vague about which face matches which slope
- Marks one face at a time rather than two perpendicular surfaces
- Some buyers find the slope selection unnecessary
Dovetail layout needs two things, and this tool handles the second one well. The first is a true baseline along the board edge, which is a gauge job. The second is transferring the correct slope to the end grain, and that is what this marker is for.
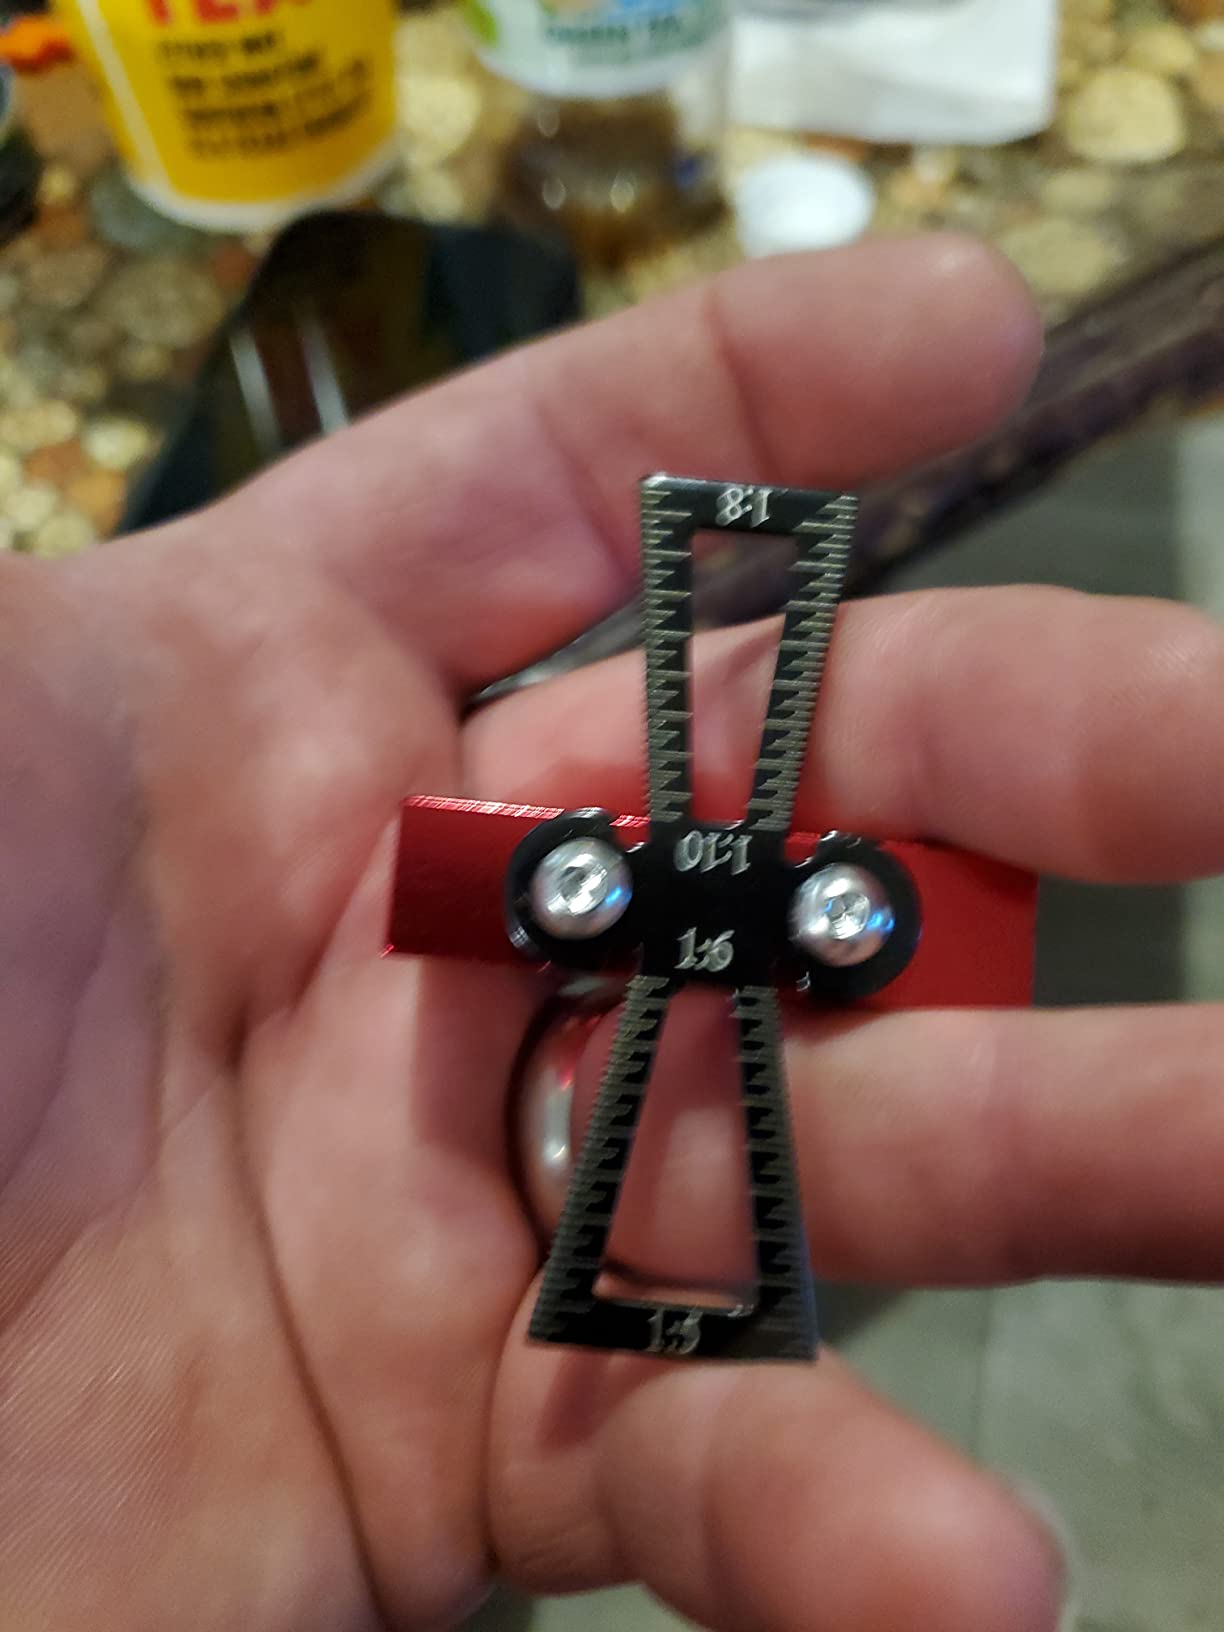
Four ratios cover the range you will actually meet: 1:5 for hardwoods, 1:6 as a middle ground, 1:8 and 1:10 for softer stock. The body is machined from an aluminum billet with an anodized finish, and at just over three and a half ounces it is light enough to hold one-handed without fatigue.
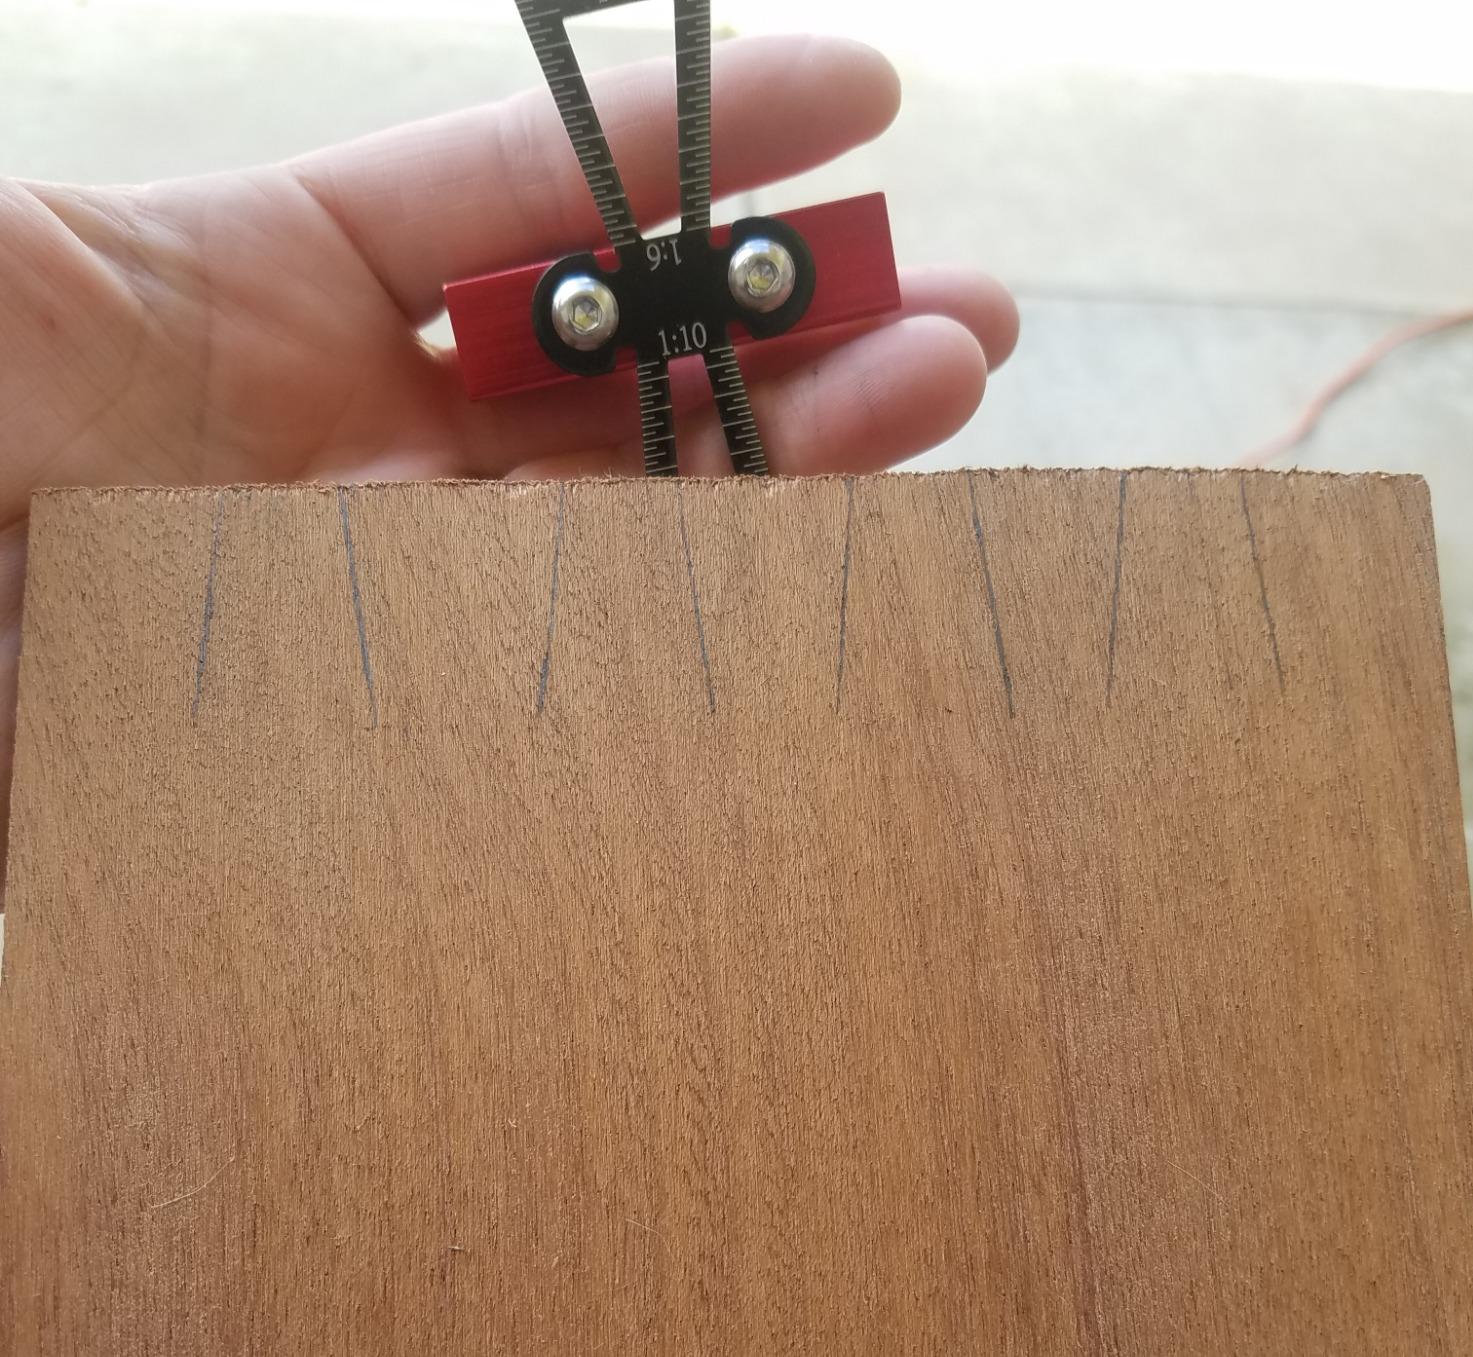
The extra-large body is the detail that matters in practice. Long legs give you a wide bearing surface on the board, so the marker registers accurately instead of pivoting as you trace. That registration is the difference between a clean baseline on the end grain and a line that wanders when you follow it.
Users with long hand-tool histories report that once you understand which face carries which ratio, it replaces a sliding bevel for dovetail work entirely. The anodizing holds up well to the knocks of normal bench use and does not mark the wood when you press down.
Why it belongs on the bench
Marking slopes consistently across a batch of drawer sides or box ends saves enormous time compared with eyeballing a bevel and copying it. The graduated markings on both faces make it quick to set the same ratio on piece after piece.
It pairs well with a wheel gauge: baseline from the edge with the gauge, slope from the corner with the marker, and you have a complete dovetail layout from two light tools.
Where it disappoints
The labeling genuinely is unclear. Buyers commonly report having to work out which face corresponds to which slope, so spend five minutes with it before you need it in anger.
It also marks a single face at a time rather than two perpendicular surfaces at once, and a few owners never use more than one ratio and wonder what the point was. If your work is all one species, a simple single-angle template would serve.
4. Clarke Brothers 7 inch Micro Adjust Kit – the Best Marking Gauge for Fine Setting
- Micro-adjuster makes fine repeatable setting much faster
- Setting holds firmly once locked with little torque needed
- Anti-roll brass fence head with flat spots
- V-slot in the rod stops the fence and tail wiggling
- Kit includes spare cutters
- bolts and a retractable cutter
- Micro-adjust thread has a little play
- Limited instructions for first-time users
- Depth markings on the beam are of limited practical use
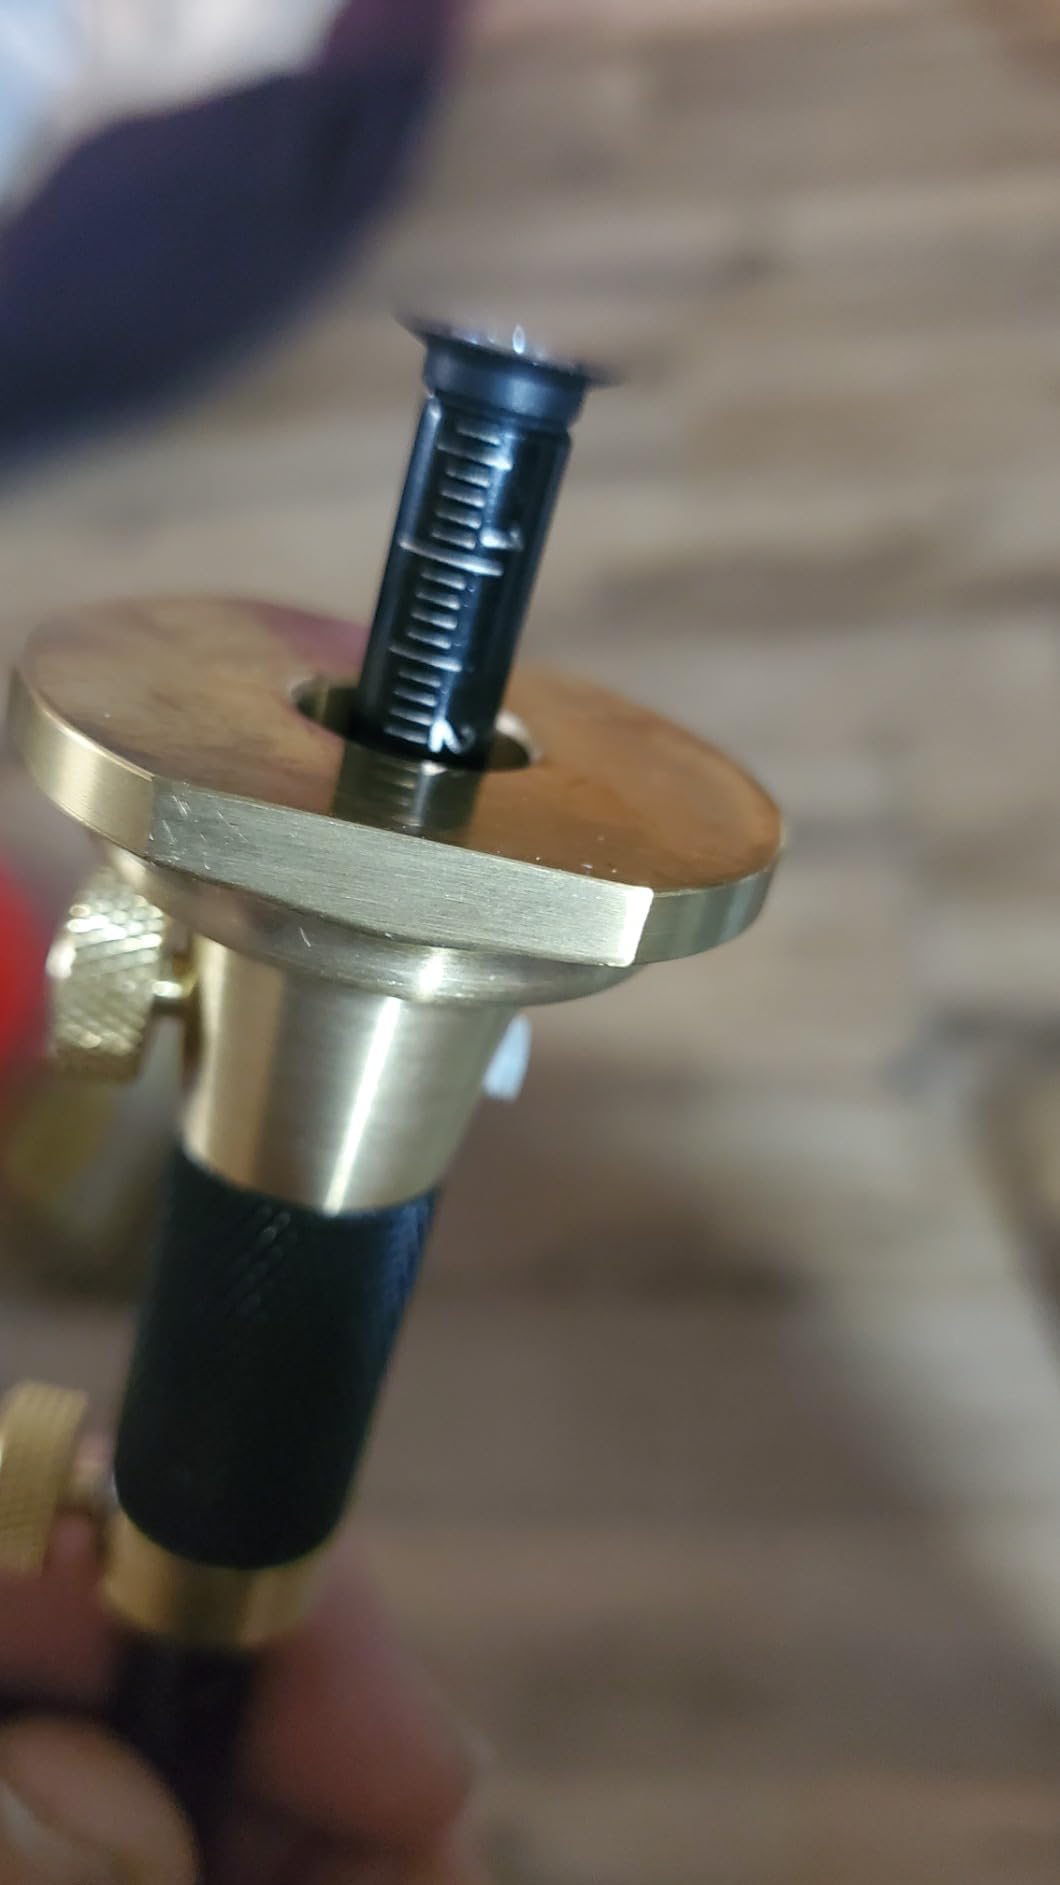
This is the one I reach for when a joint needs a setting tighter than my fingers can judge. The micro-adjust fence turns what would be fine tuning by eye into a controlled, repeatable movement, and the dual thumbscrews let you nudge the head a hair without losing the setting entirely.
The build is brass and alloy steel with a 12mm V point cutter, and the kit ships with two spare hardened steel wheel cutters, spare bolts and a retractable cutter for storage. The rod has a V-shaped slot machined into it specifically to stop the fence and tail wiggling during adjustment, and in use it does what it claims.
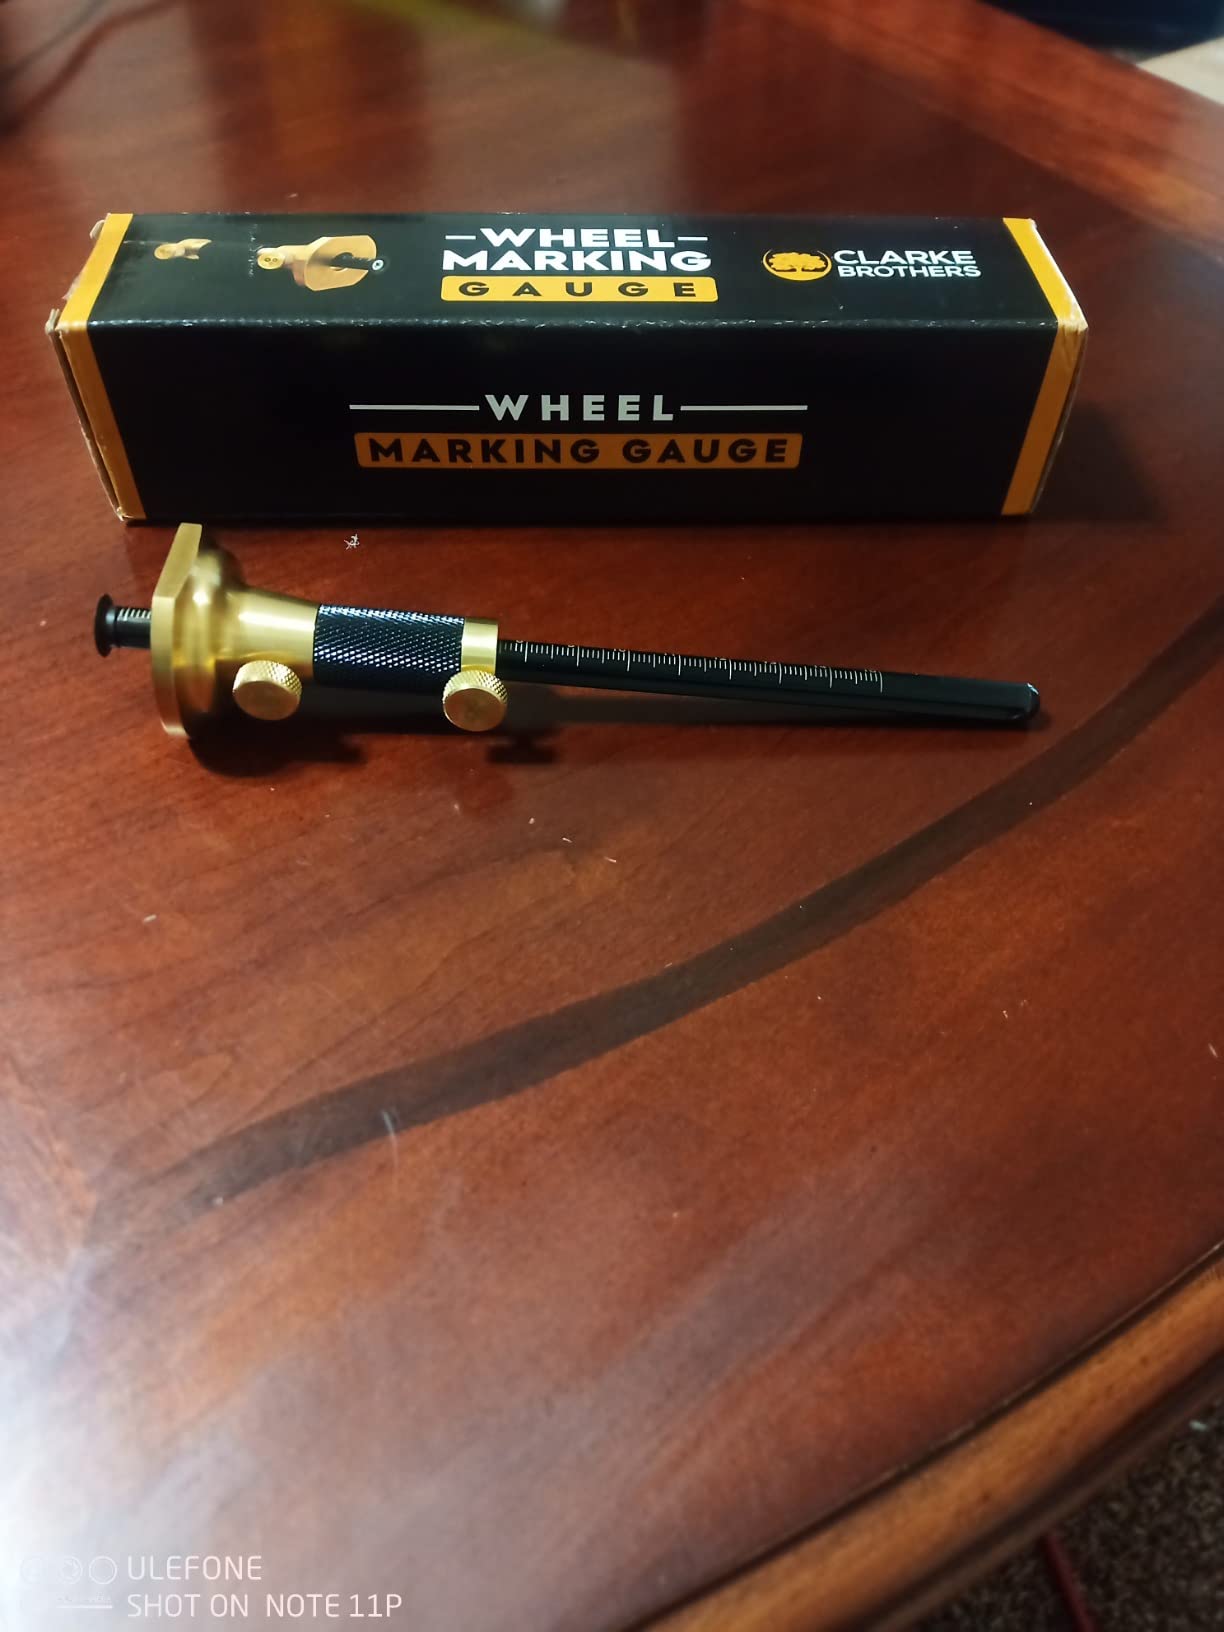
Owners upgrading from cheaper gauges tend to single out the micro-adjustment as the feature that justifies the cost, and I agree. Once you have set a shoulder that close to your target, going back to a coarse thumbscrew feels clumsy. The setting also holds through a full run down a long board, which matters more than it sounds.
The flat spots on the brass fence head make dovetail depth quick to set, because the head registers flat on the end grain instead of rocking. For through dovetails and half-blind baselines I use this one almost every time.
Why it suits precision joinery
Fine adjustment is what separates this from a standard wheel gauge. When the difference between a good joint and a tight one is a fraction of a millimeter, you want a mechanism that moves in controlled steps rather than one that jumps.
Spare cutters and bolts in the box matter more than they sound. A dull wheel is the most common reason a line starts to tear, and having spares means you fix the problem in thirty seconds instead of putting the work aside.
Where it falls short
The fine adjust thread has a little play in it. An adjustable nylon set screw takes that out, and once fitted the head stops wandering, but it is a fitting rather than a feature out of the box.
The instructions are thin. The micro-adjust takes a minute to understand from the physical tool alone, and the depth markings along the beam are of limited practical use, so ignore them and set depth from the end of the board.
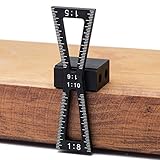
5. Newkiton CNC Aluminum Dovetail Guide – the Best Budget Dovetail Marker
Newkiton Dovetail Marker, CNC Aluminum Dovetail Guide for 1:5 1:6 1:8 1:10
- Compact 30 gram body is easy to hold and control
- Four dovetail ratios in one small tool
- Clear white on black laser etched scales
- Small enough for an apron pocket or tool roll
- Marks only one surface at a time
- Some buyers find the multi-angle format unnecessary
- Less bearing surface than an oversized guide
If you need slope layout occasionally and do not want a dedicated tool taking up bench space, this is the sensible pick. It transfers the same four common ratios as the larger marker in a body that measures under three inches and weighs thirty grams.
The scales are laser etched white on black, which is a genuine improvement over faint printed markings. They stay readable under bench lighting, and since slope work happens in short bursts rather than all day, that is enough.
Reviewers treat this as a cheap, accurate convenience instrument. The machined aluminum reads true against a rule, and at thirty grams you can hold it in one hand and trace with the other without the tool wanting to shift as you press.
For anyone marking their first hand-cut dovetails it does the job completely. Seat it on the board edge, line it up with your baseline, and trace the slope with a pencil or knife. No assembly, nothing to adjust.
Where it makes sense
It is the tool to keep in a kit bag or an apron rather than mounted on the bench. Having it with you when you are at a commission and need to check a slope is worth more than a larger version sitting in a drawer.
For small parts and drawer work, the compact body is an advantage rather than a limitation because your fingers are smaller than the board.
Where it falls short
The reduced bearing surface is the real trade. A small body has fewer points of contact on the board, so it can shift while you trace if you are not holding it firmly, and it cannot mark two perpendicular surfaces at the same time.
Some buyers simply find the multi-angle format unnecessary. If your work is one species at one ratio, a flat piece of wood with a line scribed across it does the same job for almost nothing.
6. Taytools Solid Brass Wheel Gauge – the Best Gauge for Tightening a Setting
Taytools 464763 Solid Brass Wheel Woodworking Precision Marking Cutting Gauge with 2 Extra Cutters Micro Adjust Head
- Micro-adjustment mechanism is excellent for setting repeated marks close together
- Independent lock screws for head and adjuster
- Solid brass and steel build with a satisfying heft
- Retracting cutter head protects the wheel when stored
- No graduation marks engraved on the beam
- Wheel can arrive dull and is not easy to sharpen
- Reference surface is small so the head can wander
- Micro-adjust nut can arrive very tight
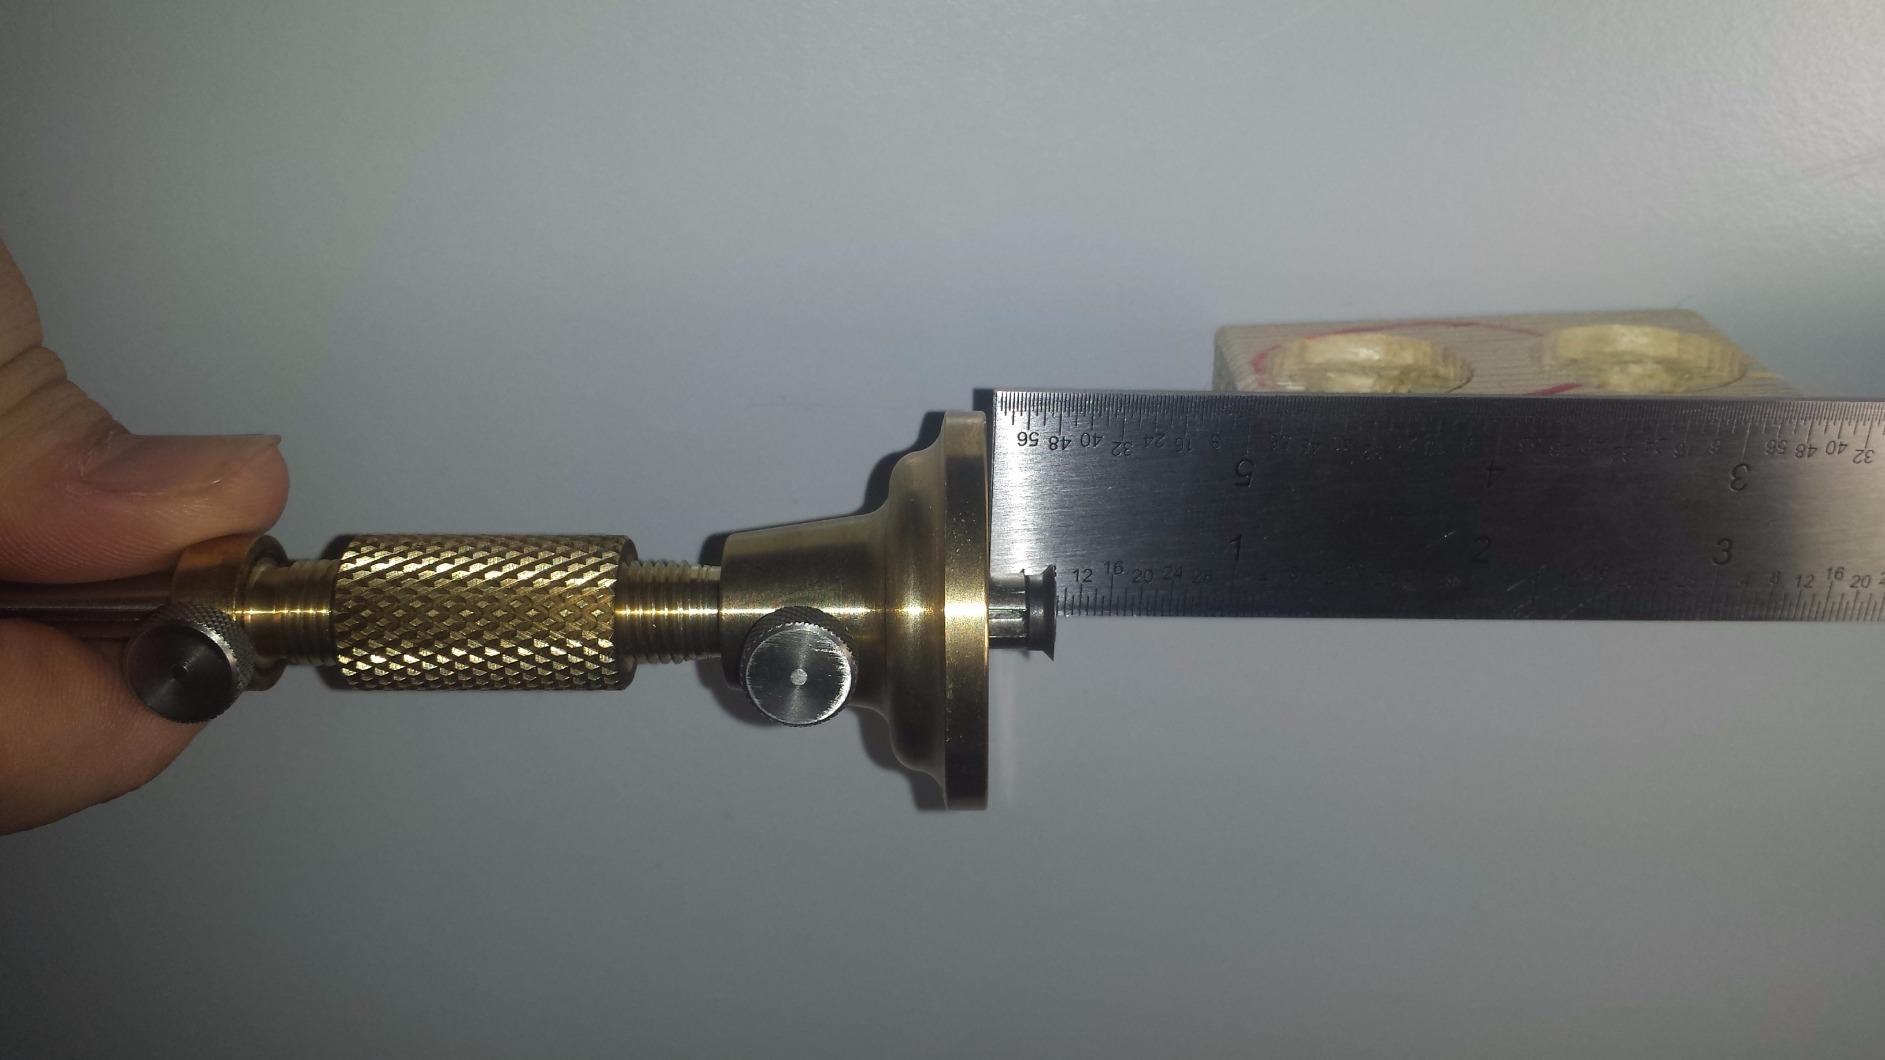
The defining feature here is the 1.625 inch solid brass head with independent lock screws for both the head and the adjuster. That locking arrangement is what lets you work a setting down in small increments, lock the head, adjust again and lock that, without losing where you were.
For joinery this is genuinely useful. When you are marking several shoulders that must be identical within a very small tolerance, being able to creep the setting and hold it is exactly the behaviour you want. Owners frequently compare the results favourably to premium wooden gauges at a fraction of the cost.
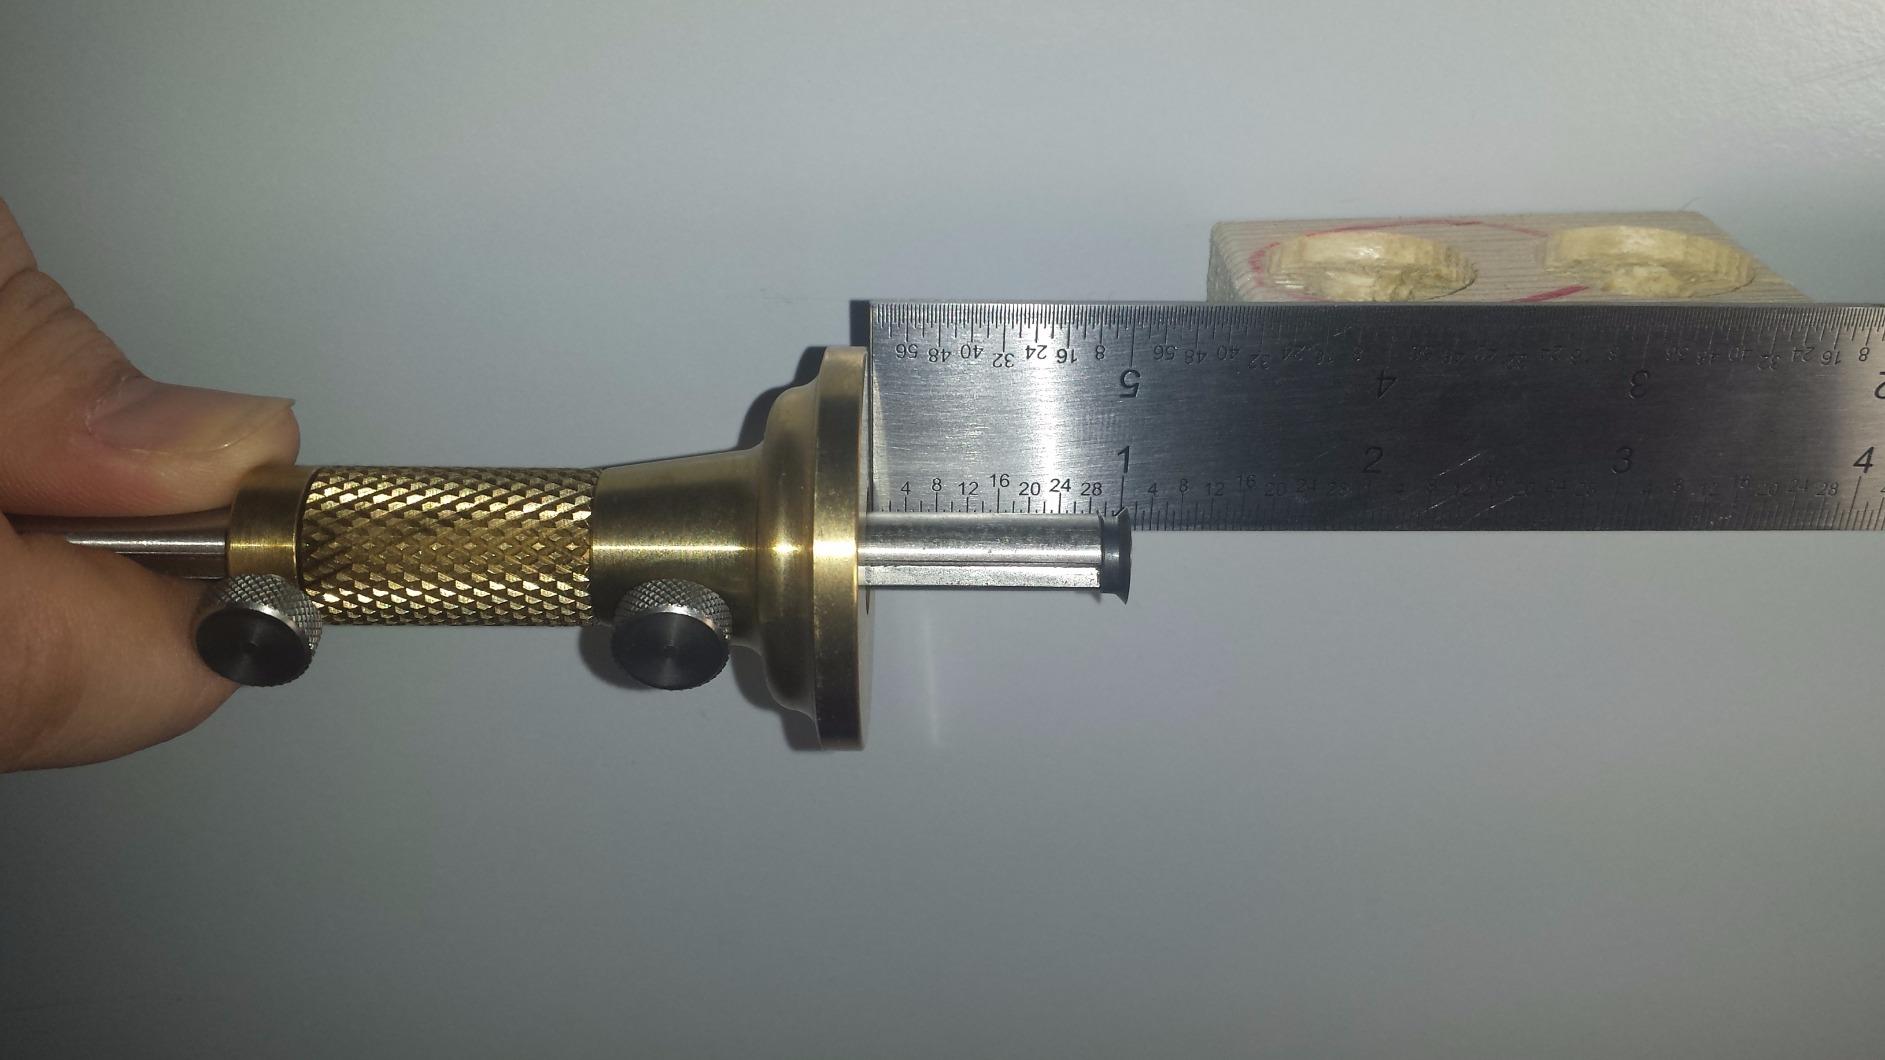
The hardened 3/8 inch round cutter is designed to slice across the grain rather than follow it, and it does cut a clean line on hardwoods. The beam is hardened steel, grooved to prevent the head rotating during adjustments, and the whole thing has a heft that makes it feel like an instrument rather than a gadget.
The retracting cutter head is a nice practical touch. The wheel withdraws into a countersink in the head so it cannot be damaged in a drawer or a tool bag, which is the single most common way these tools get ruined.
Why it suits repeated identical parts
Batch work is where this tool earns its place. Setting a run of tenons or a stack of drawer fronts to the same width is a job for a mechanism with fine, lockable adjustment rather than a coarse fence.
The tension screw lets you dial in how freely the head travels on the rod. Tighten it for delicate work, loosen it for a fast initial set, and you get one tool that covers both ends of the range.
Where it falls short
There are no graduations engraved on the beam, so you measure the setting once with a rule and then rely on the lock. That is workable and it is how many traditional wooden gauges were used, but it does mean you cannot read a setting off the tool.
The wheel can arrive dull and cannot be sharpened easily, so expect to need several passes until it settles. The reference face is also small, which lets the head slide or tilt on the workpiece if you are careless, and the adjust nut can arrive very tight.
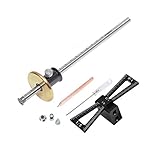
7. YOSELIN Dovetail and Wheel Gauge Set – the Best Value Set for a New Shop
- Two wheel cutters
- one bearing wheel for softwood and one locked wheel for hardwood
- Scale measured accurate against steel rules by multiple owners
- Pencil holder included so it can scribe or draw lines
- Bundles wheel gauge and dovetail guide in one set
- Locking knob can loosen during use and needs retightening
- Fence rolls easily until a flat is ground onto it
- Marking hardwood takes more effort than softwood
Two things make this set stand out at this level. The first is the pair of wheel cutters: a bearing wheel for softwood and a locked wheel for hardwood, which is the correct pairing for mixed work and removes the guesswork about which cutter to fit.
The second is the pencil holder. With a pencil fitted, the tool stops marking only what the wheel touches and starts producing a full reference line, which is useful for anything you need to see before you start cutting. The 8 inch precision ground steel rod carries a 1mm and 1/64 inch scale and doubles as a depth gauge for transferring measurements.
Multiple owners have checked the scale against steel rules and found it accurate, which is more verification than most tools at this level attract. The body is CNC machined aluminum with an anodized finish, and only the small steel cutter is magnetic, so it will not end up stuck to a steel rule mid-setup.
It ships in a protective round tube, which sounds like a small thing until you have had a wheel tool arrive with a bent rod. The dovetail gauge included in the box covers common slopes for quick layout when you do not want to carry a second tool.
Why it suits mixed stock
Swapping between a bearing wheel and a locked wheel is the practical difference between a tool that marks softwood cleanly and one that also handles hardwood without stalling. That dual-cutter approach is the reason this set gives more than a single-wheel gauge at a similar level.
For someone building out a first shop tool kit, having a wheel gauge, a dovetail guide, a pencil and a screwdriver in one box is a sensible way to cover the common layout jobs.
Where it falls short
The locking knob loosens during use and needs retightening, which on a long board means you should check it mid-run. The fence also rolls when you set it down until you grind a flat onto it yourself, and the graduations appear printed rather than engraved.
Marking hardwood takes noticeably more effort than softwood, and the instructions cover the marking gauge but not the dovetail gauge, so you are largely left to work that out.
8. KAKURI Japanese KEBIKI – the Best Gauge for a Knife-Cut Line
KAKURI Wood Marking Gauge for Woodworking 3.5″, Japanese KEBIKI Scribe Tool
- Cuts a clean
- precise knife line rather than a pencil or pin line
- Rapid screw adjustment
- Comfortable lightweight bamboo body
- Blade stores inside the body for safe carry
- Long fence helps prevent twisting
- Marking is designed to run across the grain
- Printed metric scale can fade with handling
- 3.5 inch version registers less easily than the larger one
- Loose fit between body and rod
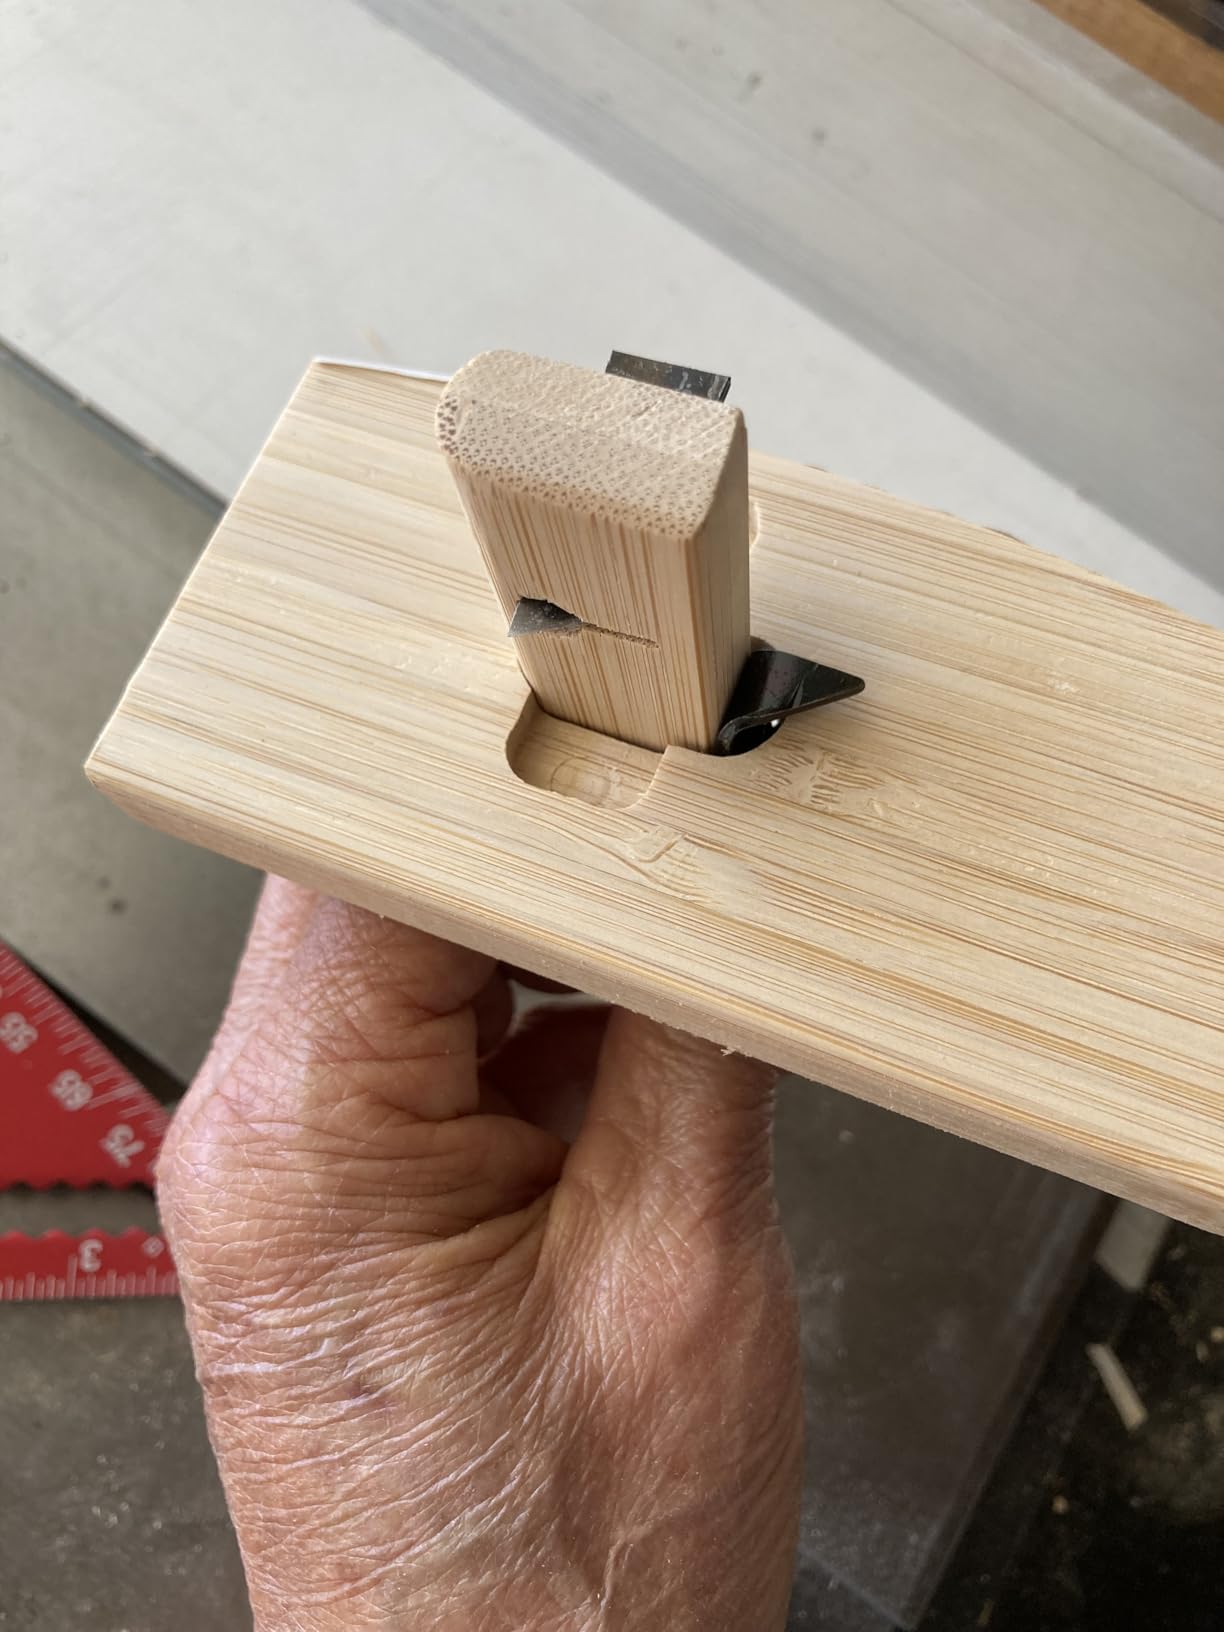
This is a traditional Japanese cutting gauge rather than a wheel gauge, and the difference shows in the line. A knife scribes by cutting fibres rather than rolling over them, so on hardwood the mark is finer, crisper and far more visible once you start planing.
The body is natural bamboo, handcrafted in Japan, and at ninety grams it is light and comfortable for long marking sessions. The carbon steel blade retracts fully inside the wooden body, which makes it genuinely safe to carry in a tool bag rather than worrying about the point.
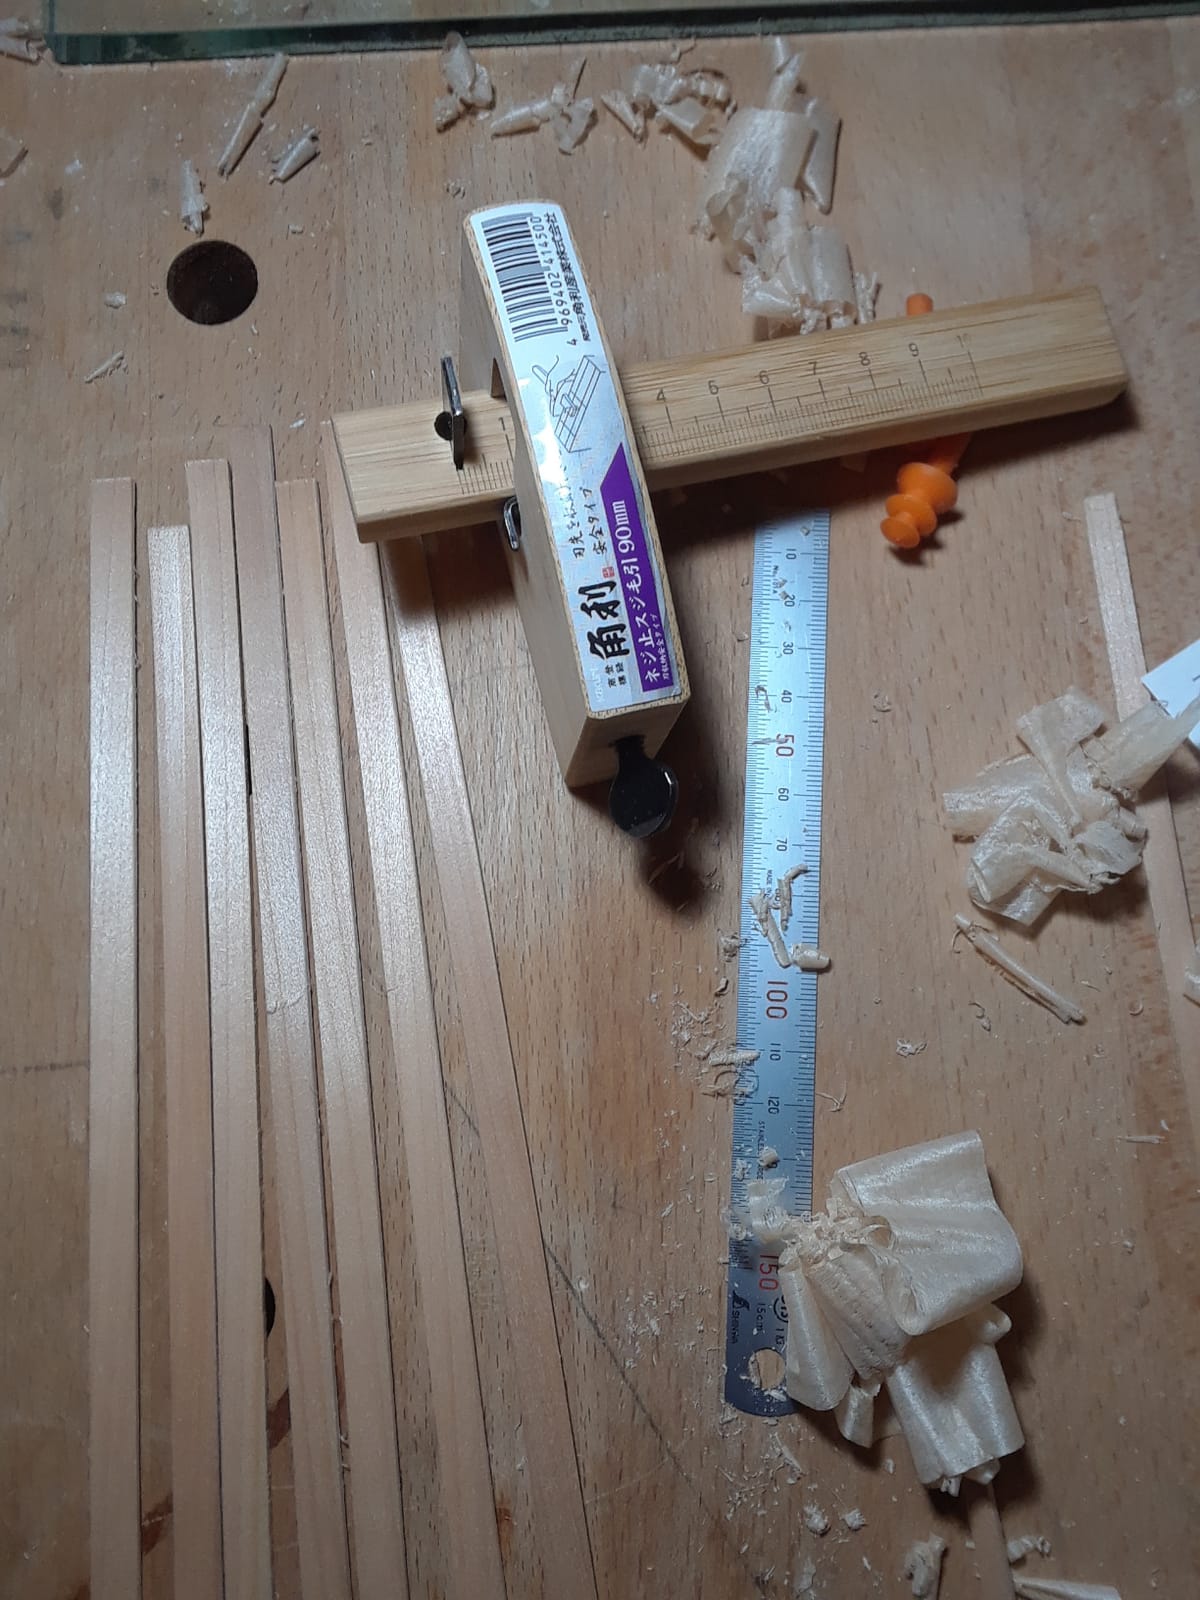
The screw adjustment is rapid, which I found easier to live with than the wedge-style locks some traditional gauges use. Professional furniture makers report that it out scribes gauges costing many times more, and several users say the line beats their modern wheel gauges on figured stock.
The long fence is doing real work here. It resists the twisting that makes a shorter stock wander and puts a wandering line in your joinery, so the tool stays true even when your hand is not perfectly aligned.
Why knife beats wheel on hardwood
A wheel rolls and a knife cuts. On softwood and on plain-sawn hardwood the wheel is faster and takes less force, but on dense or interlocked grain a knife leaves a line you can actually see from across the bench, which matters when you are planing boards to a scribed width.
For furniture work where the line has to survive several passes of the plane, that visibility is the argument. Experienced users rate this highly for exactly that reason.
Where it falls short
Marking is designed to run across the grain. Along the grain the knife follows the fibre instead of cutting it, which produces a wandering line, and buyers who did not understand that before buying are the source of most of the lower ratings.
The printed metric scale fades with handling, the fit between body and sliding rod is loose enough to need light tapping, and the shorter 3.5 inch version registers less easily than the larger one on a wide board.
9. YOSELIN 8 inch Wheel Marking Gauge – the Best Gauge for Hinge Mortises
- Reader window lets you check the scale while the head is locked in place
- Two wheel cutters cover softwood and hardwood
- Small screwdriver included for blade changes
- Marking lines are more accurate than pencil lines for hinge layout
- Marking wheel drags rather than rolling
- Scale markings can be hard to read and are not perfectly accurate
- Depth and fence adjustment need frequent readjustment
- Works best on softer woods
Hinge mortises are where a scribed line pays for itself fastest, because the hinge has to sit at an exact distance from the edge and any drift shows as a door that does not close squarely. This gauge gets that job done, and the detail that helps most is the small reader window.
The window lets you see the scale while the head is locked in place, which removes the guesswork of looking around the body to find where the graduation lines up. You set once, check through the window and lock, and the setting stays where you put it.
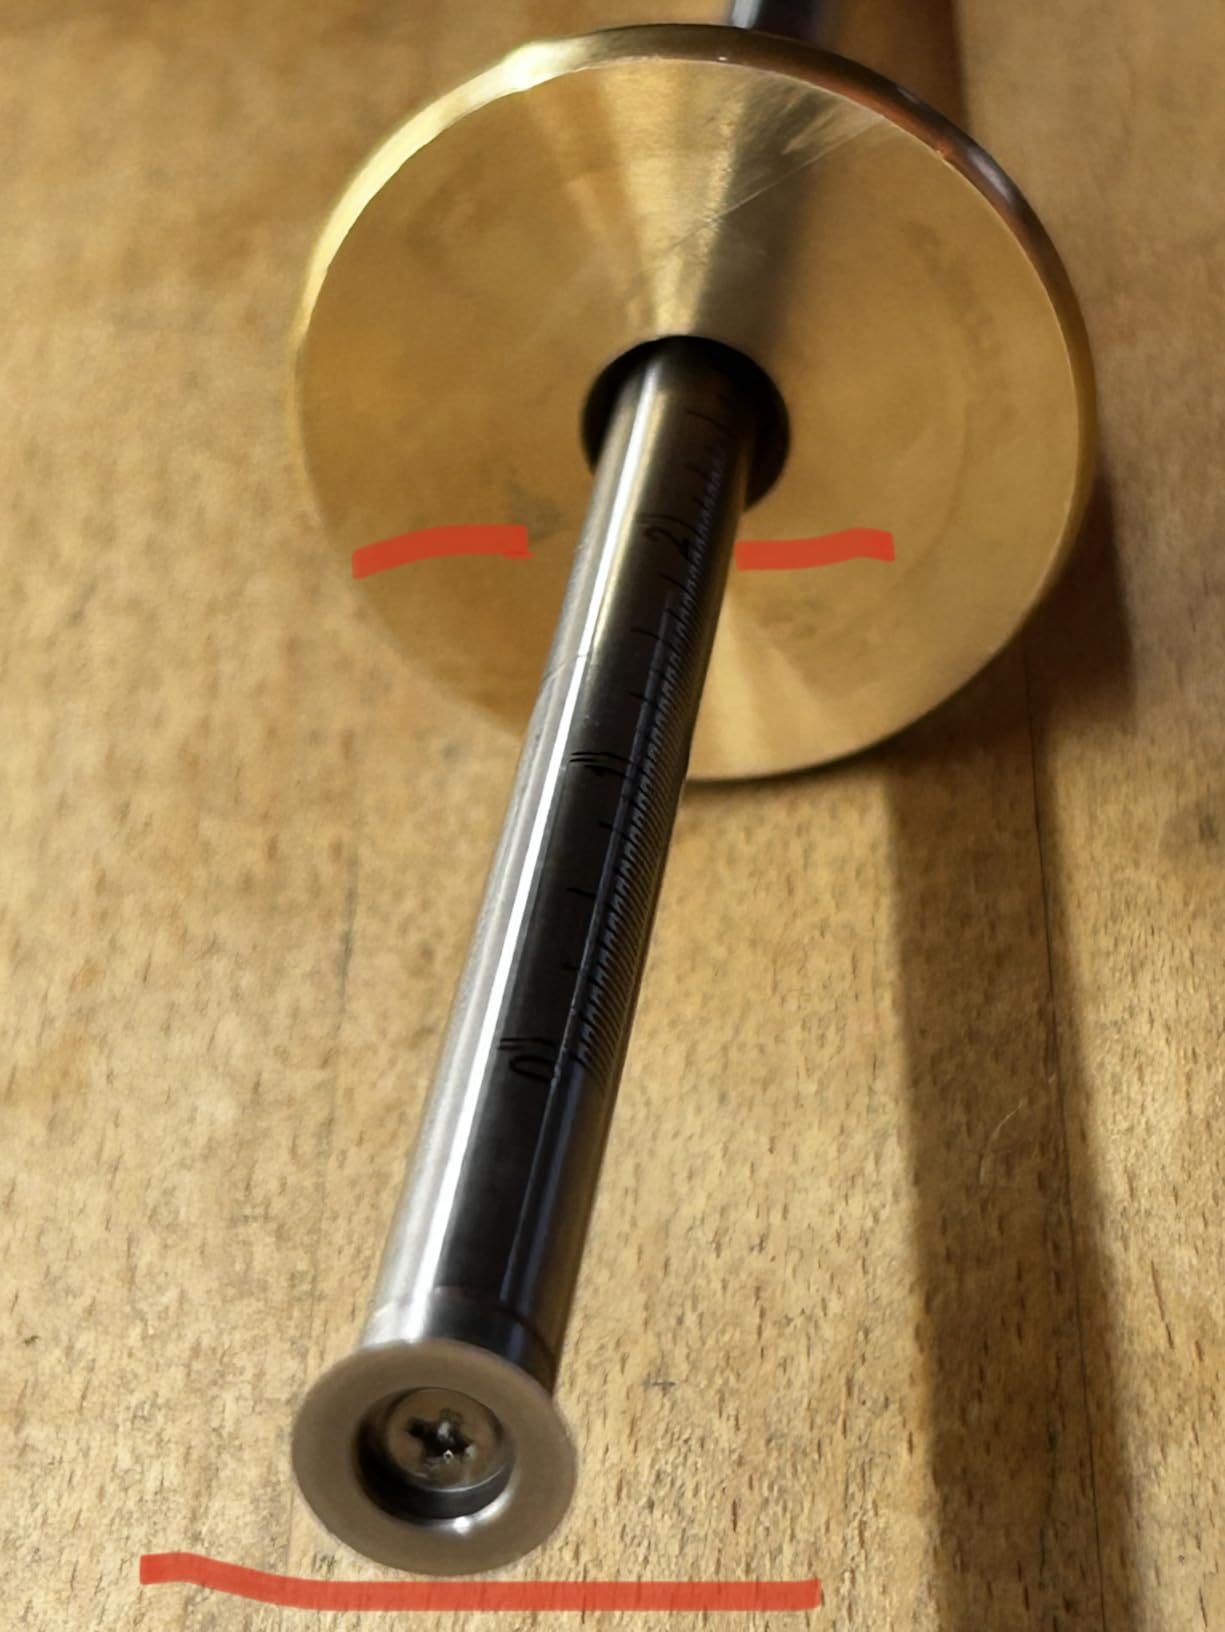
Buyers single this tool out for hinge mortise work in particular, and the lines are noticeably truer than pencil marks on the same layout. The body is machined brass and anodized aluminum alloy with a polished finish, and everything is individually wrapped inside a round tube, which protects the wheel in transit.
Two cutters ship in the box, one bearing wheel for softwood and one locked wheel for hardwood, along with a tiny screwdriver and an M3 screw for changes. Having the screwdriver in the box is the kind of detail that saves you when a dull wheel needs swapping mid-project.
Why it suits hardware layout
Repeating an identical offset across a run of stiles is exactly what this tool is built for, and the screw lock holds a setting well enough to mark six or eight pieces without rechecking. For butt hinges and cup hinge backplates it is a straightforward, quick process.
The 1/32 inch and 1mm grid works well for imperial hardware sizes, and for anyone working in metric it covers the common plate spacings without estimation.
Where it falls short
The marking wheel drags rather than rolling freely, so it is not as smooth as a true bearing wheel gauge and takes more pressure on hardwood. The scale markings can be hard to read, and while the graduations are close to correct, they are not perfectly so.
Depth and fence adjustment are described as finicky and need frequent readjustment, and it works best on softer woods. Check the reading against a rule when the accuracy of a mark really matters.
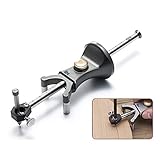
10. VISLONE Dual Purpose Wheel Marking Gauge – the Best Gauge for Curved and Panel Work
Wheel Marking Gauge, Woodworking Marking Scriber Kit for Carpenter
- Steel roller handles both straight and arc marking
- Universal holder accepts a clip pen
- refill
- needle or pencil
- Anti-roll knobs keep it from wandering across the bench
- Works on wood
- glass
- acrylic
- ceramic and metal
- A general-purpose scribe rather than a dedicated joinery wheel gauge
- Pen and pencil options add bulk when you only need one line type
- Less purpose-built for dovetail and joinery layout
This one earns its place for work that a traditional marking gauge handles badly. The stainless steel roller follows a curve as readily as a straight line, so if you are marking a curved panel, a template edge or an arc on a cabinet door, this is the tool that does it without argument.
The universal pen holder is the clever part. It accepts a clip pen, a refill, a needle or a pencil, so you can switch from a scribed line to a drawn reference line without changing tools, and the body is refillable rather than disposable.
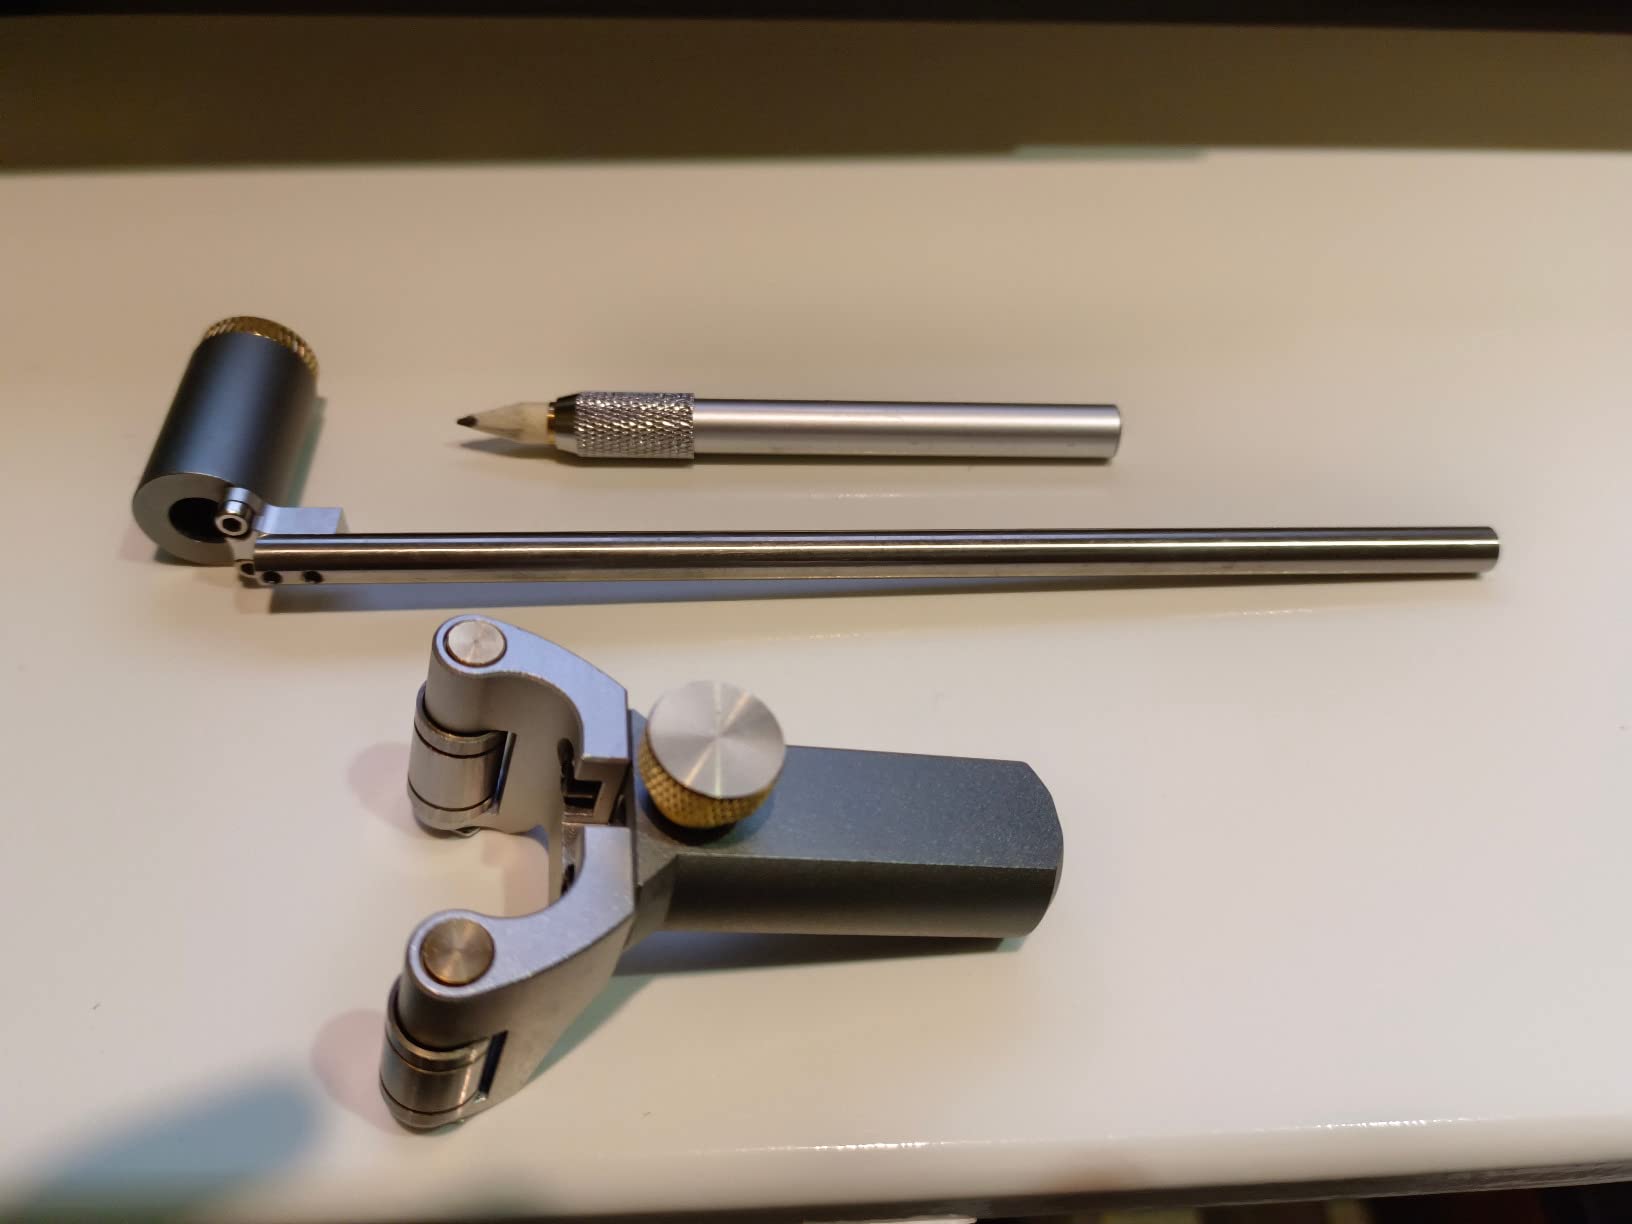
The anti-roll knobs keep the body stable on the workpiece, and the scale is clearly visible with a balanced feel that suits fast, accurate operation. A pocket clip makes it easy to keep on the bench or carry to a job site, which I appreciated more than expected.
It also works on glass, acrylic, ceramic and metal, so if you do any template work where the material is not wood, the same tool covers it. Owners tend to come for the roller and stay for the versatility.
Where it earns its keep
Curved and freehand work is the answer. Parabolic curves on a door panel, arcs on a shaped side, or marking along a template all fall to a roller in a way that a fixed wheel gauge cannot manage.
Interchangeable marking media is a real convenience when you are checking a line against a pencil reference. Drawing the line first and scribing it second is a good way to see whether the tool is actually cutting where you think it is.
Where it falls short
This is a broad-purpose scribe, not a specialist joinery instrument. Joinery specialists usually find a dedicated wheel gauge with a hardened cutter gives a cleaner, more consistent line on hardwood.
Carrying pen and pencil options adds bulk when you only ever need a single line type, and for dovetail baselines and mortise shoulders I would reach for a purpose-built gauge every time.
How to Choose a Marking Gauge for Joinery?
Start with the marker, because it decides what the tool can and cannot do. A rotating wheel cuts quickly and needs little force, which makes it the right default for softwood and plain hardwood. A knife blade cuts rather than rolls, which gives a finer, more visible line on dense or figured stock but wants more pressure. A brad-style pin is the traditional choice and is the one most often filed into a knife shape by hand.
Next, look at how the setting is held. A coarse thumbscrew is fine for setting a rough dimension and frustrating for anything tighter. A micro-adjust mechanism with independent head and adjuster locks, as on the two brass-head tools in this roundup, is worth paying more for if you cut repeated parts that must match.
Then check the beam. Beam diameter affects how readily the tool can twist when you push on the head, and a grooved or slotted rod resists rotation of the head during adjustment. Steel beams resist bow; wooden beams can move as the humidity changes, which changes your setting over time.
Graduations are a convenience, not a requirement. Several traditional wooden gauges carry no scale at all and are set once with a rule, then locked. If you move your gauge setting often or work from a story stick, an engraved or etched scale saves real time.
The fence matters more than buyers expect. A fence with a flat spot will sit still on a bench and register flat against an end grain. A perfectly round fence rolls off the bench and rocks when you set it flat, and that rocking is what produces a wandering line.
Line visibility is the last thing to check, and it is the one people discover too late. Faint lines are fine on the bench and useless once you are planing. If your marks need to survive planing, look for a knife-style cutter or a gauge that produces a wider, darker line, and test it on a scrap of your own timber.
Finally, ask about replacement parts. Every one of these tools will eventually dull, and a gauge that ships with spare cutters and a small screwdriver can be back in service in under a minute. One whose wheel cannot be replaced or sharpened is a tool you will eventually retire.
The Bevel Orientation Rule for Mortises and Tenons
A marking gauge marks with a bevel. The bevel faces the waste, the material you intend to remove, and the flat back sits against the reference face. Get this right and your line sits exactly on the shoulder; get it wrong and the line drifts a fraction across the width of the board.
Here is the rule that comes up constantly in hand-tool forums and that almost no editorial article states plainly. When you mark the mortise, register the flat back of the gauge against the reference face of the stock and let the bevel sit toward the waste. Run the gauge from the reference edge so the line lands on the near side of the intended mortise wall.
When you turn the same gauge over to mark the tenon, the geometry changes. The tenon is a projection, so the line that sets its shoulder needs to fall on the opposite side of the reference. That means flipping the gauge so the bevel now points the other way.
Because a bevel-edge tool only works correctly one way round, a single gauge cannot mark the mortise and the tenon in the same orientation without being flipped. Experienced users handle this in one of two ways: flip the tool and reset the scale against the same measured shoulder, or use a reversible-blade gauge whose marker can be moved to either side so the orientation stays fixed.
If you are not confident about the geometry, the safe habit is to test on an offcut. Mark a shoulder, saw to it and check whether the width lands where you expected. Ten seconds of scrap removes all guesswork.
How to Lay Out a Mortise and Tenon with a Gauge?
First, establish a true reference edge and square it properly. The gauge is only as accurate as the edge it rides against, so spend the time on the jointing and planing before you mark anything.
Second, measure and set your shoulder width once. Lock the fence at that distance from the pin or wheel and leave it there for the whole batch. Do not reset between parts; that defeats the purpose of having a gauge.
Third, register the fence against the reference edge at the near end of the board. Make sure the fence face is sitting flat along the full edge, not just touching at one corner, because that is what makes the line parallel.
Fourth, scribe from the reference face for the mortise, then flip the gauge and scribe from the opposite side for the tenon, following the bevel orientation rule above. Two light passes are enough; a heavier third pass just makes it harder to stay on line.
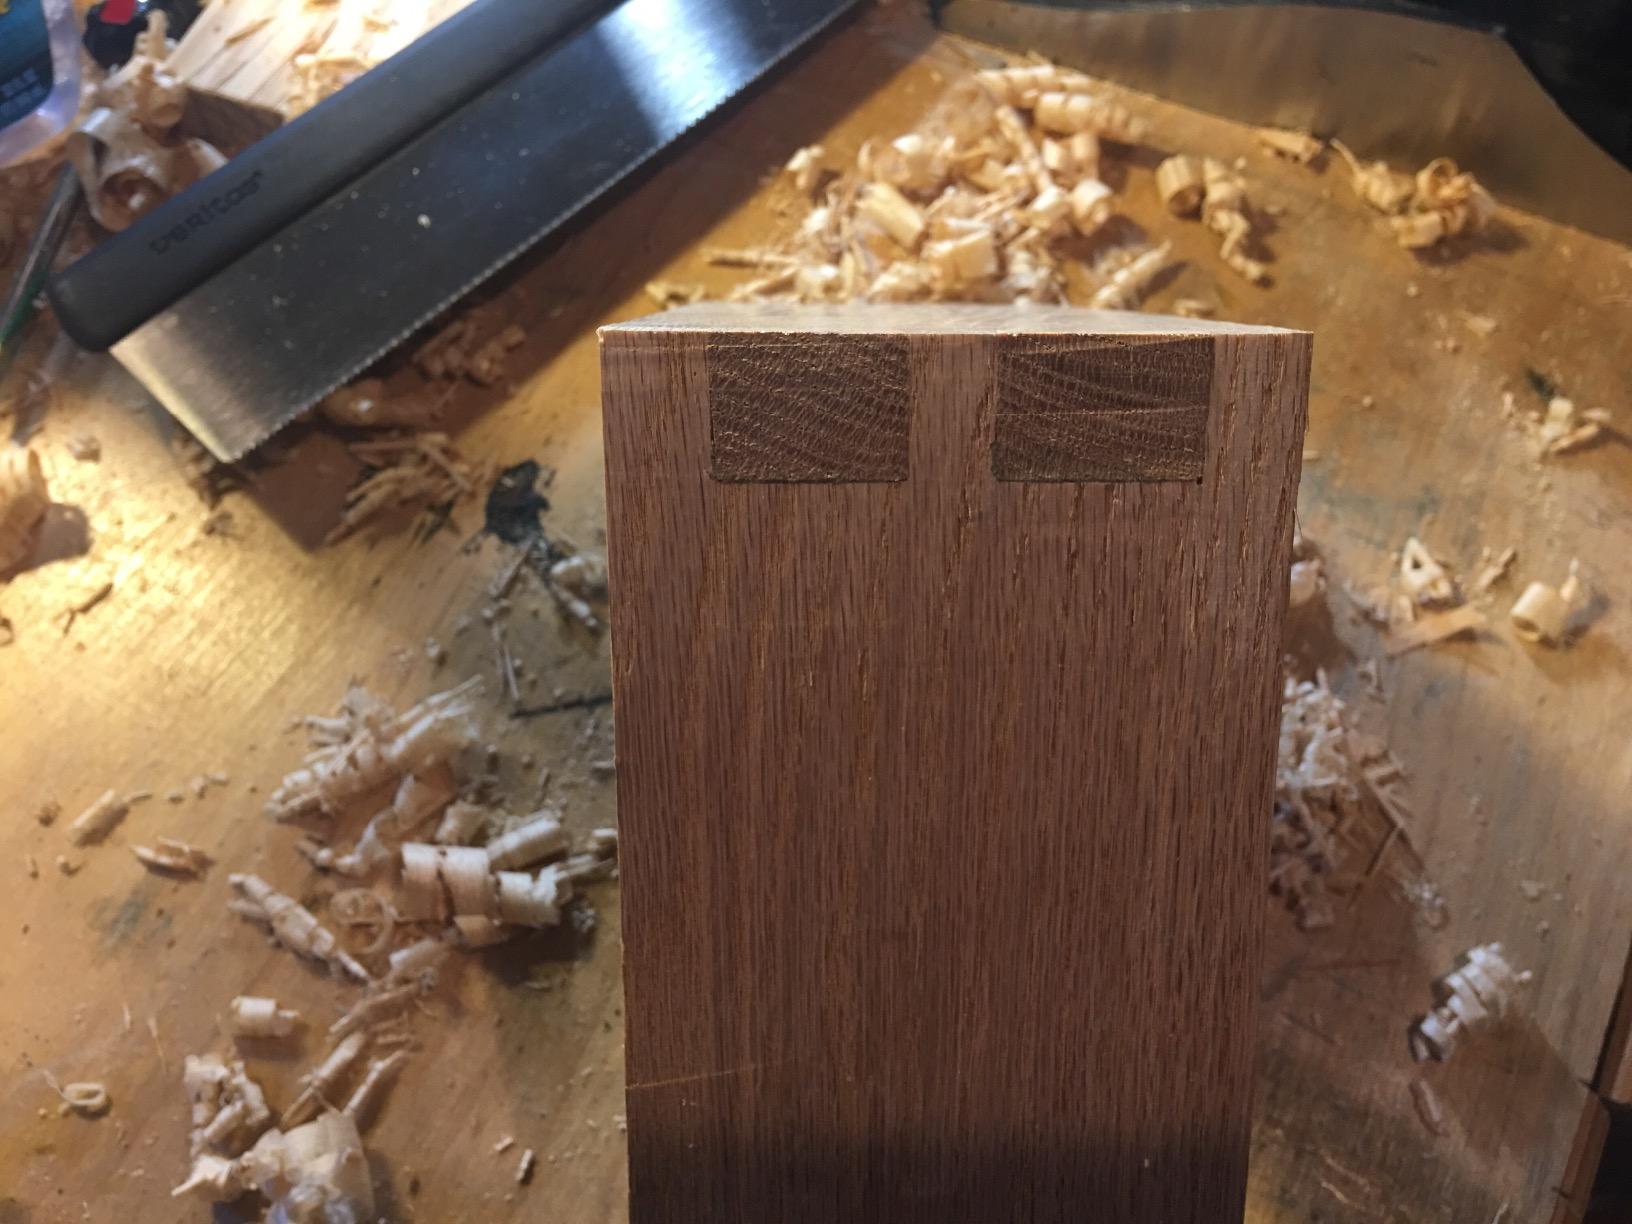
Fifth, transfer the mortise width to the end grain with your square and a knife, and mark both sides of the tenon from the same shoulder line. Saw to the shoulder line first, then cut the mortise to the transferred width, and let the chisel do the final paring.
Check the result before you commit to a full batch. One test joint takes five minutes and will tell you immediately whether the gauge is set the way you intended.
Keeping the Line Clean and the Wheel Sharp
Two light passes beat one heavy pass every time. The first establishes the line and the second deepens it, and if the line still tears the grain you are pushing too hard rather than working too few passes.
Keep the fence registered along the whole length of the run. If you notice the tool creeping as you move down the board, stop, tighten the lock and start again from the same end. A line with one kink in it will throw your joint out of square.
If your gauge arrives with a cone-shaped pin rather than a blade, file it flat. Most experienced hand-tool users reshape the factory pin into a knife shape early on, because a cone skates along the fibre and a knife cuts it. Work progressively, checking that the line stays square to the edge as you go.
Wheel cutters dull faster than most people expect, especially in softwood. When the line starts to look fuzzy rather than crisp, swap the wheel or hone it, and clean the head of sap and dust before you judge it. Most of the tools in this roundup ship with spare cutters for that reason.
One trick worth knowing: a wheel-style marking gauge with a flat base will ride on a board edge the way a small router plane rides on a workpiece, letting you shave a tenon cheek flush to its shoulder line. It is not a replacement for a proper plane, but for tidying up a tenon it saves time.
Which Gauge for Which Joint
For dovetail baselines along a board edge, any wheel gauge with an accurate scale works. Set the distance from the edge once and run it on both faces. Add a dovetail marker to transfer the slope to the end grain.
For mortise and tenon layout, choose a gauge with a fine, lockable adjustment and test the bevel orientation on a scrap first. If you regularly cut both members from one setting, a reversible-blade gauge removes the flip entirely.
For hinge mortises and hardware layout, a wheel gauge with a reader window or a clear scale is ideal, since the whole job is repeating one exact offset across several stiles. Check the lock mid-run on long pieces.
For planing a board to width, use a knife-type gauge. The mark has to stay visible through several passes of the plane, and a wheel line on figured or open-grained stock can fade before you are finished.
For drawer parts and repeated identical components, a micro-adjust gauge is worth the extra spend. When everything has to match, a setting that creeps by a hair over a long run is the difference between a flush drawer and a sticking one.
For cross-grain marking in softwood, use a knife or a re-knifed pin. A wheel will tear fibres here and defeat the purpose of marking in the first place. For curved and templated work, a roller scribe is the only sensible choice.
Frequently Asked Questions
What is the best marking gauge for woodworking?
For general joinery, a solid brass wheel marking gauge with an accurate engraved scale is the best all-round choice. It scribes a narrow, clean line referenced to the edge of the board, holds a setting through a long run and suits mortise, tenon and hinge layout. A knife-style gauge gives a finer, more visible line on dense hardwood, while a micro-adjust model is worth adding if you cut many identical parts.
What’s the difference between a marking gauge and a mortise gauge?
A marking gauge uses a single pin, knife or wheel to scribe one line at a set distance from the edge. A mortise gauge uses two markers spaced a fixed distance apart, so both walls of a mortise come out in a single pass. The practical difference is repeatability: a marking gauge needs two passes and two settings, while a mortise gauge sets both edges at once. Bevel orientation also matters more on mortise gauges.
What is the purpose of a marking gauge in woodworking?
A marking gauge produces a line parallel to the edge of a board at a fixed, repeatable distance from it. Because the line is referenced to the edge rather than to a measurement, it stays straight along the whole length and is identical on every part in a batch. That is what makes it useful for dovetail baselines, mortise and tenon shoulders, hinge offsets and planing a board to a scribed width.
Which brand of marking gauge is considered the best among hand-tool users?
Reputation in hand-tool circles tends to cluster around a few names: Veritas for fine wheel work, Joseph Marples for traditional wooden gauges, Tite-Mark for cutting gauges, and JessEm for resolution down to 1/256 inch. Users also rate quality brands that ship spare cutters and replacement parts. What matters most in practice is beam straightness, fence stability and how well the tool holds a setting, rather than the label on the head.
What do carpenters use to mark wood, and is a marking gauge better than a pencil and square?
Carpenters use a pencil, a knife, a square, a story stick and a marking gauge, usually in that order of role rather than importance. A pencil marks quickly for layout, a knife or gauge marks for cutting. For mortise and tenon work the gauge wins clearly, because a scribed line is narrow enough to saw to and identical across a batch, which a pencil line measured separately on each part rarely is.
Conclusion
After months of putting these ten tools through real joinery, the Clarke Brothers 8 inch wheel marking gauge is the one I recommend to anyone starting out. It has an accurate scale, a fence that stays put, spare cutters in the box and a line narrow enough to saw straight to.
If your work is dominated by repeated parts that have to match exactly, the Clarke Brothers 7 inch micro-adjust kit is the step up, because fine, lockable adjustment is the feature you will notice every single session. For hardwood where the mark must stay visible through planing, the KAKURI KEBIKI cuts rather than rolls, and that difference shows.
Whatever you choose, check the setting against a rule on your own timber, keep the cutter sharp, and remember the bevel orientation rule before you mark the tenon. Those three habits will get you closer to a close-fitting joint than any brand name. Use the comparison table above to match a gauge to the joints you actually cut, and pick the best marking gauges for joinery that suit your bench.